-
Title
QC 5.4 to 5.5 in-place upgrade to another SQL server -
Description
Step by step guide to upgrade from Quick Connect v5.4 to v5.5 to another server/database.
-
Resolution
1.- Export the existing configuration to file within Quick Connect 5.4.0 Administration Console1.1.- Open the Quick Connect Administration Console
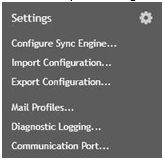
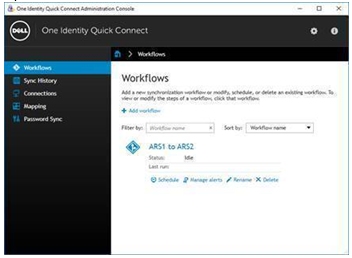 1.2.- Click the setting (cog) icon
 1.3.- Click the Export Configuration
 1.4.- Provide a path and file name within the Configure profile File field
 1.5.- Check the box to protect the file with a password, and provide a password
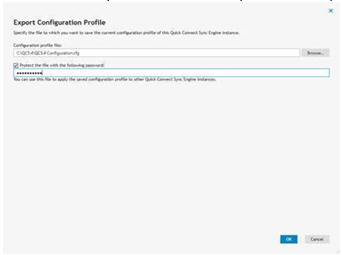 1.6.- Click Ok
 1.7.- Click Ok
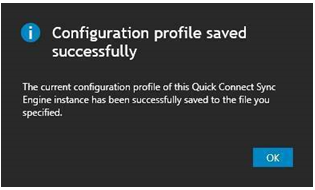 1.8.- Close the Quick Connect Administration Console
 2.- Stop the Quick Connect services on all servers within this Quick Connect instance2.1.- Go into Service.msc
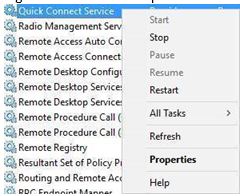
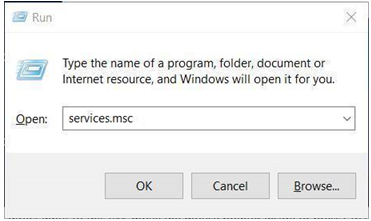 2.2.- Locate the Quick Connect service
 2.3.- Right click and select Stop
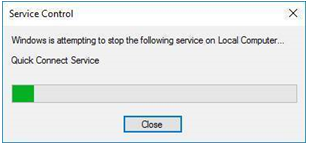
 2.4.- The service will begin to shutdown
 2.5.- The service will now it has a status of stopped (or empty)
 3.- Backup the existing Quick Connect database(s)4.- On the first server to be upgraded4.1.- Install Quick Connect 5.5.04.1.1.- Copy the Quick Connect software to the server4.1.2.- Run the QuickConnectSyncEngine_x64.msi as an Administrator4.1.3.- Click next on the Welcome to the setup Wizard screen
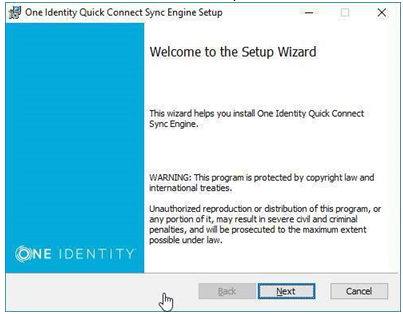 4.1.4.- Accept the license agreement if you agree to the user agreement terms, and then click Next
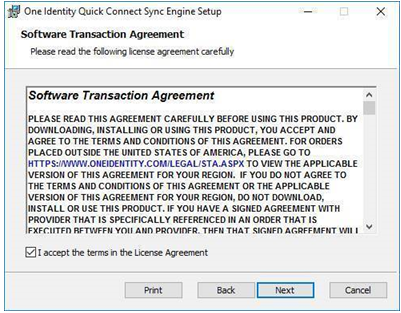 4.1.5.- Enter the service account username and password, then click Next
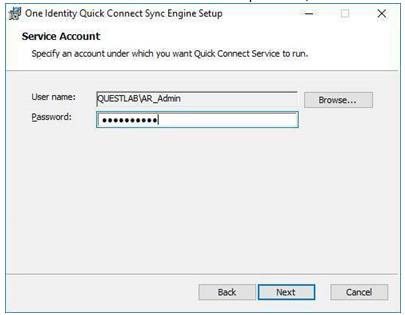 4.1.6.- Click Install
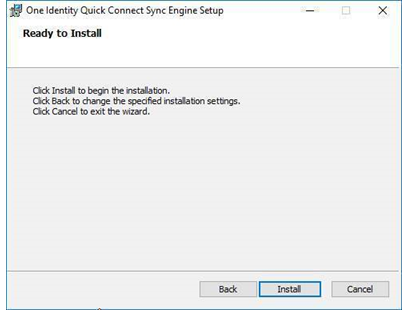 4.1.7.- The installation process will being
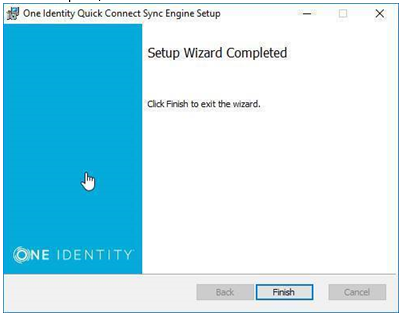
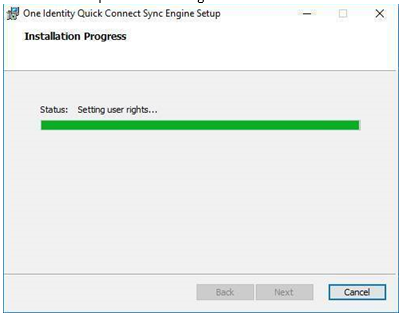 4.1.8.- When complete, click Finish
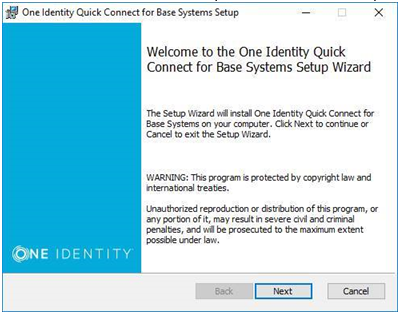
 4.2.- Install additional connector packs (IE Quick Connect for Base Systems)4.2.1.- Copy the Quick Connect for Base Systems software to the server4.2.2.- Run the QuickConnectForBaseSystems_x64.msi as an Administrator4.2.3.- On the Welcome to the One Identity Quick Connect for Base Systems Setup Wizard, Click Next
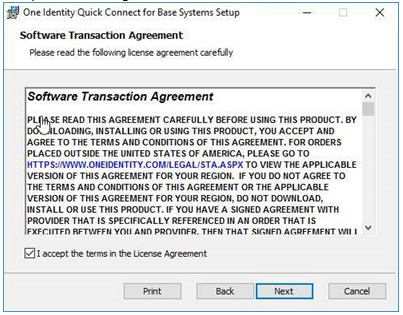
 4.2.4.- Accept the license agreement if you agree to the user agreement terms, and then click Next
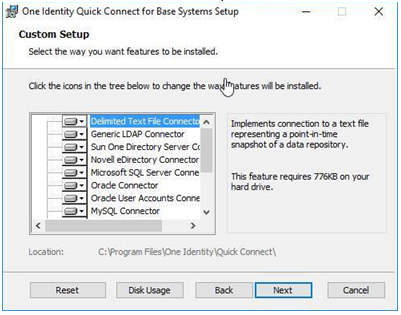
 4.2.5.- Select the features of the connector pack to be installed, then click Next
 4.2.6.- Click Install
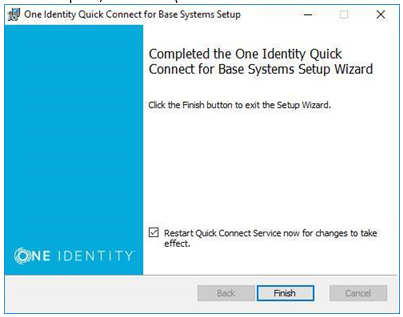
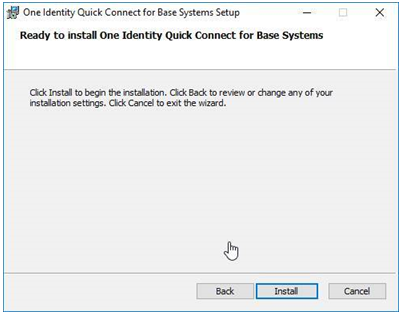 4.2.7.- When complete, click Finish (the service account will be restarted. The Quick Connect Admin Console will need to be closed and re-opened for the connectors to be visible)
 4.3.- Configure Quick Connect 5.5.0 with an New configuration4.3.1.- Open the Quick Connect Administration Console
 4.3.2.- On the Configuration Wizard select “New Configuration”
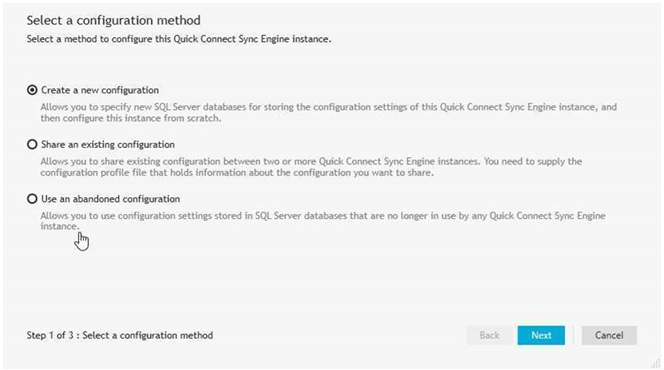 4.3.3.- Provide the SQL Server name and instance (as appropriate) and the new DB name
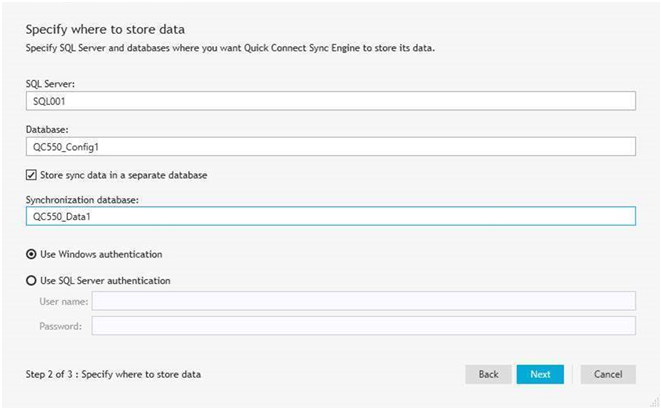 4.3.4.- Specify where the new configuration file should be saved to (and provide a password)
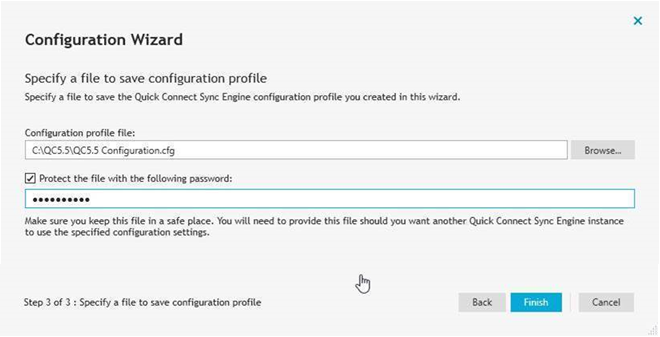 4.3.5.- Click Finish
 4.3.6.- Close the Quick Connect Admin Console
 4.4.- Import Configuration from Quick Connect 5.44.4.1.- Start the Quick Connect Configuration Import Wizard (from the start menu)

4.4.2.- Choose to import configuration from Quick Connect 5.4, and also choose to import Sync History
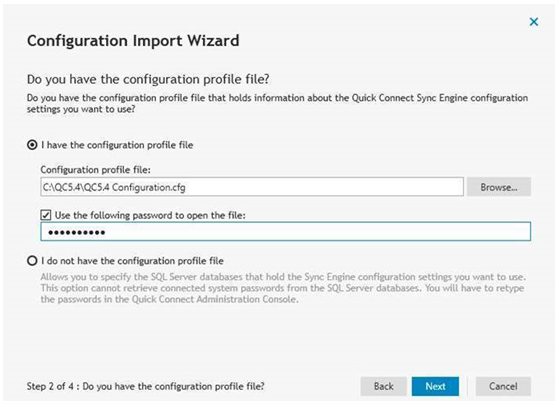
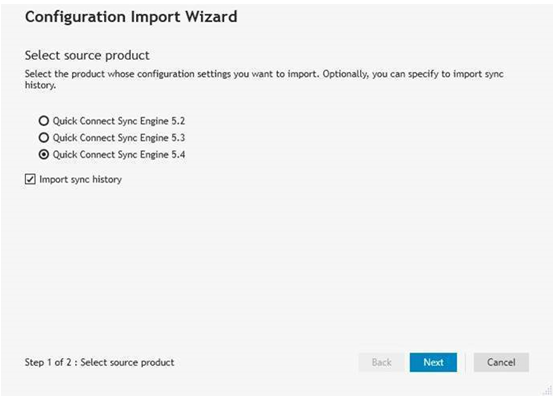 4.4.3.- Provide the path to the Quick Connect 5.4.0 configuration file exported in step 1, and provide its password
 4.4.4.- Review the SQL details for the old Quick Connect instance, then click “Start Import”
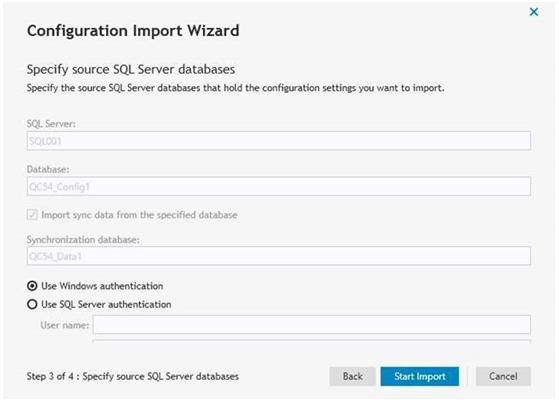 4.4.5.- One the import has completed, review the configuration import details, then click Finish
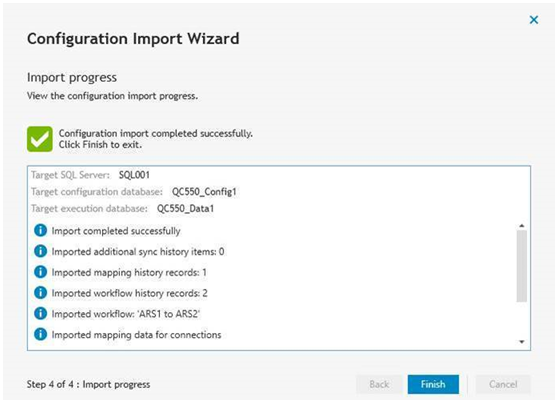 4.5.- Confirm configuration4.5.1.- Open the Quick Connect Console (if already open, close and re-open) and confirm configuration is present
 4.5.2.- Review the Connections, Mappings, Workflows, Password Sync and Sync History
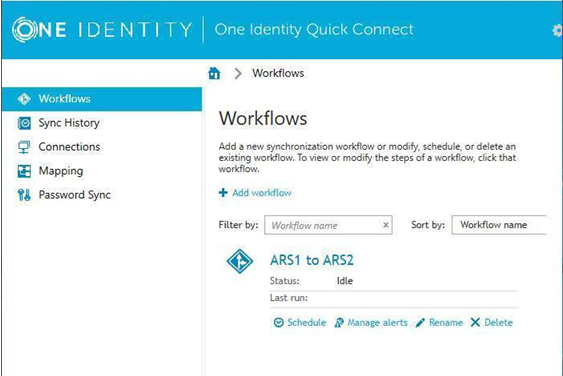 4.6.- Export the new Quick Connect 5.5.0 Configuration file4.6.1.- Open the Quick Connect Administration Console
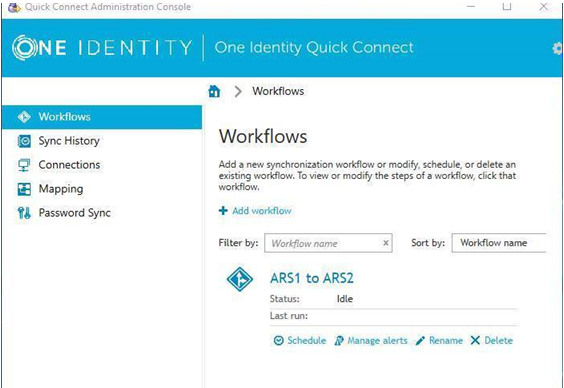 4.6.2.- Click the setting (cog) icon
 4.6.3.- Click the Export Configuration
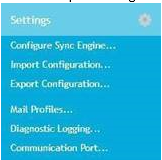 4.6.4.- Provide a path and file name within the Configure profile File field
 4.6.5.- Check the box to protect the file with a password, and provide a password
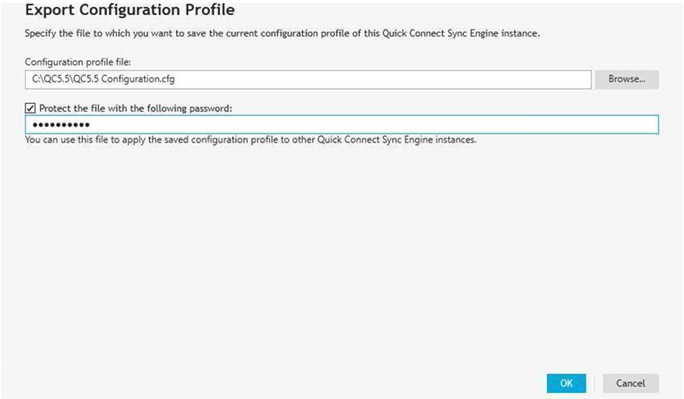 4.6.6.- Click Ok
 4.6.7.- Click Ok
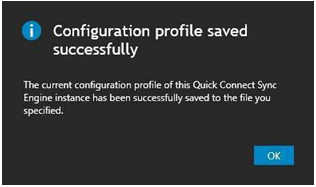 4.6.8.- Close the Quick Connect Administration Console
 5.- For any other Quick Connect services within the instance5.1.- install Quick Connect 5.5.0 as per the steps above in section 4.15.2.- Configure Quick Connect 5.5.0 with an existing shared configuration5.2.1.- Open the Quick Connect Administration Console
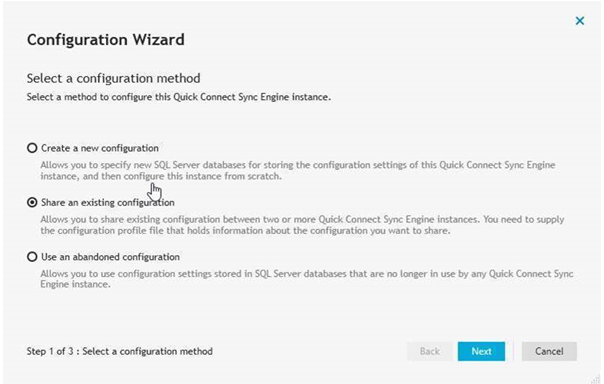
 5.2.2.- On the Configuration Wizard select “Share an existing configuration”
 5.2.3.- Provide a path and file name within the Configuration profile File field (as per path provided in step 4.6.5)
 5.2.4.- Check the box to protect the file with a password, and provide a password
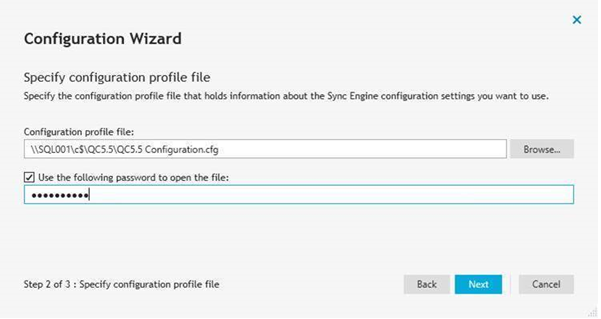 5.2.5.- Click Next
 5.2.6.- Review the database details then click Finish
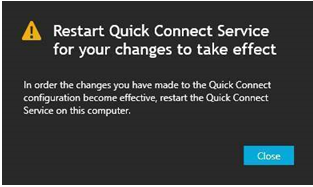
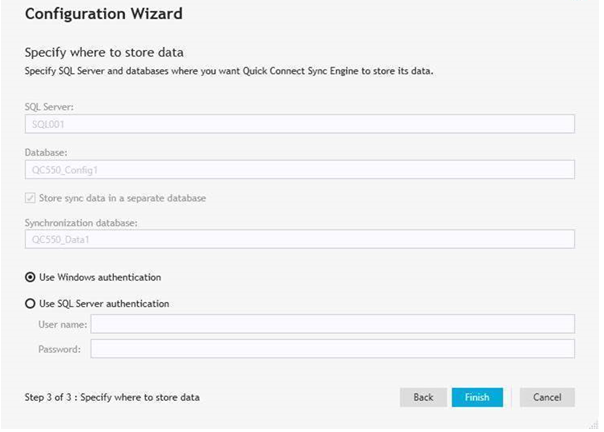 5.2.7.- The Quick Connect Service may need to restart, click Close
 5.2.8.- Close the Quick Connect Admin Console
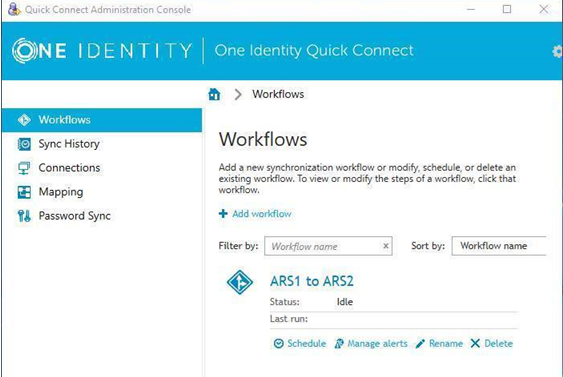
 5.3.- Confirm existing Configuration is preset5.3.1.- Open the Quick Connect Console (if already open, close and re-open) and confirm configuration is present
 5.3.2.- Review the Connections, Mappings, Workflows, Password Sync and Sync History
 6.- Once all instances are upgrade, review all workflow schedules to ensure that they have a server listed to run under.7.- Change the password on a test account which exists in the source domain and ensure it syncs to a target domains user object.
Note1: Before the install, it is recommended to check what connector packs have been installed previously, then download the latest version to ensure they are included when running the upgrade at point 4.2. Please contact Support if a connector pack is not listed on the support portal.Note2: The Capture Agent update step has not been included in this guide.
Note3: If you are using Active Roles 7.x, and are performing password sync (and do not have any connector packs other than base systems), it is recommended to upgrade to ARS Sync Services.
See below related KB articles:
KB article 306863 - QC 5.4 to 5.5 in-place upgrade to the existing DB
KB article 195652 - Disaster recovery and creation of a new Sync History database
KB article 178330 - How to move the Quick Connect database data from one SQL server to another SQL server using a new database
KB article 306984 - How to move the QuickConnect DB from one SQL server to another SQL server using the same DB -
Additional Information
There could be some downtime while the upgrade completes, above all when importing sync history records. In order to avoid any downtime, a new QC instance can be deployed, then the import tasks can be executed whilst the other QC is still online. Then switch over to the new instance, and decommission the old. This will mean new servers to be used for the new QC instance.
