
Importing the configuration of One Identity Safeguard for Privileged Sessions (SPS)
The configuration of One Identity Safeguard for Privileged Sessions (SPS) can be imported from the Basic Settings > System page. Use the respective action buttons to perform the desired operation.
You also have the option to import configuration of SPS from a local file using the console. For details, see Exporting and importing the configuration of One Identity Safeguard for Privileged Sessions (SPS) using the console.
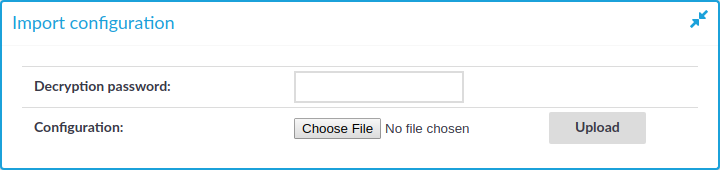
Figure 106: Basic Settings > System — Importing the SPS configuration
|
|
Caution:
It is not possible to import the configuration of an older major release (for example, 1.0) into a newer release (for example, 2.0). |

To import the configuration of SPS
-
Navigate to Basic Settings > System > Import configuration.
-
Click Browse and select the configuration file to import.
-
Enter the password into the Encryption password field and click Upload.
NOTE: One Identity Safeguard for Privileged Sessions (SPS) accepts passwords that are not longer than 150 characters. The following special characters can be used: !"#$%&'()*+,-./:;<=>?@[\]^-`{|}

Managing the One Identity Safeguard for Privileged Sessions (SPS) license
Information of the current license of One Identity Safeguard for Privileged Sessions (SPS) is displayed on the Basic Settings > System > License page. The following information is displayed:
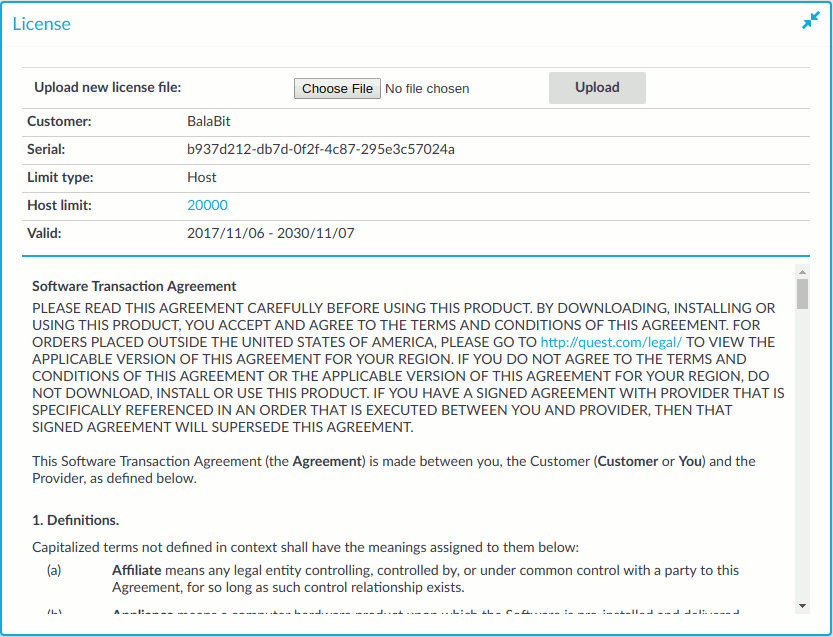
Figure 107: Basic Settings > System > License — Updating the license
-
Customer: The company permitted to use the license (for example Example Ltd.).
-
Serial: The unique serial number of the license.
-
Limit type:
-
Host: Limits the number of servers (individual IP addresses) that can be connected through SPS.
-
Session: Limits the number of concurrent sessions (parallel connections) that can pass through SPS at a time (for example 25). SPS will reject additional connection requests until an already established connection is closed.
-
-
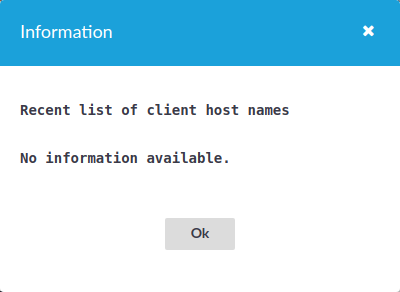
Limit: The actual value of the session or host limit. To list which hosts SPS counts against this limit, click the on the value of the limit.
-
Valid: The period in which the license is valid. The dates are displayed in YYYY/MM/DD format.
The full text of the End User License Agreement is also displayed here.
SPS starts sending automatic alerts daily, 60 days before the license expires. An alert is sent also when the number of protected servers exceeds 90% of the limit set in the license.
Updating the SPS license
The SPS license must be updated before the existing license expires or when you purchase a new license.
|
|
Caution:
Before uploading a new license, One Identity recommends that you backup the configuration of SPS. For details, see Exporting the configuration of One Identity Safeguard for Privileged Sessions (SPS). |
To update the license
-
Navigate to Basic Settings > System > License.
-
Click Browse and select the new license file.
NOTE: It is not required to manually decompress the license file. Compressed licenses (for example .zip archives) can also be uploaded.
-
Click Upload, then
.
-
Caution: This step terminates all controlled connections going through SPS. Disconnect your clients from the protected servers before proceeding.
To activate the new license, navigate to Traffic control > All services and click Restart.
Accessing the One Identity Safeguard for Privileged Sessions (SPS) console
The following topics describe how to use the console menu of One Identity Safeguard for Privileged Sessions (SPS), how to enable remote SSH access to SPS, and how to change the root password from the web interface.