
To configure a report, create a chapter and assign any of the existing subchapters to it. The following sources (statistics or other queries) are available as reporting subchapters:
-
The indexed contents of audit trails, as described in Indexing audit trails.
-
The statistics of an audit trail search, as described in Displaying statistics on search results.
To configure SPS to create custom reports
-
Login to the SPS web interface, and navigate to Reporting > Create & Manage Reports.
Figure 128: Reporting > Create & Manage Reports — Configuring custom reports
-
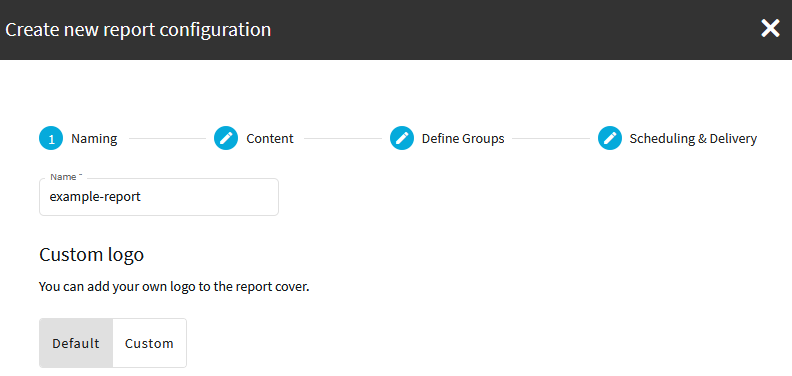
Click Create new report configuration and enter a name for the custom report.
Figure 129: Reporting > Create & Manage Reports — Configuring custom reports
If you want to have the logo of your organization on the cover page of the report (instead of the One Identity logo), select Custom, select your logo file, then click Upload. You can upload GIF, JPEG, and PNG images. SPS will automatically resize the image to fit on the cover page.
-
Select Create new chapter, enter a name for the chapter. Repeat this step to create further chapters if needed.
-
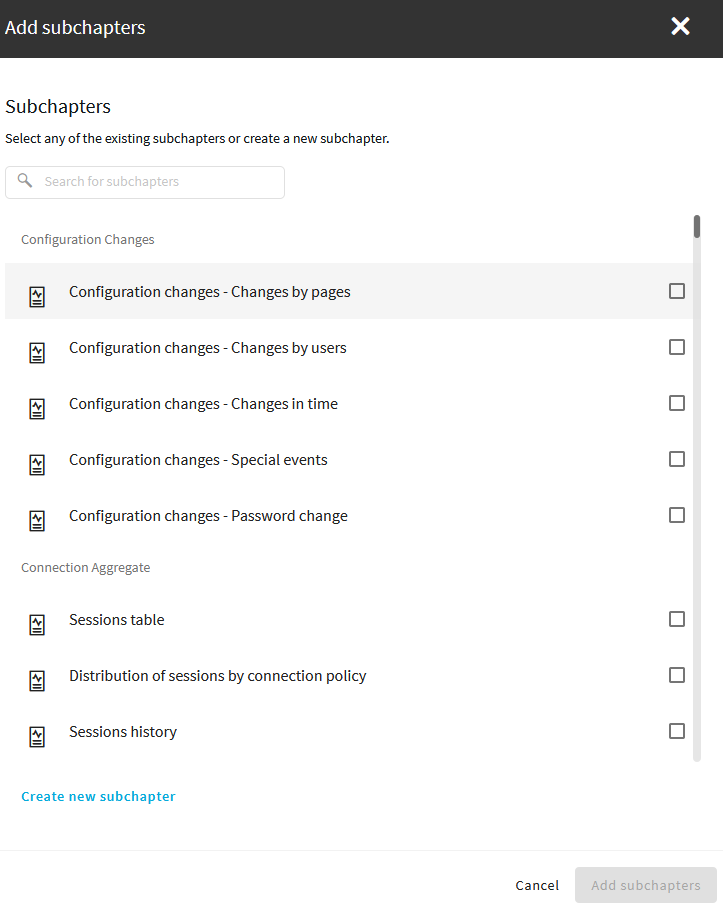
Select Add new subchapter to add various reports and statistics to the chapter. Select any of the existing subchapters or create a new subchapter.
Figure 130: Reporting > Configuration > Add new subchapter — Adding subchapters to reports
NOTE: When creating a subchapter that searches for keywords in HTTP, only the timestamp of the results will be visible in the report, without data.
-
Once selected, use drag and drop to change the order of the subchapters if needed.

-
By default, members of the report group can access the custom reports through the SPS web interface. To change this, enter the name of a different group into the Groups field.
NOTE: Members of the listed groups can access only these custom reports even if their groups do not have read access to the Reporting > Download reports page. However, only those reports will be listed, to which their group has access to.
-
Select how often SPS creates the report from the Scheduling field. Weekly reports are created on Mondays, while monthly reports on the first day of the month. If you want to create the report only manually, leave these fields empty.
-
By default, SPS sends out the reports in email to the address set in the Basic Settings > Management > Mail settings > Send reports to field.
NOTE: If this address is not set, the report is sent to the SPS administrator's email address.
-
To disable email sending, clear the Deliver in email option.
-
To email the reports to a different address, select Custom, and enter the email address where the reports should be sent. Click Add email to list multiple email addresses if needed.
-
-
Click Create report.