Obtaining a signed certificate
|
1 |
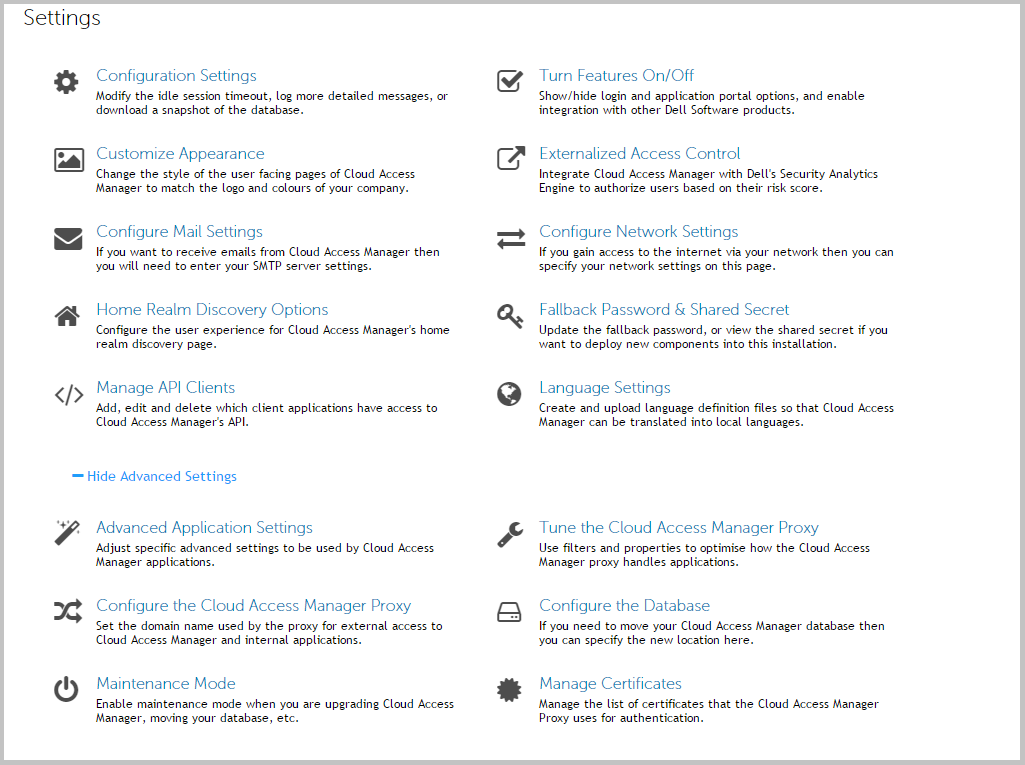
Log on to the Administration Console using the fallback login shortcut and navigate to the Settings page, then select Show Advanced Settings. |
|
2 |
|
3 |
The Certificates page is displayed. |
|
4 |
The proxy certificate is displayed at the top of the list of certificates with the alias this-server. After installation the proxy certificate is displayed as Self signed. If you do not already have a signed certificate to use for the proxy you will need to create a certificate signing request and submit it to your Certificate Authority. To do this, click Generate Key Pair and CSR.  |
|
5 |
Complete the Fully Qualified Server DNS Name field. This must match the wildcard DNS subdomain created for the Cloud Access Manager Proxy, for example, *.webapps.company.com. For further information, please refer to the Prerequisites section in the Dell™ One Identity Cloud Access Manager Installation Guide. |
|
6 |
If you want to specify additional information that will be displayed on your certificate, select the Supply Additional Certificate Information check box and complete the fields as required. |
|
7 |
Click Generate. |
|
8 |
When the certificate has been generated, click Download Certificate or copy and paste the information shown to a file. |

|
9 |
|
NOTE: If your Certificate Authority does not have a PKCS#7 complete chain option, select the option for a Tomcat Web Server certificate. |
|
11 |
If you downloaded the signed certificate in PKCS#7 format containing the complete chain, on the Certificates page, click Install CSR Reply. |
|
NOTE: Cloud Access Manager will only support base64 encoded certificates, with the exception of importing a PKCS12 for this-server, both .crt and .cer files can be either PEM encoded (base64) or DER encoded (raw binary file), Cloud Access Manager will only support them if they are PEM encoded. |
|
12 |
Click Save. When the certificate has been installed, it is displayed in the Certificates Alias list as signed.  |
Replacing an expiring certificate
Installing a fully signed certificate from a certificate archive file
Installing a certificate authority certificate
|
1 |
From the Certificates page, click Install Trusted CA Certificate, specify the certificate alias in the Certificate Alias field, click Browse to import the public certificate from a file. |
|
2 |
Click Save to install the certificate. |
|
NOTE: Dell™ One Identity Cloud Access Manager will only support base64 encoded certificates, with the exception of importing a PKCS12 for this-server, both .crt and .cer files can be either PEM encoded (base64) or DER encoded (raw binary file), Cloud Access Manager will only support them if they are PEM encoded. |

