The following describes how to assign an alias IP address to a network interface on Linux platforms.
To assign an alias IP address to a network interface on Linux platforms
-
Start a terminal console (for example, gnome-terminal, konsole, xterm, and so on).
-
Issue the following command as root:
ifconfig <ethX>:0 192.168.1.2
where <ethX> is the ID of the network interface of the client, usually eth0 or eth1.
-
Issue the ifconfig command. The <ethX>:0 interface appears in the output, having inet addr:192.168.1.2.
-
Issue the ping -c 3 192.168.1.1 command to verify that One Identity Safeguard for Privileged Sessions (SPS) is accessible. A similar result is displayed:
user@computer:~$ ping -c 3 192.168.1.1
PING 192.168.1.1 (192.168.1.1) 56(84) bytes of data.
64 bytes from 192.168.1.1: icmp-seq=1 ttl=63 time=0.357 ms
64 bytes from 192.168.1.1: icmp-seq=2 ttl=63 time=0.306 ms
64 bytes from 192.168.1.1: icmp-seq=3 ttl=63 time=0.314 ms

--- 192.168.1.1 ping statistics ---
3 packets transmitted, 3 received, 0% packet loss, time 2013ms
rtt min/avg/max/mdev = 0.306/0.325/0.357/0.030 ms
-
Open the page https://192.168.1.1 from your browser and accept the certificate shown. The Welcome Wizard of SPS appears.


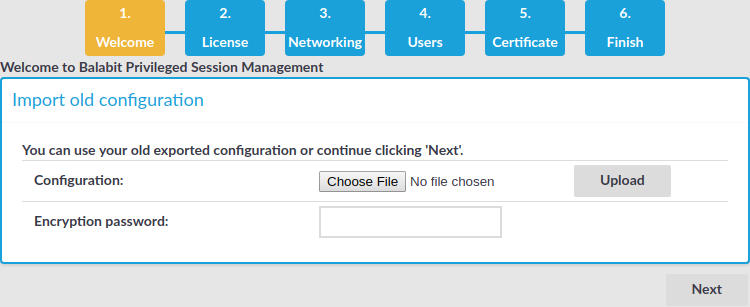
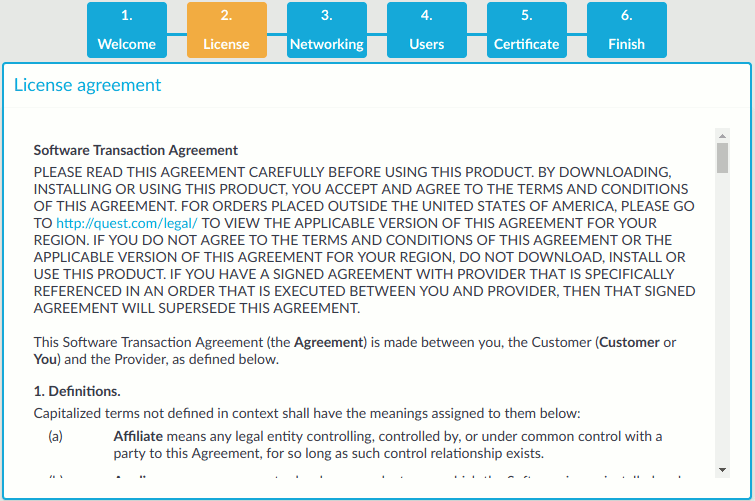
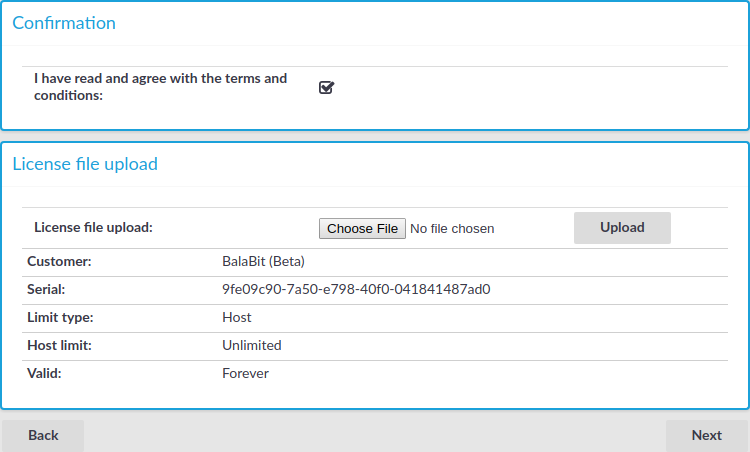
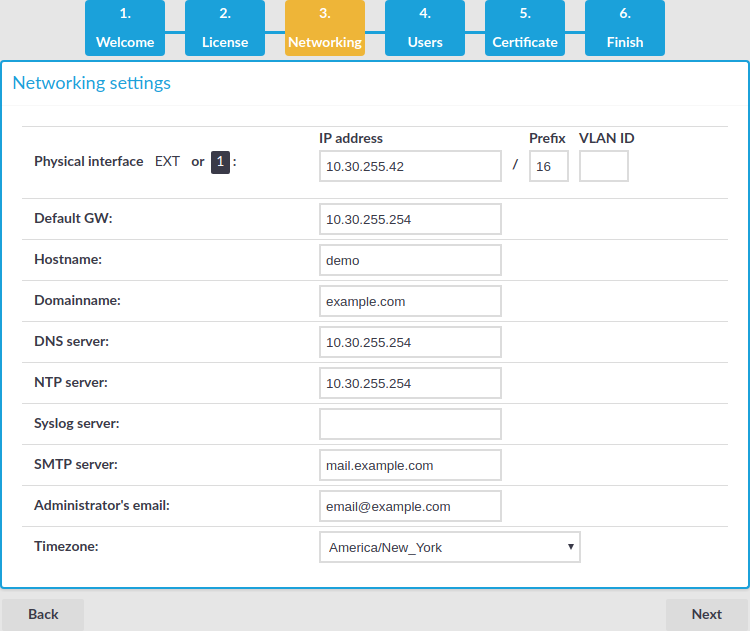

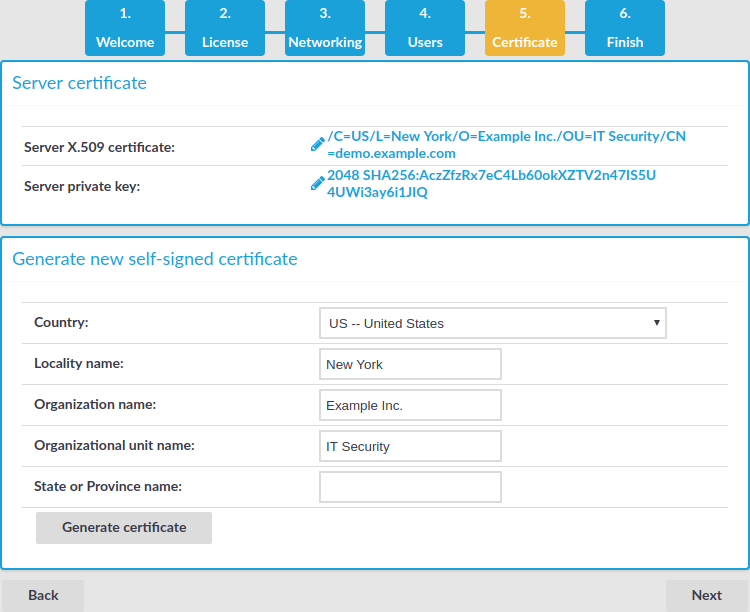
 to upload the certificate.


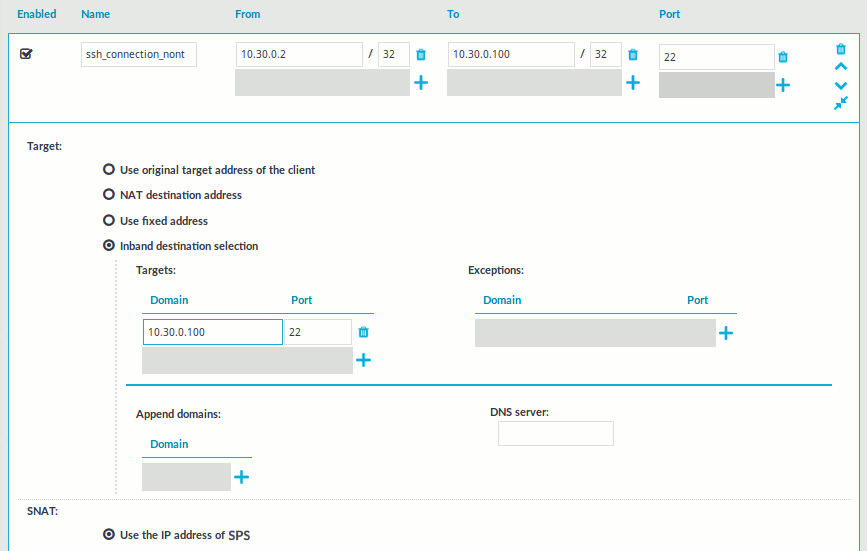
 icon on the right to create a new connection.

 .
.


 to display the details of the connection.
 to generate a video file from the audit trail you want to replay. Depending on the load of the indexer and the length and type of the audit trail, this can take several minutes.
 and
and  . You can use the
  . The
. The