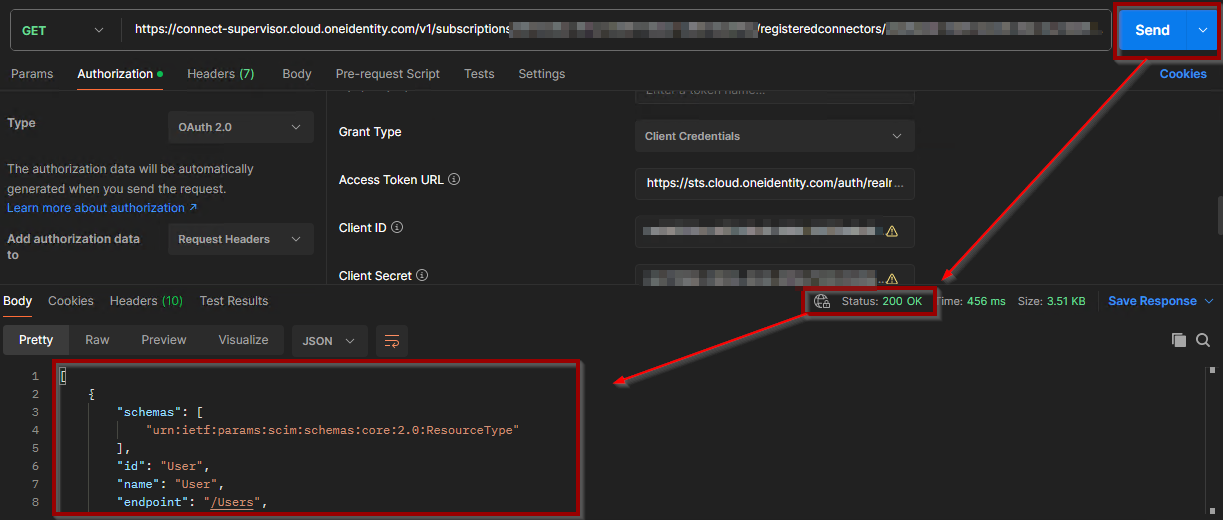
To test Postman against a Starling Connect connector:
1. Log into the Starling Connect platform:
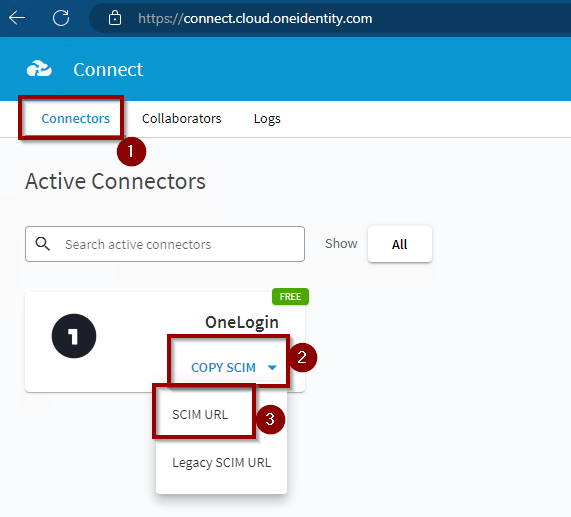
a. Connect.Cloud.Oneidentity.com
2. Under the "
Active Connectors" section, for the Connector to test click "
Copy SCIM" | "
SCIM URL".
3. Open Postman and paste the URL into the "
Enter URL or paste text" field by "
GET", and add "
/resourcetypes/" to the end of the URL.

4. Still in Postman, select the "
Authorization" tab and change the "
Auth Type" to "
Oauth 2.0" and the "
Add Authorization data to" field to "
Request Headers"

5. Scroll down in the "
Authorization" tab, and under the "
Configure New Token" change the "
Grant Type" to "
Client Credentials"

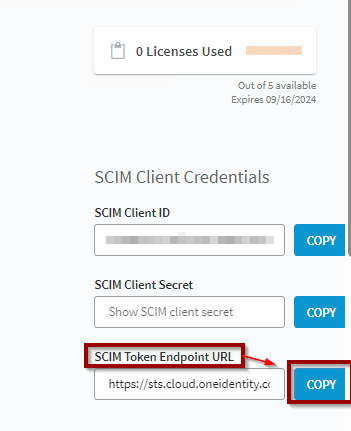
6. Back in the Connect portal, locate the "
SCIM Token Endpoint URL" field (on the right-hand side of the page) and click "
COPY"
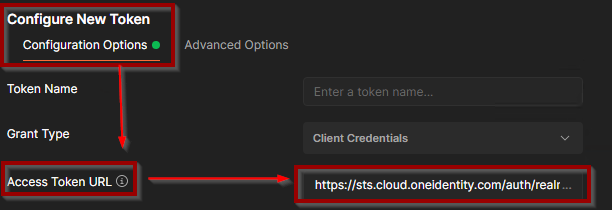
7. Back in Postman, paste the copied "
SCIM Token Endpoint URL" into the "
Access Token URL" field.
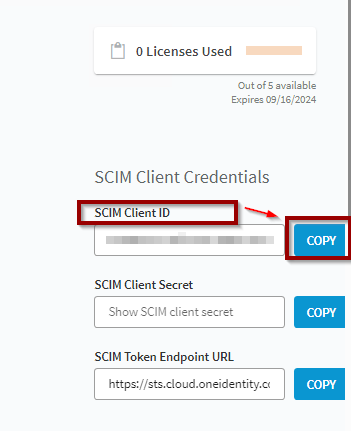
8. Back on the Connect page, now click "
COPY" for the "
SCIM Client ID"
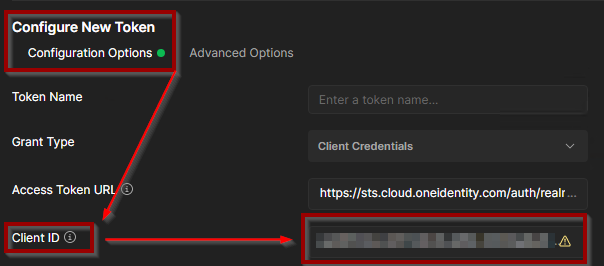
9. Back in Postman, paste the copied "
SCIM Client ID" into the "
Client ID" field.
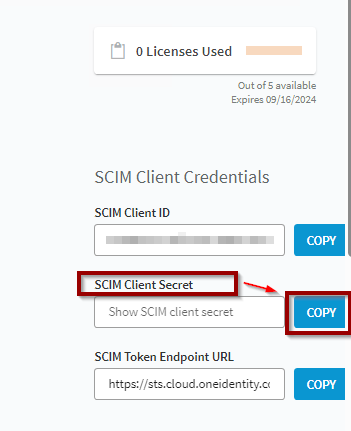
10. Back in the Connect portal, now click "
COPY" for the "
SCIM Client Secret"
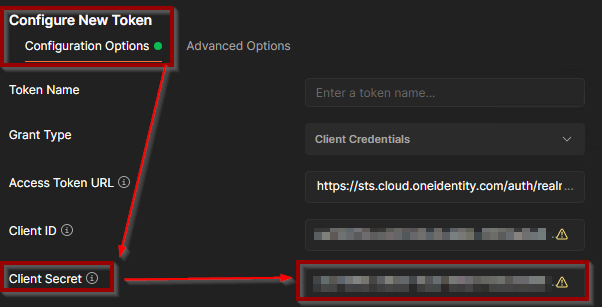
11. In Postman, paste the copied "
SCIM Client Secret" into the "
Client Secret" field.
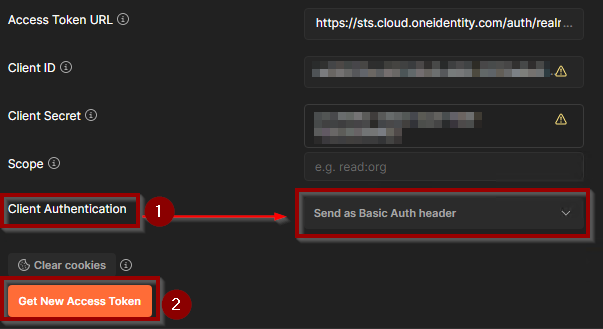
12. Ensure the "
Client Authentication" field is set to "
Send as Basic Auth Header" before scrolling down to click "
Get New Access Token"
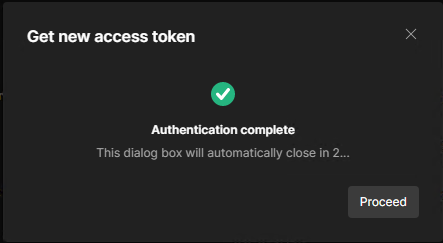
13. A popup should appear indicating success
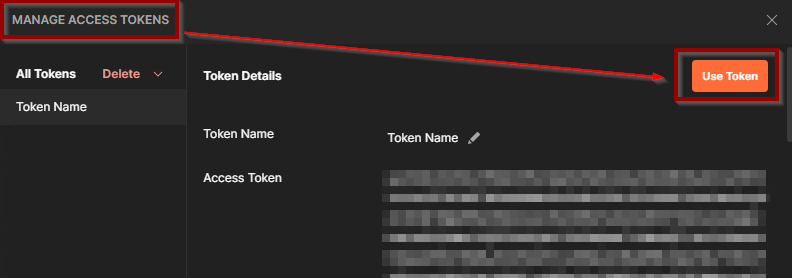
14. In the "
Manage Access Tokens" popup, click the "
Use Token" button
15. Click "
Send" by the URL.
16. Ensure that the Status returned "
200 OK" and view the "
Body" data returned.
