
The Rsync over SSH backup method connects the target server with SSH and runs the rsync UNIX command to copy the data to the remote server. syslog-ng Store Box (SSB) authenticates itself with a public key — password-based authentication is not supported.
|
|
Caution:
The backup server must run rsync version 3.0 or newer. |

To create a backup policy using Rsync over SSH
-
Navigate to Policies > Backup & Archive/Cleanup, and click
in the Backup policies section to create a new backup policy.
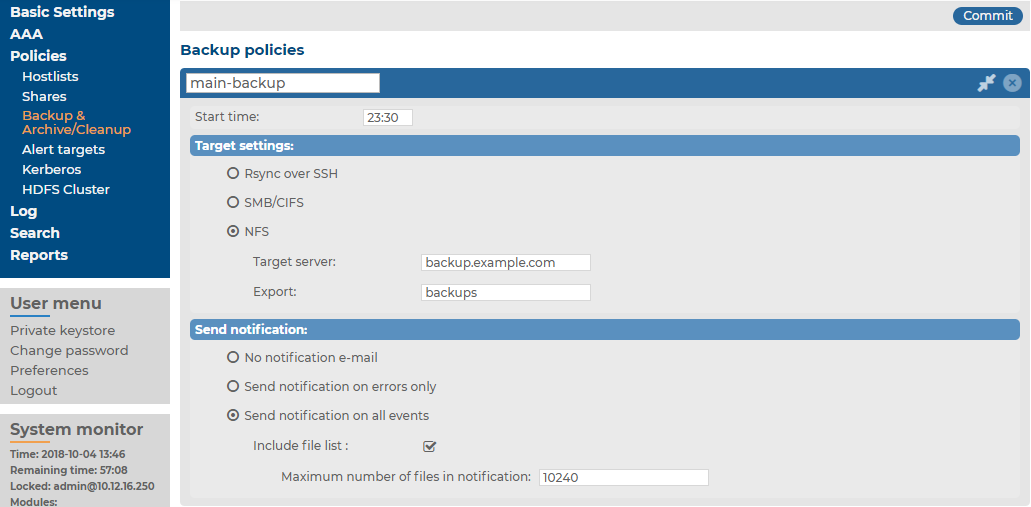
Figure 16: Policies > Backup & Archive/Cleanup > Backup policies — Configure backup
-
Enter a name for the backup policy (for example, main-backup).
-
Enter the time when the backup process should start into the Start time field, in HH:MM format (for example, 23:30).
-
Enter the IP address or the hostname of the remote server into the Target server field (for example, backup.example.com).
-
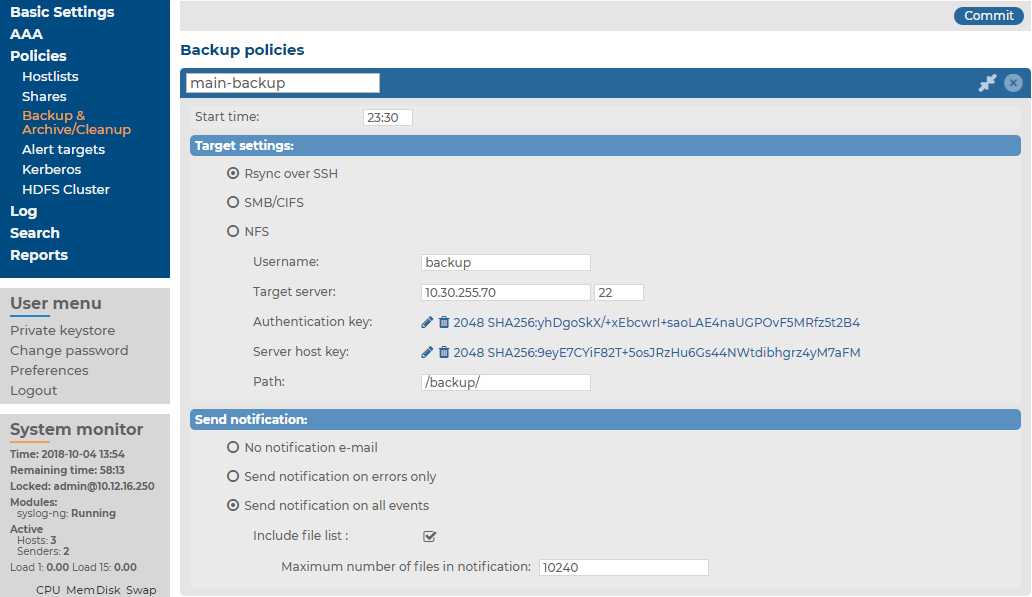
Select Rsync over SSH from the Target settings radio buttons.
Figure 17: Policies > Backup & Archive/Cleanup > Backup policies — Configure backup using rsync
-
Enter the username used to logon to the remote server into the Username field.
-
Click
in the Authentication key field. A popup window is displayed.
-
Generate a new keypair by clicking Generate or upload or paste an existing one. This key will be used to authenticate SSB on the remote server. The public key of this keypair must be imported to the remote server.
NOTE: The SSB currently generates an SSH RSA key with the size of 4096 bits (by default), or 2048 bits. The SSB can also generate an SSH Ed25519 key, which has a fixed size of 256 bits.
-
Click
-
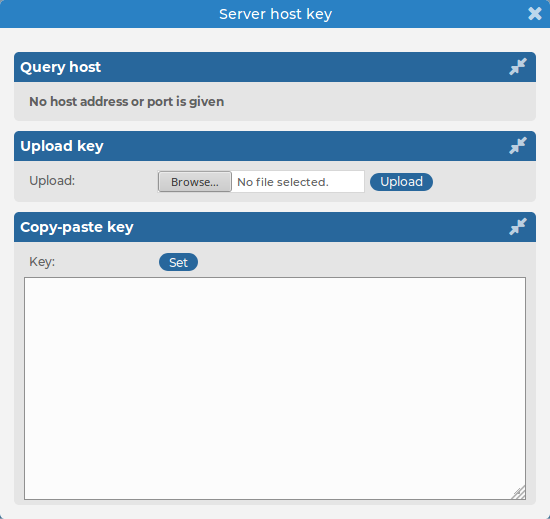
Click Query to download the host key of the server, or upload or paste the host key manually. SSB will compare the host key shown by the server to this key, and connect only if the two keys are identical.
Figure 18: Policies > Backup & Archive/Cleanup > Backup policies > Rsync over SSH > Server host key — Configure SSH keys
-
Enter the port number of the SSH server running on the remote machine into the Port field.
-
Enter the path to the backup directory on the target server into the Path field (for example, /backups).
SSB saves all data into this directory, automatically creating subdirectories for logspaces. As a result, the same backup policy can be used for multiple logspaces. To ensure that a restore can be performed even if the logspace has been renamed, the subdirectories are created using a persistent internal ID of the logspace. To facilitate manual debugging, a text file is also saved in the directory with the name of the logspace, containing the internal ID for the logspace. This text file is only provided for troubleshooting purposes and is not used by SSB in any way.
-
To receive e-mail notification of the backup, select the Send notification on errors only or the Send notification on all events option. Notifications are sent to the administrator e-mail address set on the Management tab.
To include the list of files in the e-mail, select Send notification on all events and enable the Include file list option. However, note that if list is very long, the SSB web interface might become unaccessible. In this case, set the Maximum number of files in notification lower. After this number has been reached, file names will be omitted from the notification.
NOTE: This e-mail notification is sent to the administrator's e-mail address, while the alerts are sent to the alert e-mail address (see Configuring system monitoring on SSB)..
-
Click
.
-
To assign the backup policy to a logspace, see Creating data backups.