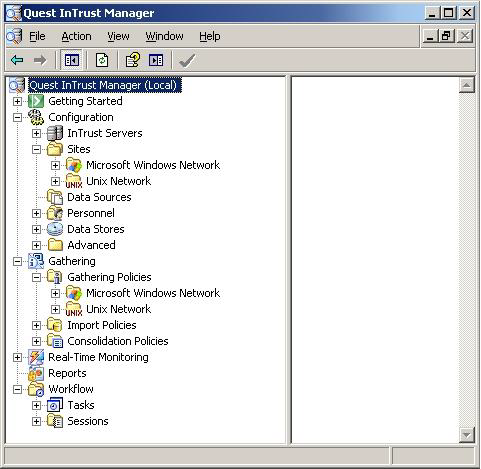
The general concept behind the InTrust server is that you configure a number of objects individually to perform a specific part of the data gathering process. These objects are then combined to form a work flow system. These are the objects you need to configure to complete a simple data gathering work flow:
- Configuration | Sites: Contains a list of Privilege Manager for Unix policy servers from which the gathering process gathers data.
- Configuration | Data Sources: Stores details about the data source format.
- Gathering | Gathering Policies: Specifies which data source to use.
- Workflow | Tasks: A task contains a list of jobs, each of which specifies the frequency at which to gather data according to a particular gathering policy.
- Configuration | Data Stores: Database or InTrust Repository that stores the imported data.
You can either manually create these objects or import them from the Privilege Manager for Unix Knowledge Pack.
To import these objects
-
Run the InTrustPDOImport import utility:
InTrustPDOImport.exe -import <object>
The import utility is located by default in:
<install location>\Quest Software\InTrust\Server\ADC\SupportTools
-
Once you have imported the objects, add the list of Privilege Manager for Unix policy servers to the site object.
For more information about importing objects, refer to the InTrust Creating Custom Data Collection documentation.
Once configured, the InTrust server objects can gather the data.
By default the Privilege Manager for Unix gathering task provided in the knowledge pack retrieves event log data on a daily basis. However, you can customize this setting in the Gathering Policy.
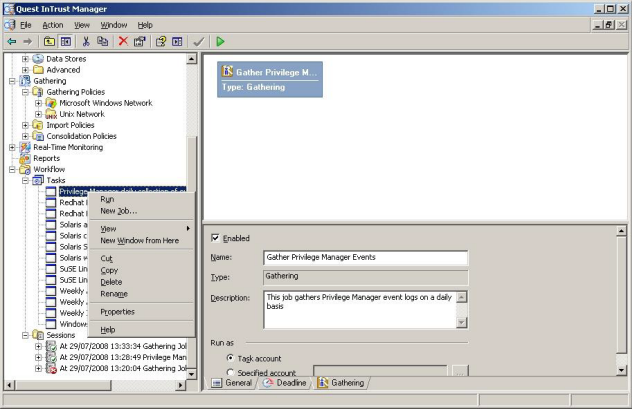
One Identity recommends that you verify the gathering process by running the task manually.
To run the gathering process manually
- In the Quest InTrust Manager, navigate to Workflow | Tasks.
- Right-click the Privilege Manager for Unix task and select Run.
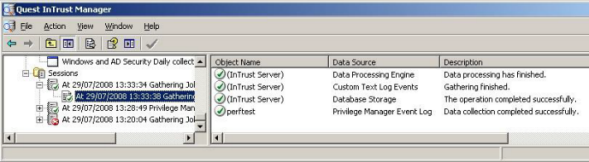
The details of a gathering job are recorded in Workflow | Sessions, accessible by means of the tree view.
The example below shows the result of a successful job.
To help you troubleshoot, One Identity recommends the following resolutions to some of the common problems you might encounter as you deploy and use Privilege Manager for Unix.
To view debug information for profile-based policy, set the value for the pf_tracelevel variable either globally in global_profile.conf, or in an individual profile.
To set the pf_tracelevel variable in the profile
- Enable the pf_tracelevel option. For example:
# Variable: pf_tracelevel: Enables tracing/debugging output at different levels:
# 1:show reason for reject, 2: verbose output, 3: show debug trace
pf_tracelevel=2;
- To view the trace output, run a command with pmrun, like this:
$ pmrun id
********************************************************************
** One Identity Privilege Manager for Unix Version 6.0.0 (006) **
** This request is being authorized on master :<HostName>
** User "luser" has submitted a request from host "<HostName>"
** to run the command "id"
********************************************************************
   User : luser
   Host : <HostName>
   Command : id
* Check profile:profiles/admin.profile
** Profile:admin does not match user
** Profile:admin does not match UNIX group
** Profile:admin does not match AD group list
* Check profile:profiles/demo.profile
** Validate command:id
** Profile:demo cmd[0] matches command:id Request accepted by the "demo" profile

All interactions with this command will be recorded in the file:
   /var/opt/quest/qpm4u/iolog/demo/luser/id_20121023_1038_qu3zcf

Executing "id" as user "root" ...
********************************************************************************

uid=0(root) gid=0(root) groups=0(root)
Technical Support may ask you to create a trace file when you run a program by using the -z option. The -z option enables tracing on a specific program or currently running process.
To display program-level tracing
- Run a program with the -z option, like this:
# <CommandName> -z on
The -z option creates a <CommandName>.ini file which then creates a <CommandName>.trc file when you run the command. The .trc file contains the debug information. Both the .ini and the .trc files are created in the /tmp directory.
- Once you have finished getting the trace output you need, run the program with the -z off option so the log will not continue to grow.
