
Authenticating users with X.509 certificates
One Identity Safeguard for Privileged Sessions (SPS) provides a method to authenticate the users of the web interface with X.509 client certificates. The client certificate is validated against a CA list, and the username is exported from the client certificate for identification. One Identity recommends using 2048-bit RSA keys (or stronger).
To authenticate SPS users on the SPS web interface with X.509 client certificates, complete the following steps.
Prerequisites
-
You will have to upload the CA certificates that issued the certificates of the users, so this CA certificate must be available on your computer in PEM format.
-
The certificates of the users must contain the username used to authenticate on SPS. You must know which certificate field will contain the usernames (for example, CN or UID).
-
The certificates must be imported into the browsers of the users. SPS offers the possibility to authenticate with a certificate only if a personal certificate is available in the browser.
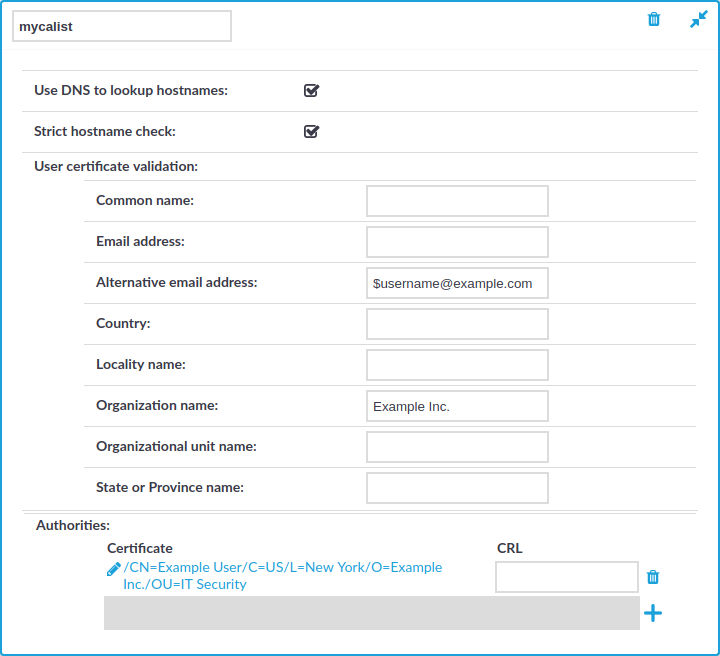
Figure 73: Policies > Trusted CA Lists — Creating Trusted CA lists
To authenticate users with X.509 certificates
-
Navigate to Policies > Trusted CA Lists and create a Trusted CA List.
-
If the user certificates contain the username in the Common Name field, make sure that the Strict Hostname Check is disabled.
-
Upload the CA certificate.
-
Adjust other settings as needed. For details on creating a trusted CA list, see Verifying certificates with Certificate Authorities.
-
Click
.
-
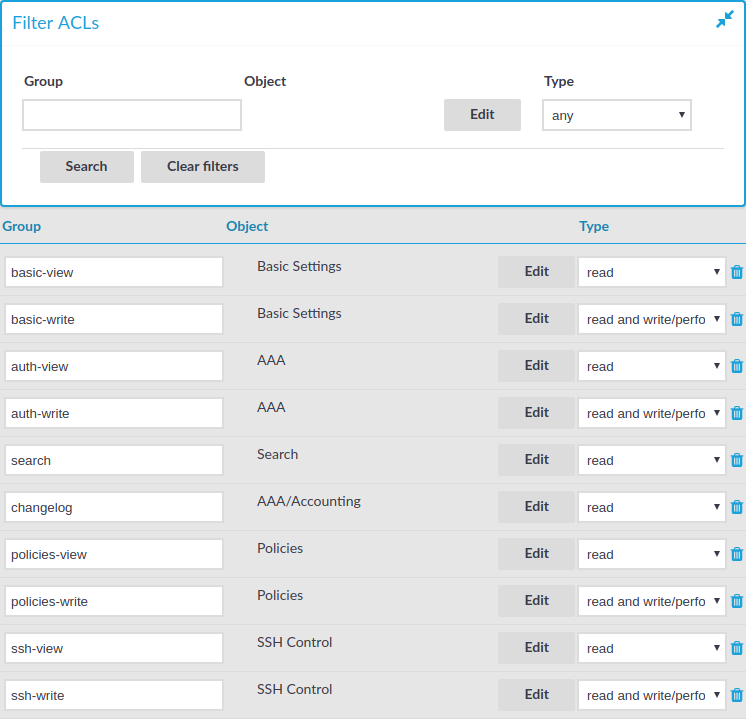
Navigate to AAA > Settings > Authentication settings.
Figure 74: AAA > Settings > Authentication settings — Configuring X.509 authentication
-
Select X.509.
-
Select the trusted CA list created in the first step in Authentication CA.
-
Select which field of the user certificate contains the username in the Parse username from field. In most cases, it is the commonName or userid field, but SPS supports the emailAddress and userPrincipalName fields as well.
-
To allow the admin user to be able to log in without using X.509 authorization, select Enable fallback for admin. This will fallback to password authentication.
-
Click

Managing user rights and usergroups
In One Identity Safeguard for Privileged Sessions (SPS), user rights can be assigned to usergroups. SPS has numerous usergroups defined by default, but custom user groups can be defined as well. Every group has a set of privileges: which pages of the SPS web interface it can access, and whether it can only view (read) or also modify (read & write/perform) those pages or perform certain actions.
|
|
NOTE:
Every group has either read or read & write/perform privileges to a set of pages. |

-
For details on assigning privileges to a new usergroup, see Assigning privileges to usergroups for the One Identity Safeguard for Privileged Sessions (SPS) web interface.
-
For details on modifying existing groups, see Modifying group privileges.
-
For details on finding usergroups that have a specific privilege, see Finding specific usergroups.
-
For tips on using usergroups, see Using usergroups.
-
For a detailed description about the privileges of the built-in usergroups, see Built-in usergroups of One Identity Safeguard for Privileged Sessions (SPS).
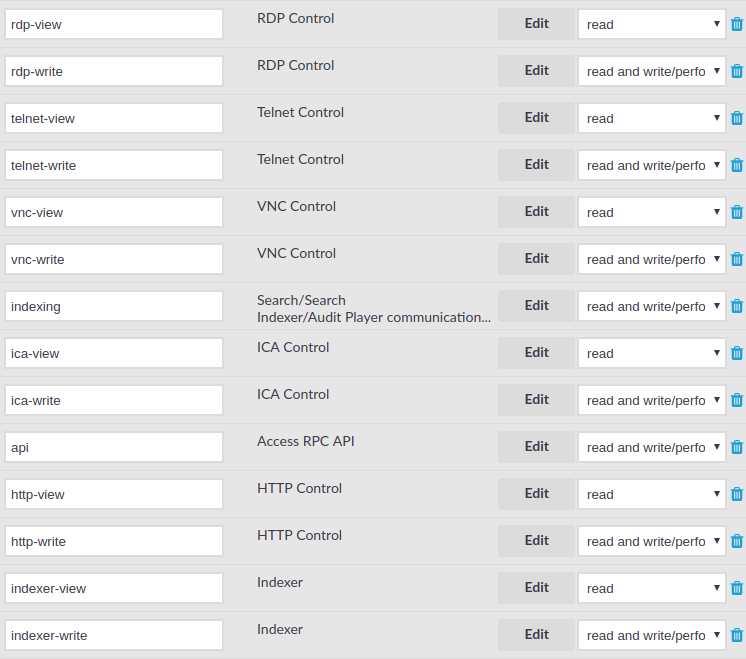
Figure 75: AAA > Access Control — Managing SPS users
Assigning privileges to usergroups for the One Identity Safeguard for Privileged Sessions (SPS) web interface
The following describes how to assign privileges to a new group.
To assign privileges to a new group
-
Navigate to AAA > Access Control and click
.
-
Find your usergroup. If you start typing the name of the group you are looking for, the autocomplete function will make finding your group easier for you.
-
Click Edit located next to the name of the group. The list of available privileges is displayed.
-
Select the privileges (that is, the pages of the One Identity Safeguard for Privileged Sessions (SPS) interface) to which the group will have access and click Save.
NOTE: To export the configuration of SPS, the Export configuration privilege is required.
To import a configuration to SPS, the Import configuration privilege is required.
To update the firmware and set the active firmware, the Firmware privilege is required.
-
Select the type of access (read or read & write) from the Type field.
-
Click
Modifying group privileges
The following describes how to modify the privileges of an existing group.
To modify the privileges of an existing group
-
Navigate to AAA > Access Control.
-
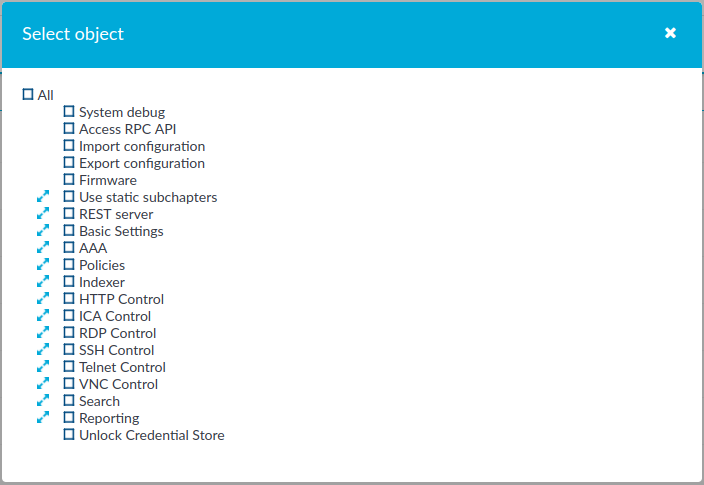
Find the group you want to modify and click Edit. The list of available privileges is displayed.
-
Select the privileges (pages of the One Identity Safeguard for Privileged Sessions (SPS) interface) to which the group will have access and click Save.
Figure 76: AAA > Access Control > Edit — Modifying group privileges
Caution: Assigning the Search privilege to a user on the AAA page automatically enables the Search in all connections privilege, and grants the user access to every audit trail, even if the user is not a member of the groups listed in the Access Control option of the particular connection policy.
-
Select the type of access (read or read & write) from the Type field.
-
Click

The admin user is available by default and has all privileges. It is not possible to delete this user.