Object property pages
Property pages are used in the Web Interface to modify directory objects. The following figure gives an example of the property page that appears when you select a user account from the list of objects and click General Properties in the Command pane.
Figure 1: Object Property page
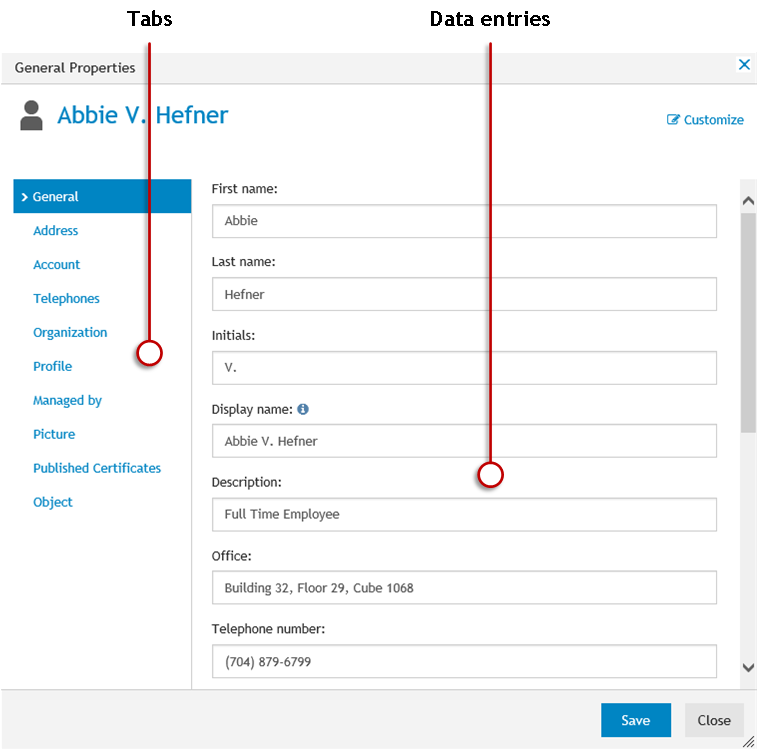
The property page consists of several tabs. Each tab provides a number of data entries allowing you to view or change certain properties of the directory object. Click a tab to access the data entries on that tab. To apply the changes you have made in the data entries, click the Save button.
Active Roles Admin can use the Customize link in the upper right corner of the page to add or remove data entries or entire tabs from the property page. The Customize link is not displayed unless you are logged on as a member of the Active Roles Admin account, which specified in the configuration settings of the Active Roles Administration Service.
Notification and Feedback
Notification and Feedback
On the upper right corner, you can view the Feedback option, Active Roles drop-down menu, and a Notification icon.
- Feedback option: Allows you to provide product feedback.
- Active Roles drop-down menu: Allows you to know more about the new features in the current version, access online-help, and configure settings.
- Notification icon: Allows you to view the notifications.
Managing the list of objects
The list of objects in the Web Interface has a number of features that help you locate the objects you target. Thus, you can sort objects in a list and apply a filter to a list. You can also add or remove list columns.
Sorting and filtering the list of objects
The Web Interface allows you to set a sort order and apply a filter in the list of objects.
To sort the list of objects by name
- Click the Name column heading once or twice to sort the list by object name in ascending or descending order. An arrow in the column heading indicates the sort order.
You can also sort the list by other columns. Click a column heading to change the sort order. For instructions on how to add or remove columns, see Adding or removing columns from the list of objects later in this document.
To filter the list of objects
- To filter the list by naming properties, type in the Filter field on the Toolbar and then press Enter or click the button next to the Filter field. As a result, the list includes only the objects whose naming properties match what you typed. The naming properties include name, first name, last name, display name, and logon name.
- To filter the list by other properties, click the button on the right side of the Toolbar to expand the Toolbar, click Add criteria, choose the properties by which you want to filter, click Add, and then configure the criteria as appropriate. When finished, press Enter or click the button next to the Filter field on the Toolbar. As a result, the list includes only the objects that match the criteria you configured.
After you have applied a filter, the list includes only the objects that match the filter. For example, you can type a few characters in the Filter field on the Toolbar and then press Enter to view only the objects whose name starts with the characters you typed.
To remove the filter and restore the original list of objects
- If you did not add criteria, clear the Filter field on the Toolbar and then press Enter; otherwise, expand the Toolbar, click Clear all, and then press Enter.
