Support hotfixes
This section describes support hotfixes and their installation in One Identity Safeguard for Privileged Sessions (SPS).
Support hotfixes are official additions (signed .deb packages created by the Support Team) to a specific SPS release. By uploading a hotfix to an SPS appliance, it is possible to apply a modification (for example, a bugfix) quickly and without making the firmware Tainted. The hotfix files only work with the version of SPS they are created for.
You can upload the hotfix file you received from our Support Team in the SPS user interface.
|
|
Caution:
Consider the following:
If you have to delete an individual hotfix file from SPS without installing a new firmware first, contact our Support Team. |

Installing support hotfixes
This section describes the most important requirements and information regarding the installation procedure of support hotfixes.
Prerequisites
The hotfix files are normally not publicly accessible for download (unless attached to Knowledgebase Articles). As a result, if you want to install them to your SPS, you must first contact our Support Team for a hotfix file specifically created for your request. Consider that you cannot delete the installed hotfix file from SPS without the Support Team's assistance. In addition, rebooting the SPS appliance after deleting an installed hotfix is necessary. We strongly recommend that you only install hotfixes to SPS if you contact our Support Team for instructions beforehand.
|
|
NOTE:
The hotfix files only work with the version of SPS they are created for. SPS automatically checks their version during upload. |

To install the support hotfix file
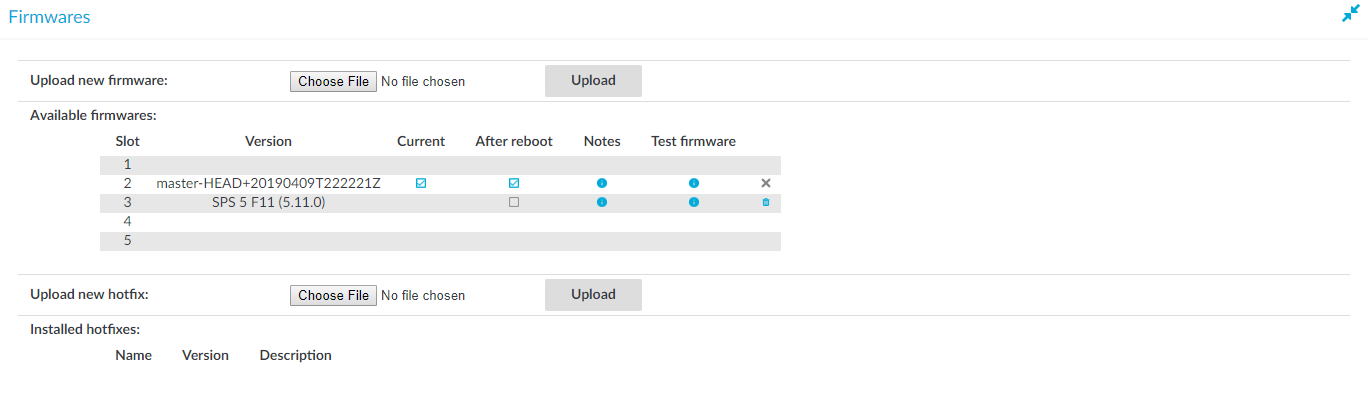
- Navigate to Basic Settings > System > Firmwares.
Figure 288: Uploading a hotfix file in the SPS user interface
- Under the Upload new hotfix: section, click Choose File and select the hotfix file you want to upload.
-
Click Upload.
Caution: Consider the following:
- Clicking Upload immediately installs the hotfix to SPS.
- Installing multiple hotfix files to a single configuration of SPS is possible, but you cannot delete an individual hotfix file from SPS without the Support Team's assistance.
- Installing a new firmware will delete all hotfix files installed on the previous version of SPS.
If you have to delete an individual hotfix file from SPS without installing a new firmware first, contact our Support Team.
-
If installation is successful, SPS will list information about the hotfix under Installed hotfixes:, such as Name, Version and Description.
NOTE: Upload will fail in the following cases:
- The hotfix file version does not pass the version check.
- The hotfix file package is not properly signed by our Support Team.
- The file you want to upload is not an appropriate .deb package or the file is corrupted.
If upload fails, SPS will revert to its previous state automatically.