Testing Office 365
To test Microsoft Office 365
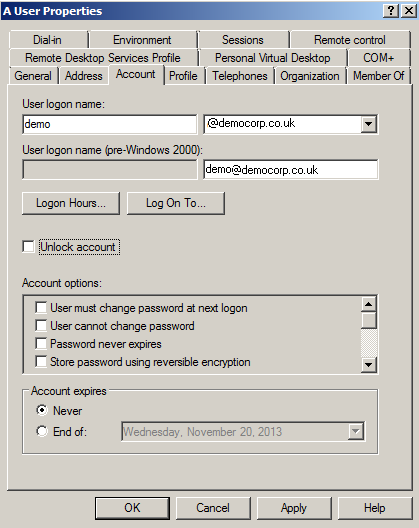
- Create a new user in Active Directory.
-
Set the new user's User Principal Name (UPN) suffix to be your Office 365 domain.
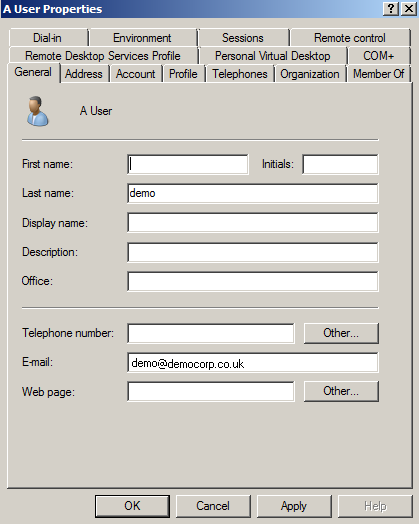
-
Make sure that the user has an email address defined within the Office 365 domain.
- Log in to Windows as the new user.
- Access Cloud Access Manager using Internet Explorer.
-
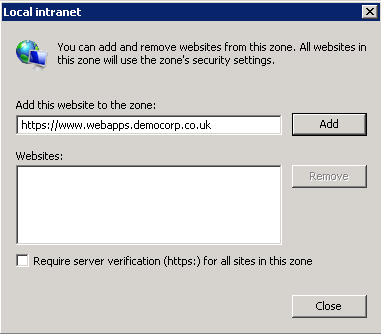
Add Cloud Access Manager to the Internet Explorer Local intranet zone.
-
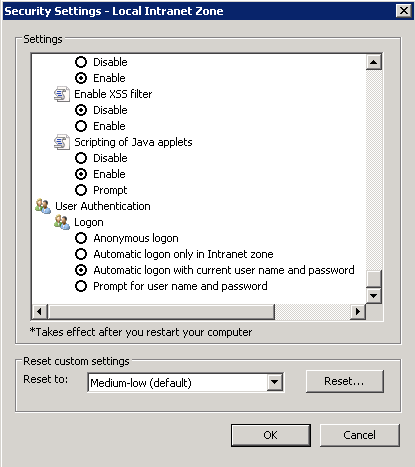
On the Security Settings - Local Intranet Zone page, make sure that Automatic logon with current user name and password is selected.
- Close Internet Explorer.
- Check that you can access Cloud Access Manager without providing a username and password.
Adding Microsoft Outlook to the Cloud Access Manager applications portal
To add Microsoft Outlook to the Cloud Access Manager applications portal
- Log in as the new user and log in to Cloud Access Manager.
- Add Outlook to the portal using the applications catalog.
- Return to the Cloud Access Manager applications portal and click Outlook to verify that this button opens the Web version of Outlook.
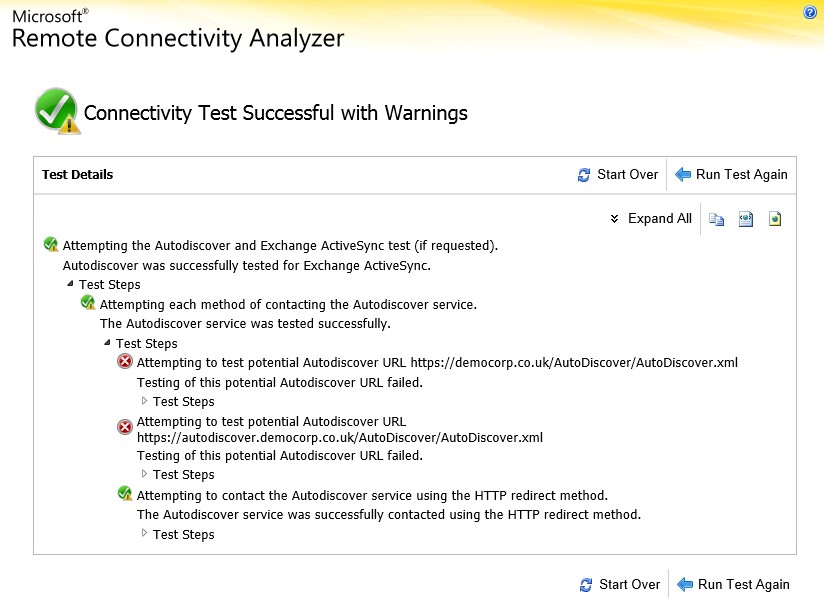
-
Run the Outlook connectivity test as the new user. You will see results similar to those on the Microsoft Remote Connectivity Analyzer page shown below. At least one auto discovery method must be successful.
- Start the desktop version of Outlook 2013.
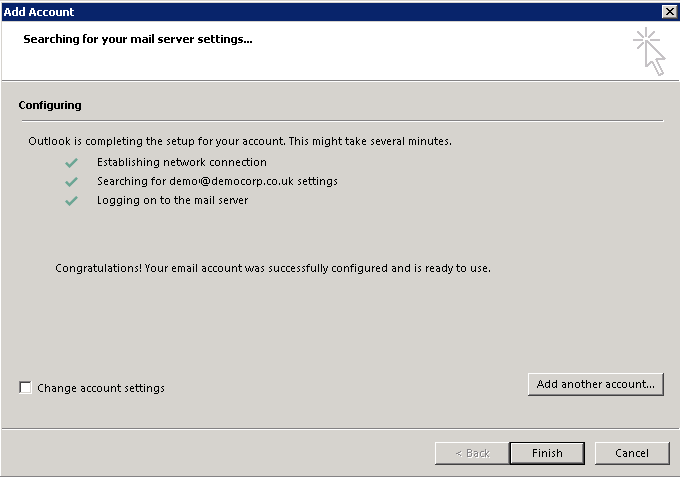
-
Follow the Add Account wizard to set up a new account based on the user's detected email address.
NOTE: You may be prompted for the user's credentials more than once. Select Remember password.
- When Outlook is open, select the bottom-right status bar to view any connectivity errors.
- To check that the address book is working, send an email to the user by entering their full name, not their email address. Check that the user receives the email.

Using Microsoft Lync
To add Microsoft Lync to the Cloud Access Manager applications portal
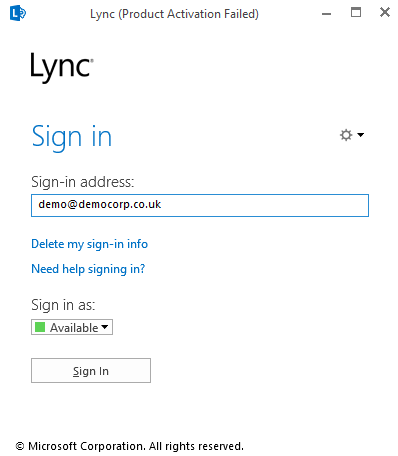
- Open the desktop version of Microsoft Lync.
-
If you are using a computer that is a member of a domain, enter your user name in the sign-in address. There is no need to enter your password.
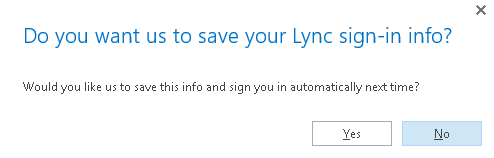
NOTE: If you are using a computer that is not a member of a domain, enter your user password, and select the Save my password box and click Yes to save the sign-in information for next time.
- To confirm connectivity with Microsoft Exchange Server, check that the meeting icon is displayed in the top left corner of the Lync dialog box shortly after log in. If a user is not currently signed in to Outlook, they will be prompted for their Exchange credentials. This is true for both domain and non-domain joined users.

Adding Microsoft SharePoint to the Cloud Access Manager applications portal
This section describes how to add Microsoft SharePoint to the Cloud Access Manager applications portal and how to configure it to work with Microsoft Word. You can also use these instructions to configure Microsoft Excel and PowerPoint with SharePoint.
To add Microsoft SharePoint
- Add SharePoint to the portal using the applications catalog.
- Return to the portal and click SharePoint to verify that the new button opens the SharePoint Team Site.
- Add a new Word document or open an existing Word document, and verify that it opens in the web version of Word.
-
Click Edit Document, then Edit in Word.
-
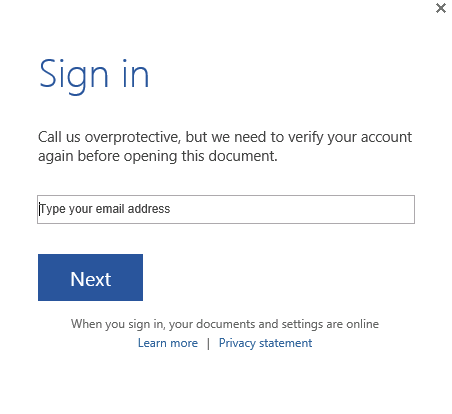
The desktop version of Word opens and you are prompted to enter the user’s Office 365 email address.
-
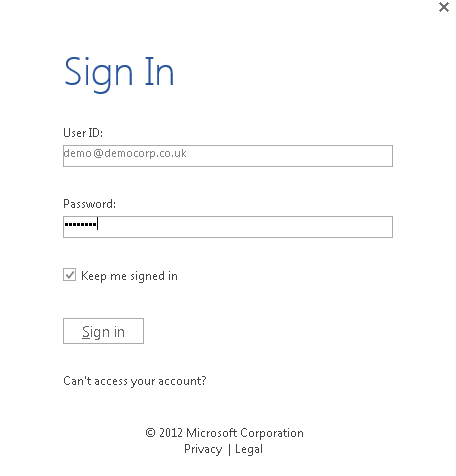
Next, you are prompted to enter the user’s password. Be sure to select the Keep me signed in box.
- Verify that you can open, edit and save the document correctly.