To configure a Property Generation and Validation policy, select Property Generation and Validation on the Policy to Configure page in the New Provisioning Policy Object wizard or in the Add Provisioning Policy wizard. Then, click Next to display the Controlled Property page:
Figure 31: New provisioning policy object wizard
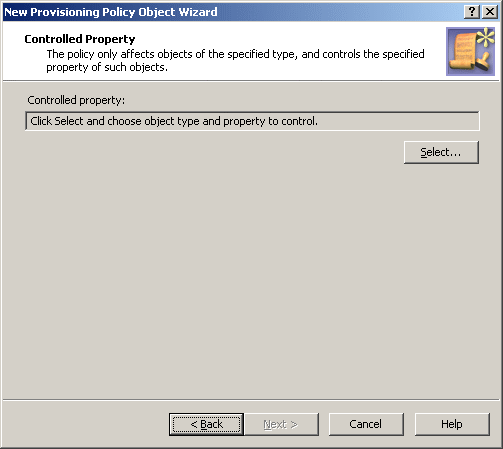
Click Select to choose the object type and object property you want the policy to control. This displays the Select Object Type and Property dialog box.
Figure 32: Select Object type and Property
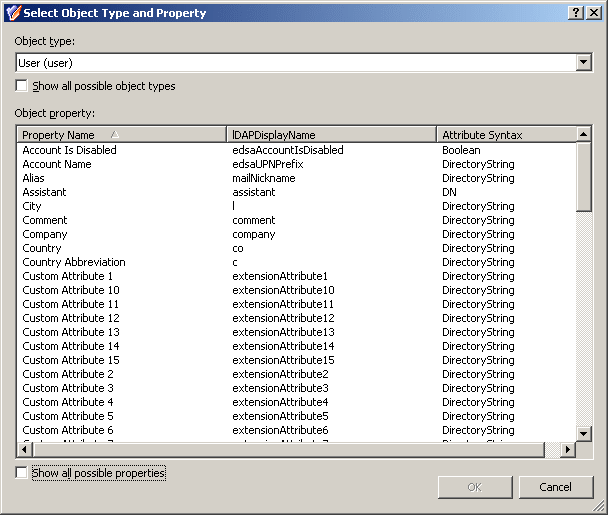
From the Object type list, select the object type. This lets you to specify the type of objects that are subject to the policy control. From the Object property list, select the object property. This lets you to specify the property you want the policy to control. Click OK.
On the Controlled Property page, click Next to display the Configure Policy Rule page:
Figure 33: Configure Policy Rule
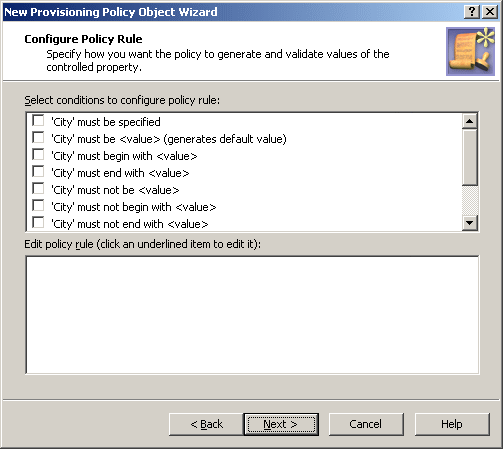
This page allows you to determine criteria used to generate and validate values of the controlled property.
To configure a policy rule, first select appropriate check boxes in the upper box on the Configure Policy Rule page. Each check box label is composed of the name of the controlled property followed by a condition. For example, if you select the check box next to must be specified, the policy will force a value to be assigned to the property.
If you want the policy to generate a default value for the controlled property, select the check box next to must be <value> (generates default value).
For the policy not to distinguish between uppercase and lowercase letters, select the check box next to is case insensitive.
After you selected check boxes in the upper box, the lower box prompts you to configure values, as shown in the following figure.
Figure 34: Edit policy rule

In the lower box, click links labeled <click to add value> to configure additional values. If you select several check boxes in the upper box, you must configure value for each condition.
In the Edit policy rule box, you can also:
- Modify a value. Right-click the value and click Edit. This displays a dialog box similar to the Add Value dialog box, discussed later in this section.
- Remove a value. Right-click the value and click Remove.
- Rearrange the list of values (provided that multiple values are specified for a particular condition). Right-click a value and use the Move Up or Move Down command to change position of the value in the list, or click Sort Items Ascending or Sort Items Descending to sort the list accordingly.
- Import values from a text file. Prepare a text file containing one value per line, right-click any value in the Edit policy rule box, click Import Items, and then open the file you prepared.
- Export the values to a text file. Right-click any value, click Export Items, and specify a text file to write the values to.
- Specify whether you want the rule to generate the default value. Click the Yes or No link to toggle this option.
To combine criteria into the policy rule, use the AND or OR operator. The policy will pass if the property value meets all of the specified criteria or any one of them depending on the operator you choose. To change the operator, click the link labeled and or or.
Clicking a link labeled <click to add value> displays a dialog box similar to the following figure.
Figure 35: Add Value
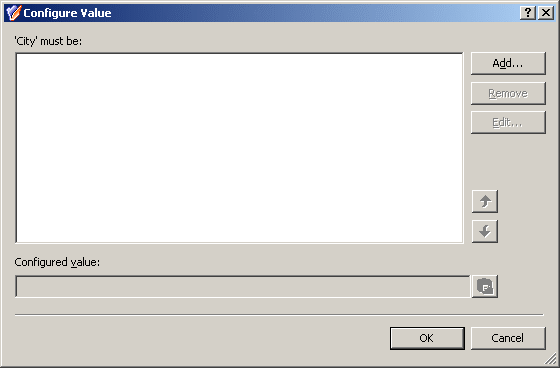
The Add Value dialog box allows you to specify a value for the selected condition. You can type a value in the edit box or use the point-and-click interface to configure a value. Clicking the Configure button displays the Configure Value dialog box, shown in the following figure.
Figure 36: Configure Value

Each value is a concatenation of one or more entries. In the Configure Value dialog box, you can:
- Add any number of entries to the value. Click Add to display the Add Entry window, discussed later in this section.
- Remove entries from the value. Select entries from the list and click Remove.
- Modify entries included in the value. Select an entry and click Edit. This displays a window similar to the Add Entry window, where you can view and modify the entry properties.
- Move the selected entry up and down in the list, thereby rearranging the entries in the value. Click an entry in the upper box, and then click the arrow buttons next to the box to move the entry.
- Paste the text from the Clipboard at the end of the value. If the text includes a valid syntax implementing an entry of a type other than Text (see the table below), the syntax is treated accordingly. Copy a text to the Clipboard, and then click the button next to the Configured value box to paste the text at the end of the string in that box.
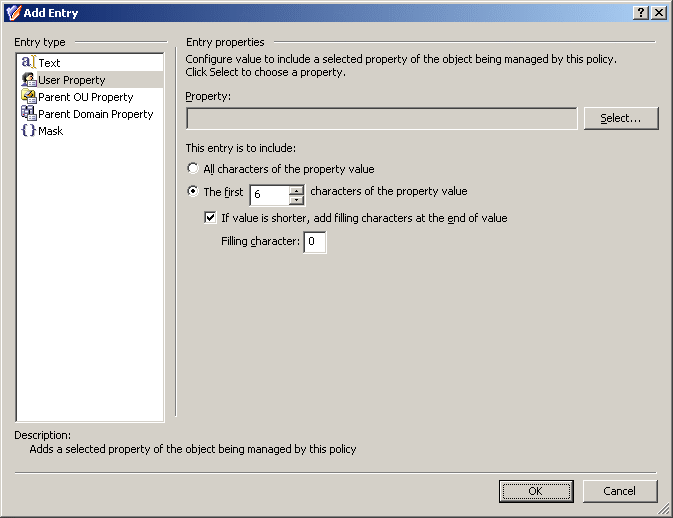
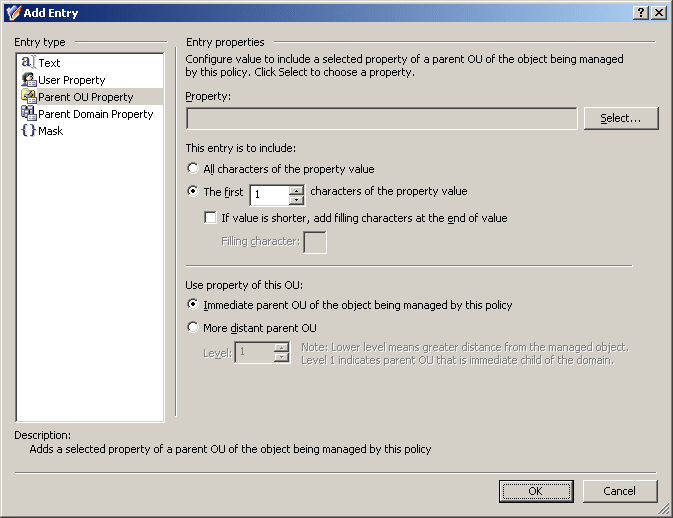
In the Add Entry window, you can select the type of the entry to add, and then configure the entry. The following table summarizes the available types of entries.
The steps to configure an entry depend on the type of the entry. The following sections elaborate on the procedures for each of the entry types occurring in the Add Entry window.

