-
Title
How to setup Identity Manager with Safeguard SPP -
Description
How should a user be setup in the Safeguard system for use in an Identity Manager synchronization project?
-
Cause
To setup Safeguard, One Identity needs the following:
- The Privileged Account Governance Module is installed in the OneIM Database.
- A User Certificate on the Workstation running the Synchronization Editor.
-
Resolution
To verify that the Privileged Account Governance Module is installed:
- Open any of the Identity Manager front end applications
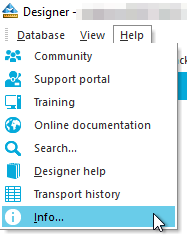
- Select Help and Info from the top menu to open the About popup
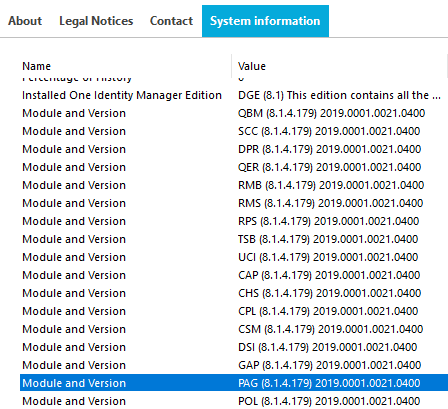
- Click on the System Information tab in the popup window

- Scroll down to the One Identity Manager section and verify that the module is installed:
- "Module and Version PAG (8.1.4.179) 2019.0001.0021.0400"
- Click Done to close this window
Now a User Certificate on the Identity Manager workstation running the Synchronization Editor tool is needed. If one already exists, or if you are unsure if one already exists, skip to Step 10 below.
Also, steps 1-9 might be different depending on how certificates are managed within the environment. If unsure, contact the certificate administrator for more details.
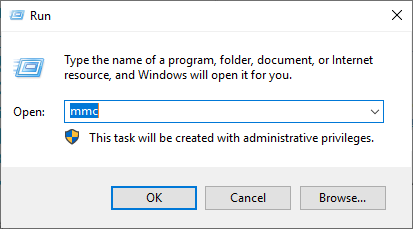
- On the workstation, open a Run box, and type MMC before clicking OK.
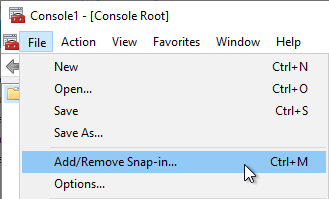
- In the Console window, click File and Add/Remove Snap-In
- Select Certificates and click Add
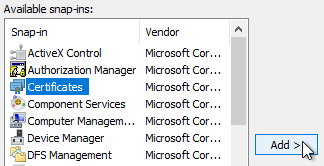
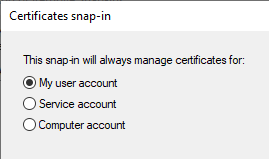
- Ensure My User Account is selected, and click Finish and OK to close the windows.
- Now, expand Certificates - Current User and right-click on Personal before going to All Tasks and Request Now

- Click Next on the Before you Begin page
- Select Active Directory Enrollment Policy and click Next

- Enable the checkbox for User and click Enroll

- If everything was successful, a Status: Succeeded message should appear. Click Finish to close the wizard.

- Expand Personal and Certificates to see installed personal certificates for the currently logged-in user. Scrolling to the right, the Certificate Template should be User

- Double-click on this User certificate to open it, and click the Details tab.

- Scroll down to the Thumbprint field. Copy this value for later
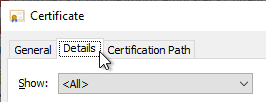
Now that a User Certificate Thumbprint has been located, it needs to be linked to a Safeguard User.
- Log into the Safeguard Application and select Administrative Tools

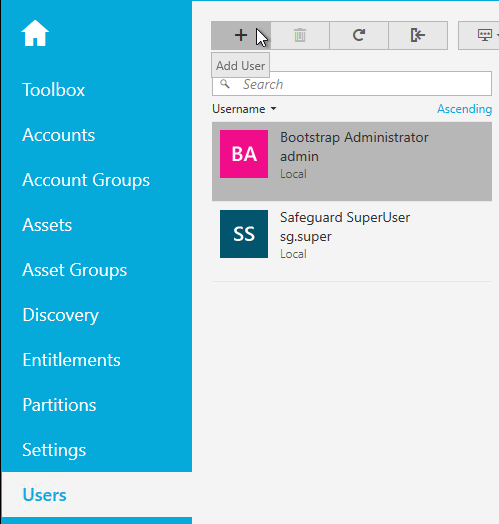
- Under the Users navigation, click the Add User plus icon to create a new user
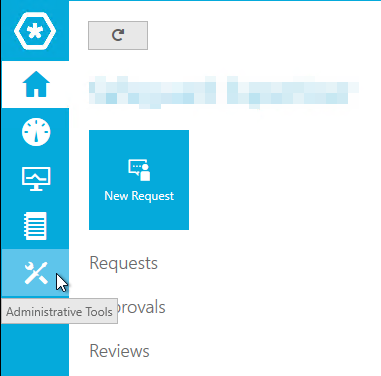
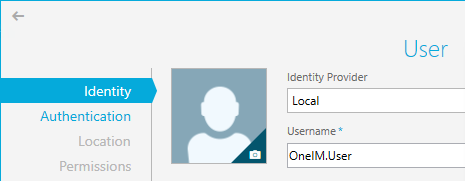
- For the User, select Local for the Identity Provider, and give a Username. Fill out the other information on this page before clicking Next
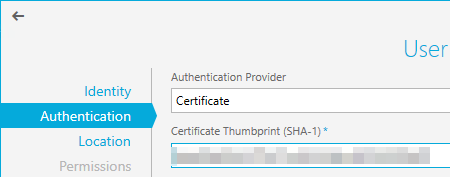
- For the Authentication Provider, change this to Certificate and paste in the Thumbprint saved earlier, before clicking Next.
- Finish creating the User with the wizard.
A quick test to run at this point before proceeding is to make sure this user can use Certificate Authentication to log into the Safeguard system.
- Open a Web Browser on the workstation where the User Certificate exists.
- Browse to the Safeguard website.
- Check the Use Smart Card/Certificate Authentication checkbox
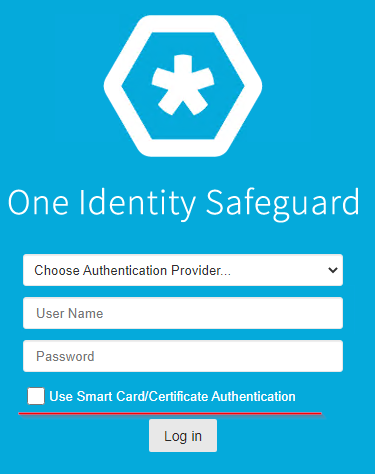
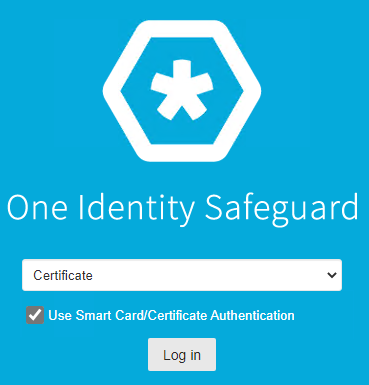
- Click Login
- A prompt will ask you to select a User certificate. Choose the one that was associated with the Safeguard User
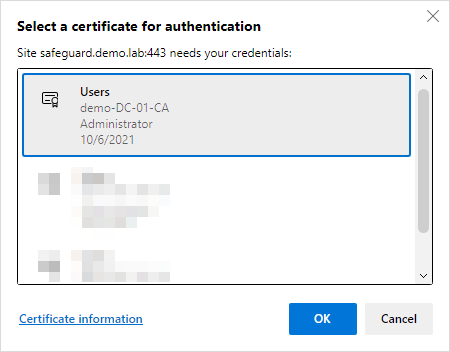
- If the login was successful, please continue. However, if there are any issues, the rest of the steps will not work as the Certificate Authentication with Safeguard is required before OneIM can use it.
With the account, the next steps are to add the PowerShell Module for Safeguard to the workstation so the Synchronization Wizard can talk to the appliance.
A quick note here, the Safeguard PowerShell Module is available to view in more detail on the GitHub page for One Identity.
- Locate the correct PowerShell Module from the list, ensuring that it matches the version of Safeguard used, as the module is Version Specific!
Link to the PowerShell Gallery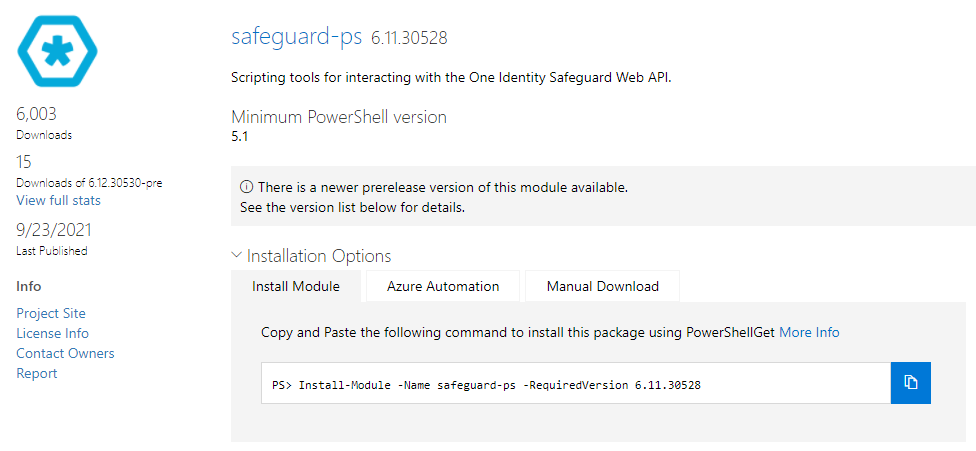
- Once located, copy the command to install the PowerShell module on the machine running the Synchronization Editor (and also has the User Certificate). Prompts to install additional modules may appear during this process.

- If you're uncomfortable using PowerShell and/or installing the other modules, you can Manually Download the module from the PowerShellGallery linked above, and paste the contents into C:\Program Files\WindowsPowerShell]Modules\
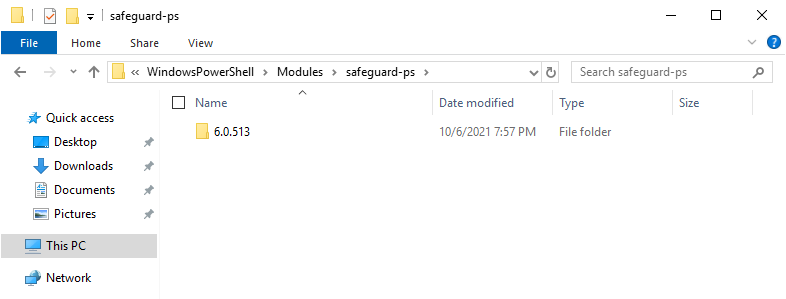
At this point, everything should be ready to try and connect One Identity Manager with Safeguard
- Open the Synchronization Editor
- Once open, click Start a new Synchronization Project
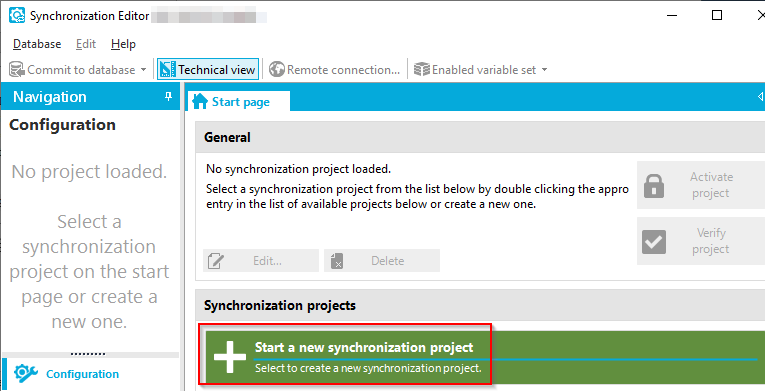
- Skip the Welcome page, and when prompted on Choose target system, select the One Identity Safeguard Connector

- Click Next on the System Access page, and a new window should appear for the Connect to One Identity Safeguard. Click Next, and the Connection Parameters page should appear

- Enter the Safeguard appliance hostname or UP, and also the Thumbprint of the user certificate created, and tested earlier. If there are certificate errors for the Safeguard Website, the Ignore SSL Connection errors will need to be checked, however, it's better to fix the certificate errors instead.
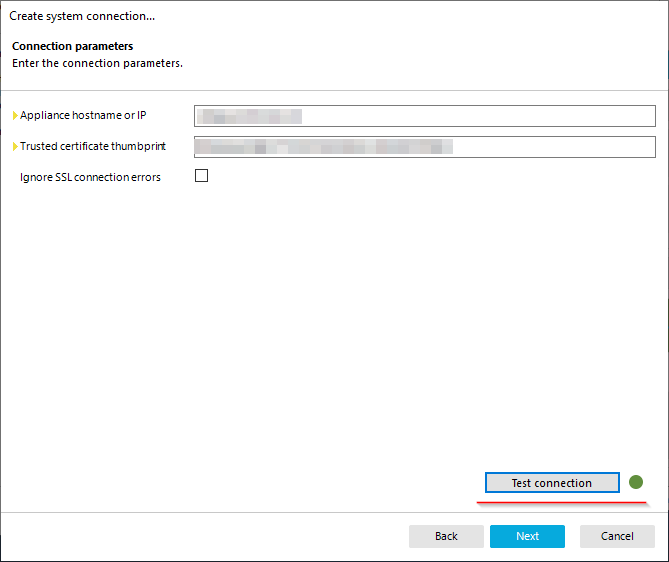
- Click Test Connection to ensure that the account can login to the Safeguard system via the PowerShell module installed earlier
- If any errors appear at this point, they may be caused by:
- Certificate Thumbprint incorrect on the Workstation or Safeguard appliance
- Incorrect permissions on the Safeguard user-created
- Incorrect version of the PowerShell module on the Workstation
And that's it! Simply follow the rest of the configuration wizard to import the Safeguard data into One Identity Manager.
