Restoring SSB configuration and data
The following procedure describes how to restore the configuration and data of syslog-ng Store Box (SSB) from a complete backup, for example, after a hardware replacement.
NOTE: It is possible to receive indexer errors following data restore. Data that was still in the memory of SSB during backup might have been indexed, but as it was not on the hard drive, it was not copied to the remote server.
To make sure that all data is backed up (for example, before an upgrade), shut down syslog-ng before initiating the backup process.
|

|
Caution:
Statistics about syslog-ng and logspace sizes are not backed up. As a result, following a data restore, the Basic Settings > Dashboard page will not show any syslog-ng and logspace statistics about the period before the backup. |
To restore the configuration and data of SSB from a complete backup
-
Connect to your backup server and locate the directory where SSB saves the backups. The configuration backups are stored in the config subdirectory in time stamped files. Find the latest configuration file (the configuration files are called SSB-timestamp.config).
-
Connect to SSB.
If you have not yet completed the Welcome Wizard, click Browse, select the configuration file, and click Import.
If you have already completed the Welcome Wizard, navigate to Basic Settings > System > Import configuration > Browse, select the configuration file, and click Import.
-
Navigate to Policies > Backup & Archive/Cleanup. Verify that the settings of the target servers and the backup protocols are correct.
-
Navigate to Basic Settings > Management > System backup, click Restore now and wait for the process to finish. Depending on the amount of data stored in the backup, and the speed of the connection to the backup server, this may take a long time.
-
Navigate to Log > Logspaces, and click Restore ALL. Depending on the amount of data stored in the backup, and the speed of the connection to the backup server, this may take a long time.
Configuring the IPMI interface from the BIOS after losing IPMI password
It may happen that you inadvertently lose the IPMI pasword of your syslog-ng Store Box (SSB). In that case, you will be required to:
-
Shut down SSB.
-
Unplug the SSB physical appliance's power cord.
-
Wait 30 seconds.
-
Replug the power cord.
-
Restart the appliance.
-
Re-configure the IPMI interface from the BIOS.
To confgure IPMI from the BIOS, complete the following steps.
Prerequisites:
To apply the procedure outlined here, you will need physical access to a monitor and keyboard.
-
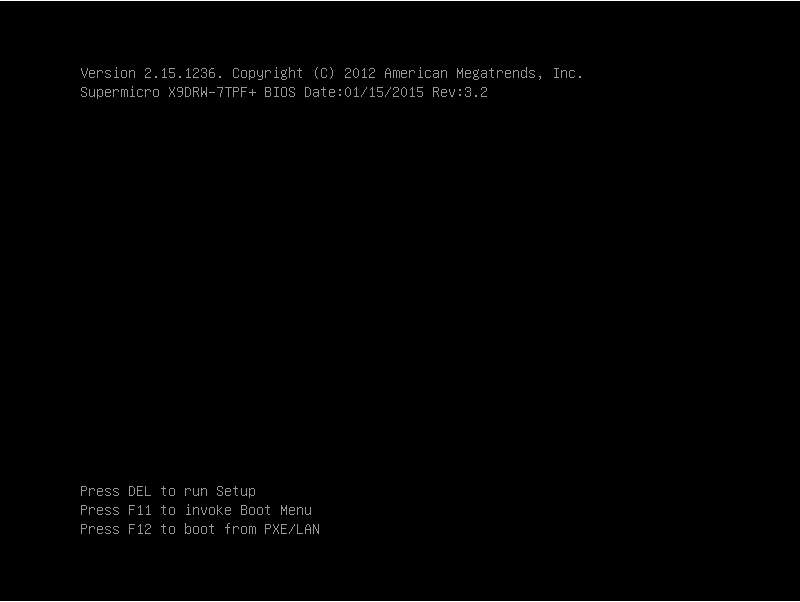
Press the DEL button when the POST screen comes up while the appliance is booting.
Figure 226: POST screen during booting
-
In the BIOS, navigate to the IPMI page.
-
On the IPMI page, select BMC Network Configuration, and press Enter.
Figure 227: IMPI page > BMC Network Configuration option

-
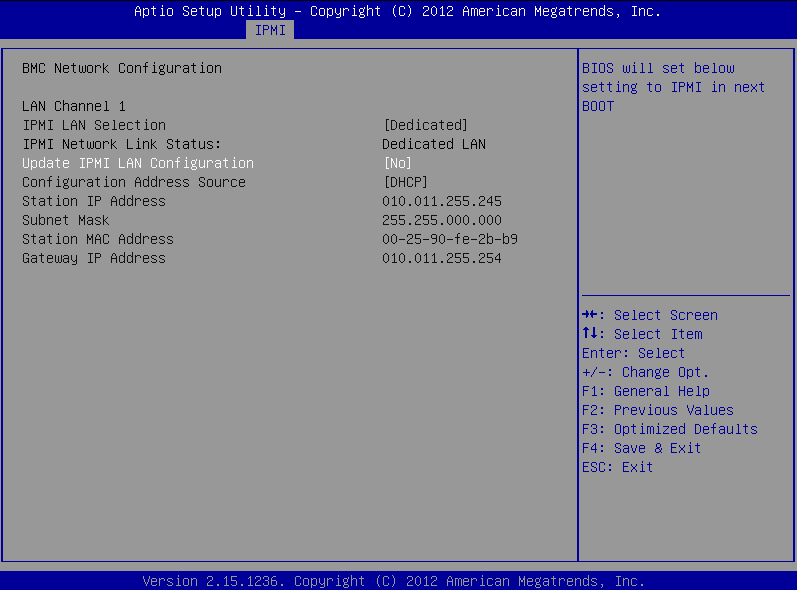
On the BMC Network Configuration page, select Update IPMI LAN Configuration, press Enter, and select Yes.
Figure 228: BMC Network Configuration page > Update IPMI LAN Configuration
-
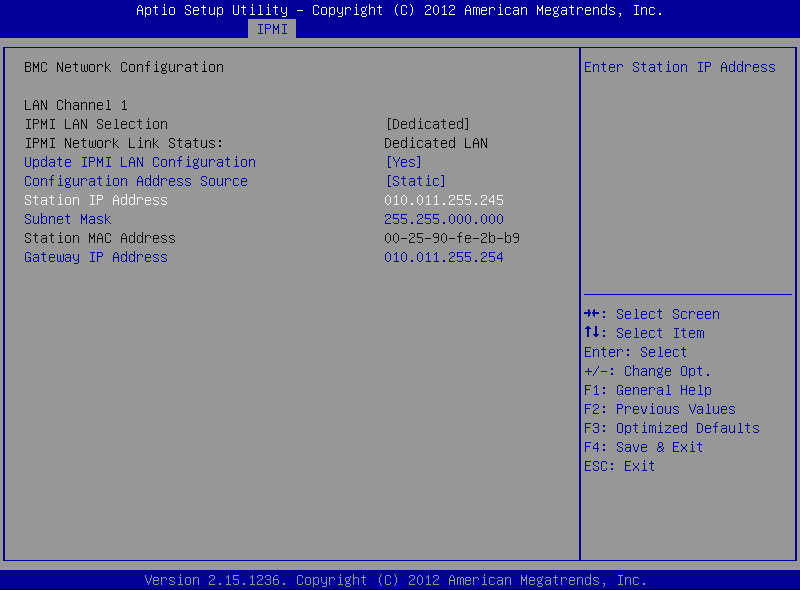
Stay on the BMC Network Configuration page, select Configuration Address Source, press Enter, and select Static.
Figure 229: BMC Network Configuration page > Configuration Address Source

-
Still on the BMC Network Configuration page, configure the Station IP Address, Subnet Mask, and Gateway IP Address individually.
Figure 230: BMC Network Configuration page > Station IP Address, Subnet Mask, Gateway IP Address
-
Press F4 to save the settings, and exit from the BIOS.
About a minute later, you will be able to log in on the IPMI web interface.
Incomplete TSA response received
When using a TSA certificate generated with Windows Certificate Authority, you might see a similar error message:
Incomplete TSA response received, TSA HTTP server may be responding slowly; errno='Success (0)', timeout_seconds='30'
When generating the certificate, make sure that you do the following:
Optional Key Usage: If Key Usage is present, it must be digitalSignature and/or nonRepudiation. Other values are not permitted. Make sure that in Encryption, Allow key exchange without key encryption (key agreement) is selected.
|
|
Caution:
In Encryption, do NOT select Allow key exchange only with key encryption (key encipherment), because it will result in errors. |
For details, see Generating TSA certificate with Windows Certificate Authority on Windows Server 2008 or Generating TSA certificate with Windows Certificate Authority on Windows Server 2012.
Correct Alerting & Monitoring and Management group privilege mismatch
When attempting to upgrade to syslog-ng Store Box(SSB) version 6.3 (or newer), or upload an older configuration, you might see an error message similar to the following:
Pre-check failed
Error upgrading XML database - One or more user groups have group privilege mismatch for the Basic Settings > Alerting & Monitoring and Basic Settings > Management pages.
To continue the upgrade or import process, first, complete the steps in section 'Correct Alerting & Monitoring and Management group privilege mismatch' in https://docadmin.quest.com/syslog-ng-store-box/6.3.0/administration-guide/troubleshooting-ssb
This error is probably due to the fact that one or more of your usergroups currently have
-
Basic Settings > Alerting & Monitoring group privilege, but no Basic Settings > Management group privilege, or have
-
Basic Settings > Management group privilege, but no Basic Settings > Alerting & Monitoring group privilege.
The content of the Alerting & Monitoring and Management group privileges changed in SSB version 6.3 the following way:
-
Instead of a single menu item, the configuration of Basic Settings > Alerting & Monitoring will be split to Basic Settings > Alerting and Basic Settings > Monitoring.
-
The configuration of Basic Settings > Management > SNMP trap settings and Basic Settings > Management > SNMP agent settings will be moved to Basic Settings > Alerting > SNMP trap settings and Basic Settings > Monitoring > SNMP agent settings in the menu, respectively.
These changes to the group privilege contents will NOT be mapped during the upgrade process.
As a result, the usergroups that currently have Basic Settings > Alerting & Monitoring group privilege would gain additional access rights to SNMP trap settings and SNMP agent settings.
Before you start the upgrade process, you must change the group privileges of these usergroups the following way:
-
Navigate to AAA > Access Control, and Edit the group privileges of the usergroup that
-
only has Basic Settings > Alerting & Monitoring group privilege, but no Basic Settings > Management group privilege, or
-
only has Basic Settings > Management group privilege, but no Basic Settings > Alerting & Monitoring group privilege.
-
Change your configuration so that both group privileges are the same. Either grant both Basic Settings > Management and Basic Settings > Alerting & Monitoring group privileges to the usergroup, or revoke both group privileges.
-
Repeat the previous steps for all affected usergroups.
-
Commit your changes and retry upgrading your machine to SSB version 6.3.
