One Identity Safeguard for Privileged Sessions (SPS) can digitally sign the audit trails to prevent the manipulation of the audit trail files. This requires an X.509 certificate and also the private key of the certificate. Note that SPS can generate a private key that you can use to create a certificate, but SPS itself cannot create the certificate used to sign the audit trails.
To enable the digital signing of the audit trails
-
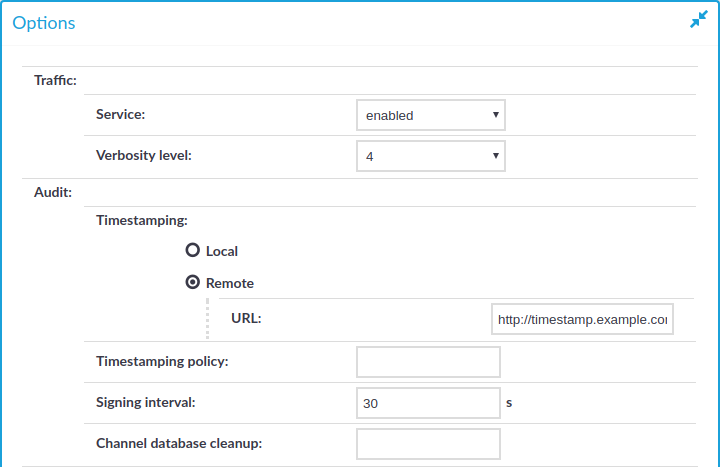
Configure the signing interval. You have to repeat these steps for each protocol (HTTP, ICA, RDP, SSH, Telnet, and VNC) you want to configure:
Figure 140: Traffic Controls > Protocol name > Global Options — Configuring the signing interval
-
In the protocol control settings, navigate to Global Options > Timestamping (for example, Traffic Controls > SSH > Global Options > Timestamping).
-
Set the Signing interval. You can choose any value between 10 and 100 000 seconds.
NOTE: The same interval setting applies to timestamping and signing.
-
Click
.
-
-
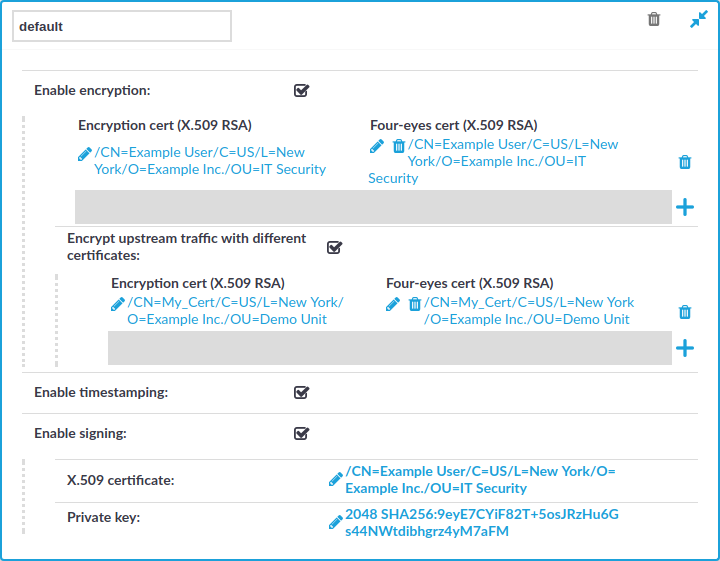
Navigate to Policies > Audit Policies and select the audit policy you will use in your connections.
Figure 141: Policies > Audit Policies — Signing audit trails
TIP: By default, every connection uses the built-in default audit policy. Unless you use a custom audit policy, modifying the default audit policy will affect every audited channel of the connections passing through One Identity Safeguard for Privileged Sessions (SPS).
-
Select the Enable signing option.
-
Upload a certificate and the corresponding private key to SPS.
-
Click
-
Repeat the above steps for other audit policies if needed.