To configure IPMI from the BIOS when configuring your syslog-ng Store Box (SSB) physical appliance for the first time, complete the following steps.
Prerequisites:
To apply the procedure outlined here, you will need physical access to a monitor and keyboard.
-
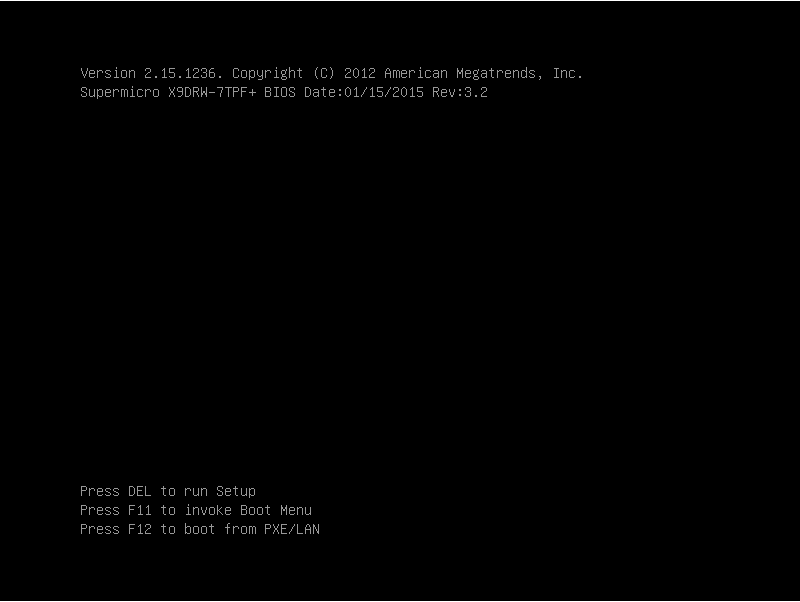
Press the DEL button when the POST screen comes up while the appliance is booting.
Figure 80: POST screen during booting
-
In the BIOS, navigate to the IPMI page.
-
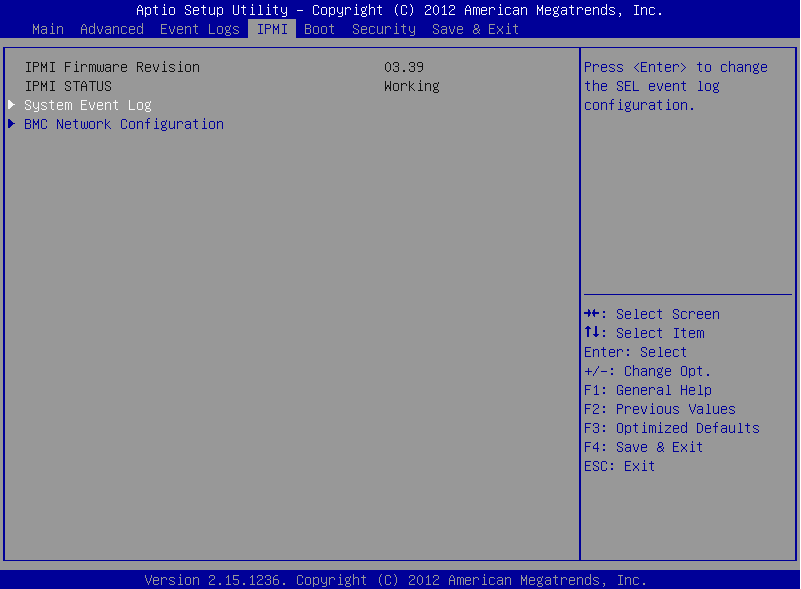
On the IPMI page, select BMC Network Configuration, and press Enter.
Figure 81: IMPI page > BMC Network Configuration option
-
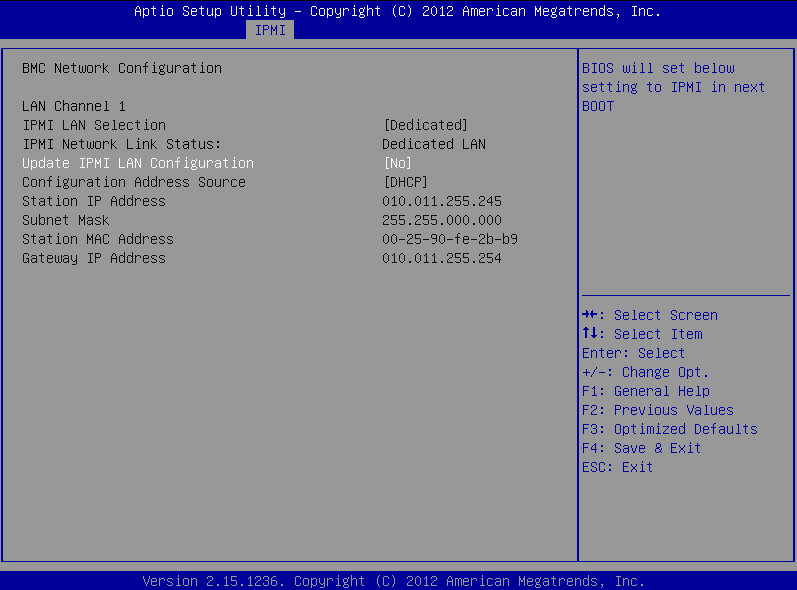
On the BMC Network Configuration page, select Update IPMI LAN Configuration, press Enter, and select Yes.
Figure 82: BMC Network Configuration page > Update IPMI LAN Configuration
-
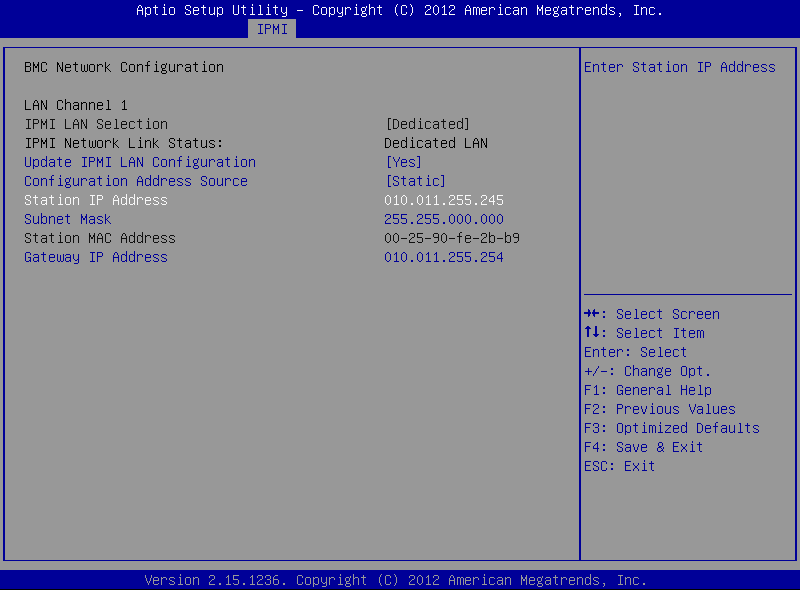
Stay on the BMC Network Configuration page, select Configuration Address Source, press Enter, and select Static.
Figure 83: BMC Network Configuration page > Configuration Address Source

-
Still on the BMC Network Configuration page, configure the Station IP Address, Subnet Mask, and Gateway IP Address individually.
Figure 84: BMC Network Configuration page > Station IP Address, Subnet Mask, Gateway IP Address
-
Press F4 to save the settings, and exit from the BIOS.
About a minute later, you will be able to log in on the IPMI web interface.
SSB uses a number of certificates for different tasks that can be managed from the Basic Settings > Management > SSL certificate menu.
Figure 85: Basic Settings > Management > SSL certificate — Changing the web certificate of SSB
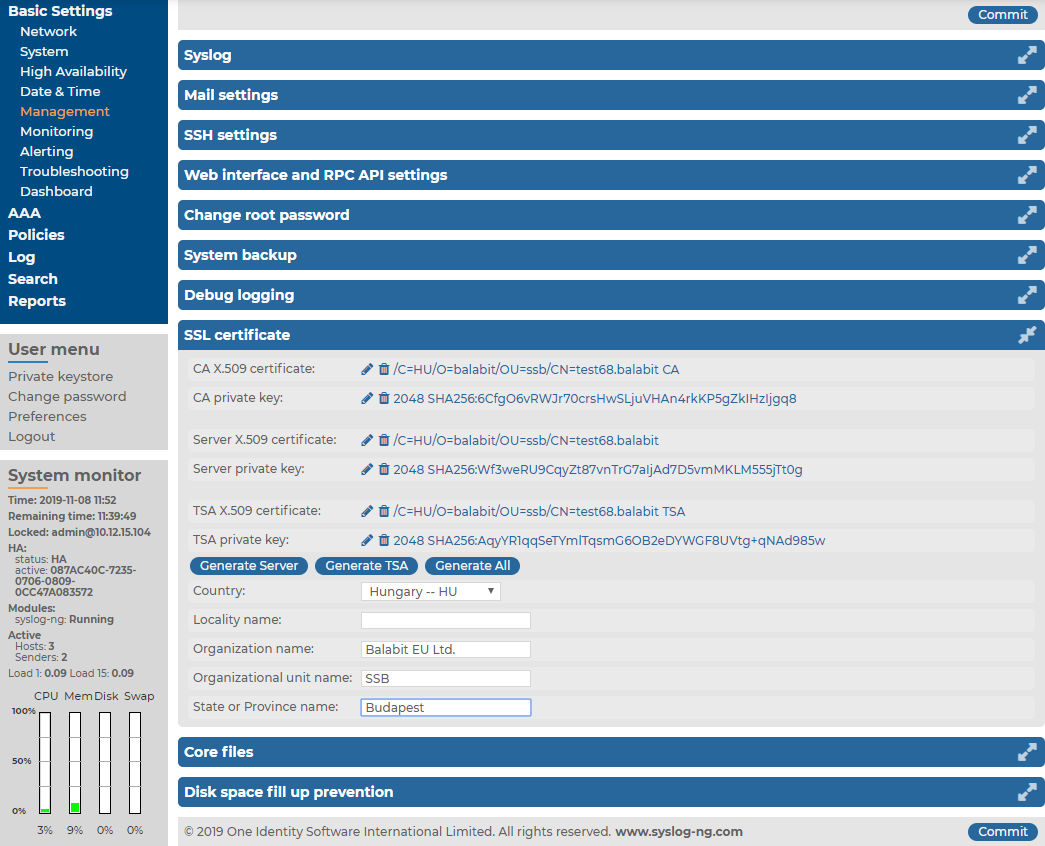
The following certificates can be modified here:
-
CA certificate: The certificate of the internal Certificate Authority of SSB.
NOTE: When you upload your own CA certificate, make sure that the certificate you upload is the issuer certificate of the Server and TSA certificates.
-
Server certificate: The certificate of the SSB web interface, used to encrypt the communication between SSB and the administrators.
NOTE: If this certificate is changed, the browser of SSB users will display a warning stating that the certificate of the site has changed.
NOTE: When you have a certificate chain, you have to upload the entire chain in a single file, using PEM format. The uploaded file (or pasted text) must contain the following elements, concatenated in this order:
-
the server certificate
-
the issuer CA
-
the root CA certificates.
-
TSA certificate: The certificate of the internal Time Stamping Authority that provides the time stamps used when creating encrypted logstores.
NOTE:
SSB uses other certificates for different purposes that are not managed here, for example, to encrypt data stored on SSB. For details, see Creating logstores.
Use every keypair or certificate only for one purpose. Do not reuse cryptographic keys or certificates, for example, do not use the same certificate for the SSB webserver and for encrypting logstores.
For every certificate, the distinguished name (DN) of the X.509 certificate and the fingerprint of the private key is displayed. To display the entire certificate, click on the DN. To display the public part of the private key, click on the fingerprint. It is not possible to download the private key itself from the SSB web interface, but the public part of the key can be downloaded in different formats (for example, PEM, DER, OpenSSH, Tectia). Also, the X.509 certificate can be downloaded in PEM and DER formats, with the exception of certificate chains, which can only be downloaded in PEM format.
NOTE: Other parts of SSB may use additional certificates that are not managed here.
During the initial configuration, SSB creates a self-signed CA certificate, and uses this CA to issue the certificate of the web interface (see Server certificate) and the internal Time Stamping Authority (TSA certificate).
There are two methods to manage certificates of SSB:
-
Recommended: Generate certificates using your own PKI solution and upload them to SSB.
Generate a CA certificate and two other certificates signed with this CA using your PKI solution and upload them to SSB. For the Server and TSA certificates, upload the private key as well. One Identity recommends:
For details on uploading certificates and keys created with an external PKI, complete Uploading external certificates to SSB.
|

|
Caution:
The Server and the TSA certificates must be issued by the same Certificate Authority. |
-
Use the certificates generated on SSB. In case you want to generate new certificates and keys for SSB using its self-signed CA certificate, or generate a new self-signed CA certificate, complete Generating certificates for SSB.
NOTE: Generate certificates using your own PKI solution and upload them to SSB whenever possible. Certificates generated on SSB cannot be revoked, and can become a security risk if they are somehow compromised.
Create a new certificate for the syslog-ng Store Box (SSB) webserver or the Time Stamping Authority using the internal CA of SSB, or create a new, self-signed CA certificate for the internal Certificate Authority of SSB.
One Identity recommends using 2048-bit RSA keys (or stronger).
To generate certificates for SSB
-
Navigate to Basic Settings > Management > SSL certificate.
-
Fill the fields of the new certificate:
-
Country: Select the country where SSB is located (for example HU - Hungary).
-
Locality: The city where SSB is located (for example Budapest).
-
Organization: The company who owns SSB (for example Example Inc.).
-
Organization unit: The division of the company who owns SSB (for example IT Security Department).
-
State or Province: The state or province where SSB is located.
-
Select the certificate you want to generate.
-
To create a new certificate for the SSB web interface, select Generate Server certificate.
-
To create a new certificate for the Time Stamping Authority, select Generate TSA certificate.
-
To create a new certificate for the internal Certificate Authority of SSB, select Generate All. Note that in this case new certificates are created automatically for the server and TSA certificates as well.
NOTE: When generating new certificates, the server and TSA certificates are signed using the certificate of the CA. If you have uploaded an external CA certificate along with its private key, it will be used to create the new server and TSA certificates. If you have uploaded an external CA certificate without its private key, use your external PKI solution to generate certificates and upload them to SSB.
|
|
Caution:
Generating a new certificate automatically deletes the earlier certificate. |
-
Click  .
.
Upload a certificate generated by an external PKI system to syslog-ng Store Box (SSB).
The certificate to upload. For the TSA and Server certificate, the private key of the certificate is needed as well. The certificates must meet the following requirements:
-
SSB accepts certificates in PEM format. The DER format is currently not supported.
-
SSB accepts private keys in PEM (RSA and DSA), PUTTY, and SSHCOM/Tectia format. Password-protected private keys are also supported.
NOTE: The syslog-ng Store Box (SSB) appliance accepts passwords that are not longer than 150 characters. The following special characters can be used: !"#$%&'()*+,-./:;<=>?@[]^-`{|}
For the internal CA certificate of SSB, uploading the private key is not required.
-
One Identity recommends:
-
For the TSA certificate, the X509v3 Extended Key Usage attribute must be enabled and set to critical. Also, its default value must be set to Time Stamping.
-
For the Server certificate, the X509v3 Extended Key Usage attribute must be enabled and its default value set to TLS Web Server Authentication. Also, the Common Name of the certificate must contain the domain name or the IP address of the SSB host. If the web interface is accessible from multiple interfaces or IP addresses, list every IP address using the Subject Alt Name option.
One Identity recommends using 2048-bit RSA keys (or stronger).
To upload a certificate generated by an external PKI system to SSB
-
Navigate to Basic Settings > Management > SSL certificate.
-
To upload a new certificate, click  next to the certificate you want to modify. A pop-up window is displayed.
Figure 86: Basic Settings > Management > SSL certificate — Uploading certificates
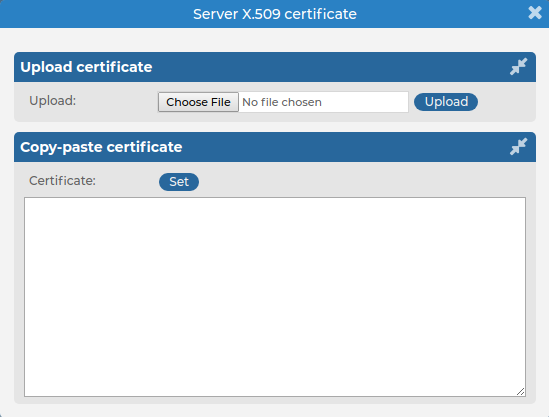
Select Browse, select the file containing the certificate, and click Upload. Alternatively, you can also copy-paste the certificate into the Certificate field and click Set.
You can choose to upload a single certificate or a certificate chain (that is, intermediate certificates and the end-entity certificate).
After uploading a certificate or certificate chain, you can review details by clicking the name of the certificate, and looking at the information displayed in the pop-up window that comes up.
Figure 87: Log > Options > TLS settings — X.509 certificate details
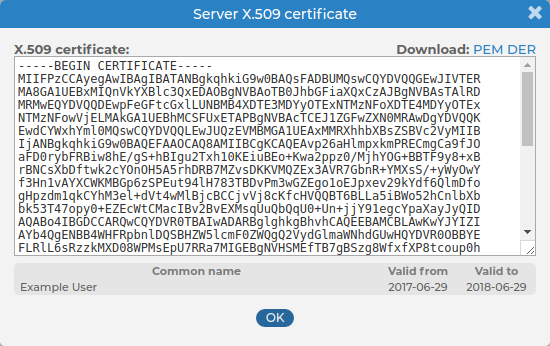
The pop-up window allows you to:
-
Download the certificate or certificate chain.
NOTE: Certificate chains can only be downloaded in PEM format.
-
View and copy the certificate or certificate chain.
-
Check the names and the hierarchy of certificates (if it is a certificate chain and there is more than one certificate present).
On hovering over a certificate name, the subject of the certificate is displayed, describing the entity certified.
-
Check the validity dates of the certificate or certificates making up the chain.
On hovering over a particular date, the exact time of validity is also displayed.
After uploading the certificate or certificate chain, the presence or absence of the string (chain) displayed after the name of the certificate will indicate whether the certificate is a certificate chain or a single certificate.
-
To upload the private key corresponding to the certificate, click icon. A pop-up window is displayed.
Select Browse, select the file containing the private key, provide the Password if the key is password-protected, and click Upload. Alternatively, you can also copy-paste the private key into the Key field, provide the Password there, and click Set.
Expected result:
The new certificate is uploaded. If you receive the Certificate issuer mismatch error message after importing a certificate, you must import the CA certificate which signed the certificate as well (the private key of the CA certificate is not mandatory).
NOTE: To download previously uploaded certificates, click on the certificate and download the certificate in one single PEM or DER file.
Note that certificate chains can only be downloaded in PEM format.
