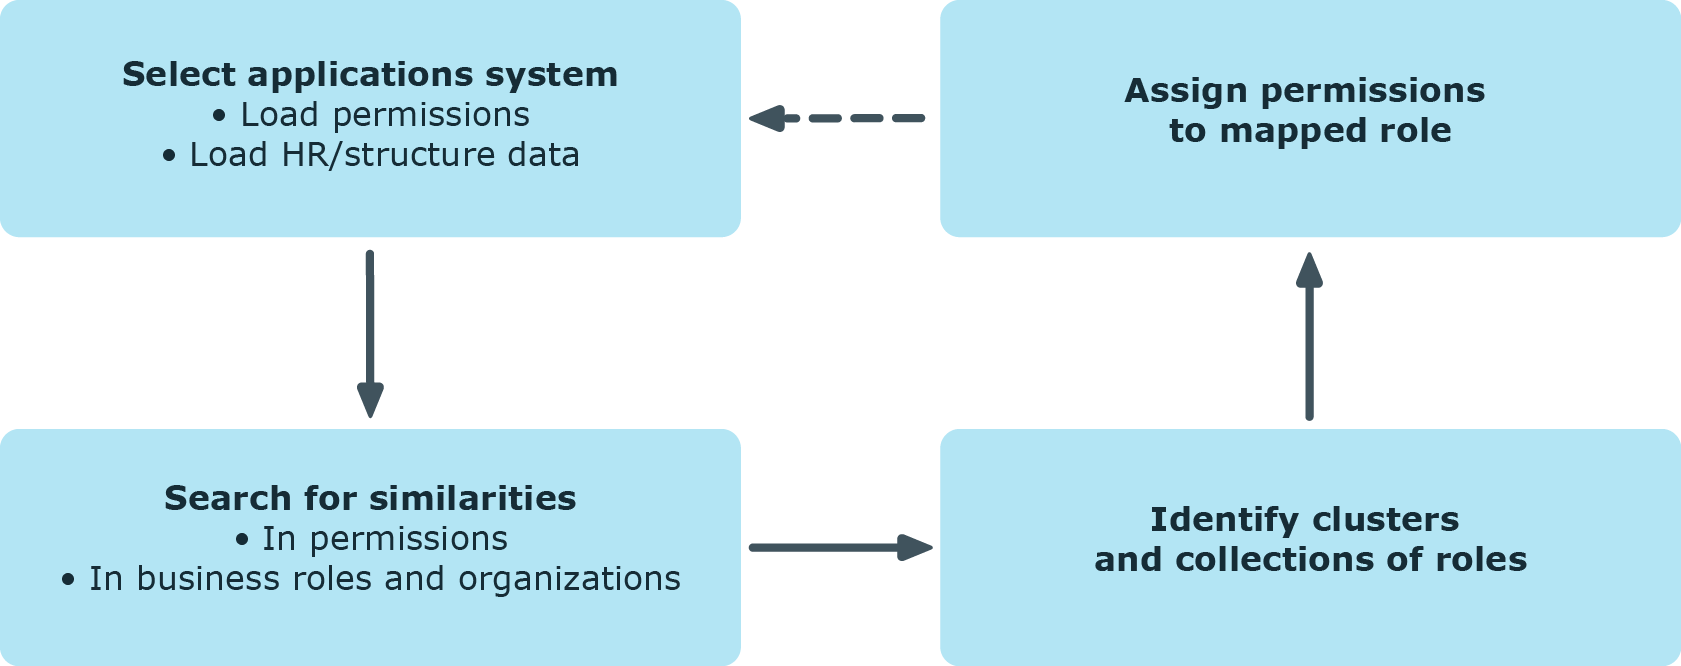
You should always compare the business roles with the custom structures in the case of role mining, because the mathematical methods of cluster analysis only forecast a trend. Apart from renaming nodes, you can also edit employee assignments and business role permissions directly. You can create new business roles with the Analyzer and assign them directly to employees. This makes adding and moving employees into a certain business role very simple.
View the results of the analysis in a window with various panes in the Analyzer.
Figure 15: Presentation of analysis results

On the left, the clusters found by the analysis are displayed hierarchically on a tab. The nodes mapped here are named though the first employee found when analysis data is selected with wizards. The naming of predefined analysis methods follows specified rules in the program settings. You can change names using F2 or Rename in the context menu.
The number of occurrences is displayed graphically in the columns <Employees> and <Permissions>. The display is normed in both columns, which means the group with the highest number of employees or permissions assigned to it corresponds to 100 percent and is represented with maximized bars.
| Context Menu Item | Meaning |
|---|---|
|
Paste |
Marks the business role for transfer into the database. |
|
Add recursively |
Marks the business role and its child roles for transfer into the database. |
|
Delete |
Removes the business role from the data transfer set. |
|
Create |
Defines a new business role. |
|
Delete |
Deletes the business role. |
|
Rename |
Renames the business role. |
|
Generate business roles names |
Generates business role names according to the rules specified (menu <Database>\<Settings...>). |
|
Optimize business roles |
Optimizes the business roles. Empty business roles are deleted. |
|
Properties |
Displays other properties of the business role such as user accounts and permissions. |
When a structure node is selected the employees (above) and permissions (below) contained in it are listed in view (2). You can use the color similarity bar to help identify where permissions overlap with each other and how far the user’s actual permissions situation fits to the permissions assignment of the selected role. Matching group memberships are green, but non-matching, additional group memberships are red. Directly below this, you see each of the employee’s permissions for the analyzed target systems separately. A permissions weighting is displayed depending on the program settings.
| Context Menu Item | Meaning |
|---|---|
|
Add to business role |
Adds employee/permissions to the hierarchy of the selected business role. |
|
Remove from business role |
Removes employee/permissions from the hierarchy of the selected business role. |
|
Compare |
Compares employees with each other. The result is displayed in view 3. |
|
Mark assignments |
Marks employee/permissions assignments in the hierarchy. |
|
Properties |
Shows other properties of active objects. |
You can analyze permissions memberships of individual employees by multi-selecting in the list of employees and running a direct comparison.
To compare employee memberships
- Select employees in view (2) using Ctrl + select or Shift + select.
- Click Compare in the context menu to start comparing.

