
Configuring a front-end authentication method
Microsoft® Active Directory® authentication
Configuring smart card authentication
LDAP authentication
Microsoft® Active Directory® LDS
389 Directory Service
Novell® eDirectory™
Windows Azure™ Active Directory® authentication
SAML federated
WS-Federated
Social authenticators
Integration with password management applications
Primary credentials
Configuring user front-end authentication method selection
Adding a web application
Integrated Windows Authentication
Form fill authentication
Proxy-less form fill authentication
SAML federation
Configuring advanced SAML token settings
Configuring advanced WS-Federation token settings
OpenID Connect/OAuth 2.0
Manual user provisioning
HTTP basic authentication
HTTP header value
No back-end SSO
Exporting an application configuration template
Forwarding claims to federated applications
Adding HTTP headers to proxy applications
Configuring step-up authentication
Configuring front-end authenticators
Configuring each application
Configuring for external users
Configuring Defender as a Service with Cloud Access Manager
Using Dell's Security Analytics Engine
Enabling Dell's Security Analytics Engine
Configuring Cloud Access Manager to use Dell's Security Analytics Engine for access control
Managing your SSL certificate
Obtaining a signed certificate
Replacing an expiring certificate
Installing a fully signed certificate from a certificate archive file
Installing a certificate authority certificate
Changing the Cloud Access Manager service account password
Cloud Access Manager IIS Application Pool
Dell Redistributable Secure Token Server
Front-end authenticators
Reporting
Customizing Dell™ One Identity Cloud Access Manager
Obtaining a signed certificate
|
1 |
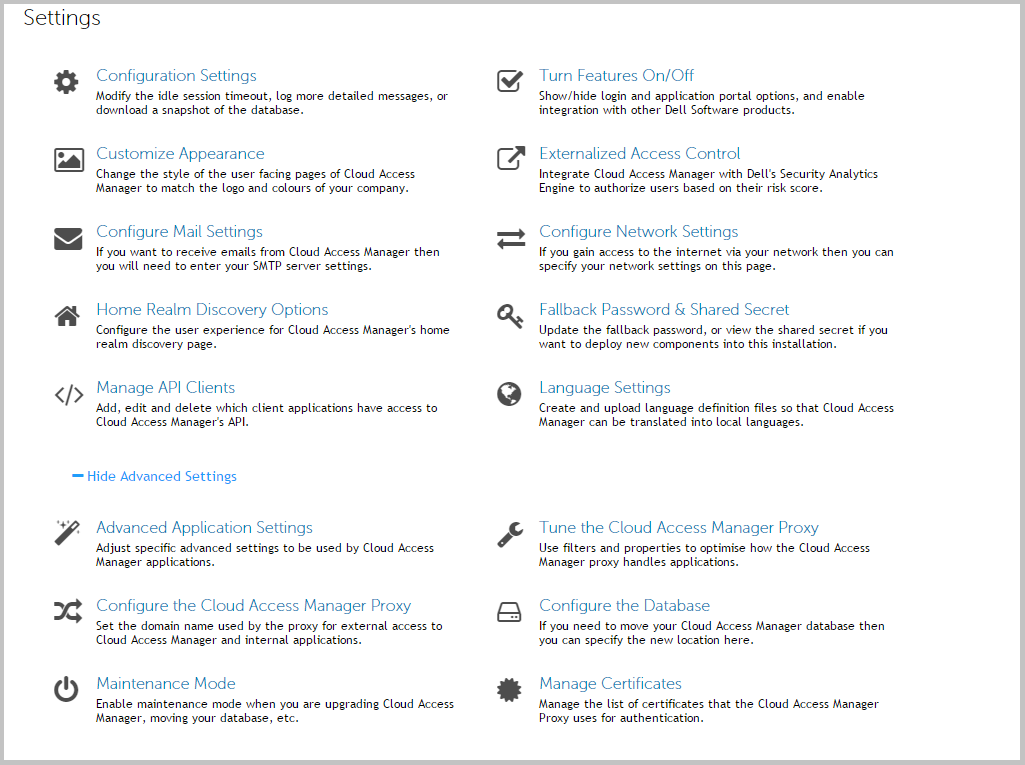
Log on to the Administration Console using the fallback login shortcut and navigate to the Settings page, then select Show Advanced Settings. |
|
2 |
|
3 |
The Certificates page is displayed. |
|
4 |
The proxy certificate is displayed at the top of the list of certificates with the alias this-server. After installation the proxy certificate is displayed as Self signed. If you do not already have a signed certificate to use for the proxy you will need to create a certificate signing request and submit it to your Certificate Authority. To do this, click Generate Key Pair and CSR.  |
|
5 |
Complete the Fully Qualified Server DNS Name field. This must match the wildcard DNS subdomain created for the Cloud Access Manager Proxy, for example, *.webapps.company.com. For further information, please refer to the Prerequisites section in the Dell™ One Identity Cloud Access Manager Installation Guide. |
|
6 |
If you want to specify additional information that will be displayed on your certificate, select the Supply Additional Certificate Information check box and complete the fields as required. |
|
7 |
Click Generate. |
|
8 |
When the certificate has been generated, click Download Certificate or copy and paste the information shown to a file. |
When the certificate signing request was generated, the certificate entry in the Certificates Alias list on the Certificates page changed from Self-signed to CSR. At this stage, you can click Download CSR to retrieve the certificate signing request if required.
|
9 |
|
NOTE: If your Certificate Authority does not have a PKCS#7 complete chain option, select the option for a Tomcat Web Server certificate. |
|
11 |
If you downloaded the signed certificate in PKCS#7 format containing the complete chain, on the Certificates page, click Install CSR Reply. |
|
NOTE: Cloud Access Manager will only support base64 encoded certificates, with the exception of importing a PKCS12 for this-server, both .crt and .cer files can be either PEM encoded (base64) or DER encoded (raw binary file), Cloud Access Manager will only support them if they are PEM encoded. |
Depending on your Certificate Authority, you may be given a separate root certificate and an intermediate certificate or a bundle containing both the root and intermediate certificates. To install these, use the Install Trusted CA Certificate option on the Certificates page. When these have been installed, click Install CSR Reply from the Certificates page to install your signed certificate.
|
12 |
Click Save. When the certificate has been installed, it is displayed in the Certificates Alias list as signed.  |
Replacing an expiring certificate
To replace an expiring certificate, from the Certificates page, click Generate Expiry Key Pair and CSR. The procedure for generating the replacement certificate is the same as when you created the original certificate, refer to Obtaining a signed certificate. Your current certificate is only overwritten when the replacement certificate is fully signed.
Installing a fully signed certificate from a certificate archive file
If you already have a signed certificate to use for the proxy, from the Certificates page, click Import PKCS12 / PFX file, and upload the certificate.
Installing a certificate authority certificate
|
1 |
From the Certificates page, click Install Trusted CA Certificate, specify the certificate alias in the Certificate Alias field, click Browse to import the public certificate from a file. |
|
2 |
Click Save to install the certificate. |
|
NOTE: Dell™ One Identity Cloud Access Manager will only support base64 encoded certificates, with the exception of importing a PKCS12 for this-server, both .crt and .cer files can be either PEM encoded (base64) or DER encoded (raw binary file), Cloud Access Manager will only support them if they are PEM encoded. |