Generating object names by using rules
When configuring a synchronization step, you can use the Rules to generate unique object name list to specify rules for creating or modifying object names in the target connected system. The Rules to generate unique object name list looks similar to the following:
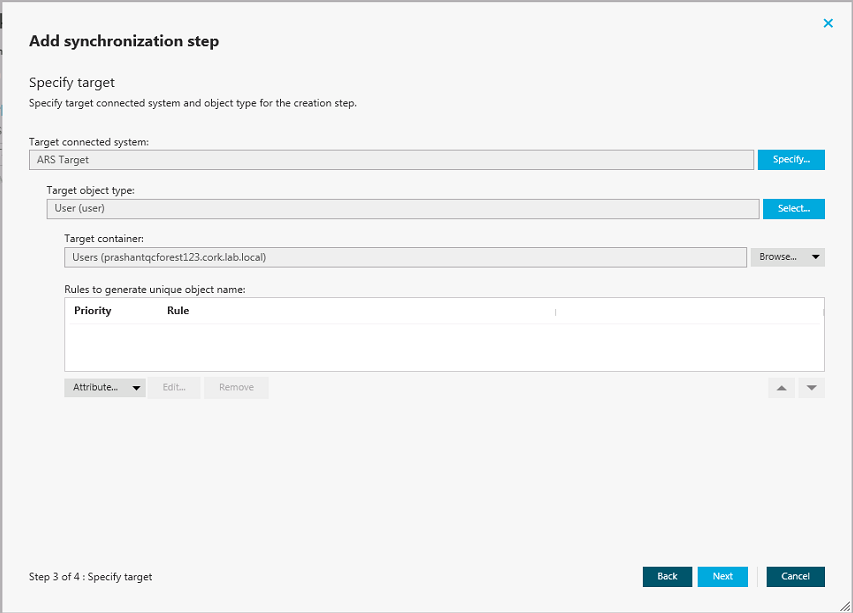
To configure rules for generating object names
- Click the down arrow on the leftmost button provided below the Rules to generate unique object name list.
- Select a list item:
- Attribute. Allows you to select the target object attribute whose value you want to use as the object name.
- Rule. Allows you to configure a rule to generate target object names. For details, see Using value generation rules.
- PowerShell Script. Allows you to type a PowerShell script to generate target object names.
When the Rules to generate unique object name list includes two or more entries, Quick Connect uses the uppermost rule in the list to generate the target object name. If the generated object name is not unique, Quick Connect uses the next rule in the list, and so on.
To copy and paste an existing rule
- In the Rules to generate unique object name list, right-click a rule, and then select Copy from the shortcut menu.
- In the rules list, right-click an entry, and then select Paste from the shortcut menu.
Modifying attribute values by using rules
In a workflow step you can configure a set of rules to automatically modify attribute values during the step run. By using these rules, you can select or generate an initial value, transform this value if necessary, and then assign the resulting value to the object attribute you want.
To create a rule to modify attribute values
- In the Quick Connect Administration Console, open the Workflows tab.
- Click the name of the appropriate workflow, then click the name of the workflow step.
- Depending on the workflow step type, complete the corresponding actions:
- Provisioning step. Click the Provisioning Rules tab, and then expand the Initial Attribute Population Rules element.
- Updating step. Click the Updating Rules tab, and then expand the Rules to Modify Object Attributes element.
- Deprovisioning step. Click the Deprovisioning Rules tab, and then expand the Rules to Modify Object Attributes element.
- In the element you have expanded, click the down arrow on the leftmost button to select a rule type:
- Forward Sync Rule. Allows you to create a rule that synchronizes attribute values from the source to the target data system. This type of rule is available in provisioning, updating, and deprovisioning steps. For more information, see Configuring a forward sync rule.
- Reverse Sync Rule. Allows you to create a rule that synchronizes attribute values from the target to the source data system. This type of rule is available in provisioning, updating, and deprovisioning steps. For more information, see Configuring a reverse sync rule.
- Merge Sync Rule. Allows you to create a rule that merges the values of specified attributes between the source and the target data systems. As a result, the attribute values in the source and the target become identical. This type of rule is only available in updating steps. For more information, see Configuring a merge sync rule.
Configuring a forward sync rule
A forward sync rule allows you to synchronize data from the source data system to the target data system. To create such a rule, follow the instructions in Modifying attribute values by using rules to select the Forward Sync Rule type. Then, configure your rule by using the options in the dialog box that opens.
Source item
Source item
This option allows you to obtain an initial value for the synchronization operation. You can then transform the obtained initial value before assigning it to the attribute you want.
To get started, click the down arrow on the button in this option, and then select an item from the drop-down list:
- Attribute. Allows you to select the attribute whose value you want to use.
- Rule. Allows you to obtain a value by using a value generation rule. For more information, see Using value generation rules.
- PowerShell script. Allows you to obtain a value by executing a Windows PowerShell script.
- Text. Allows you to type a text value.
- Referenced object attribute. Allows you select an attribute of a referenced object and use the value of the selected attribute.
- Parent object attribute. Allows you to select an attribute of a parent object and use the value of the selected attribute.
- Empty. Generates an empty value.
Once you have explicitly selected an attribute in this option, you can click the Advanced link to configure some advanced synchronization settings for the attribute.
For example, you can specify which characters to retrieve from the attribute value, how to modify the retrieved value (remove white-space characters or change the capitalization), or set how to process references in the attribute. The available settings depend on the attribute types selected in the Source item and Target item options.
