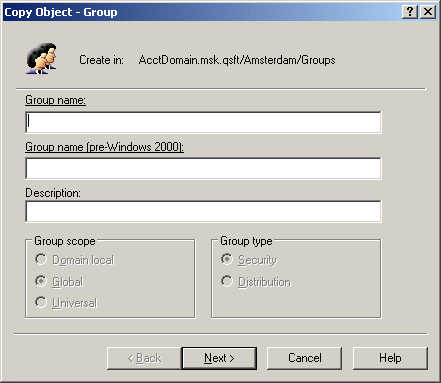
You can create new Active Directory groups with the Active Roles Console.
To create a group
-
In the Console tree, locate and select the folder in which you want to add the group.
-
Right-click the folder, point to New and click Group to start the New Object - Group wizard.
-
Follow the wizard pages to specify properties of the new group, such as the group name, pre-Windows 2000 group name, description, scope, type, membership list, and Exchange address settings.
-
If you want to set values for additional properties (those for which the wizard pages do not provide data entries), click Edit Attributes on the completion page of the wizard.
-
After setting any additional properties, click Finish on the completion page of the wizard.
NOTE: Consider the following when creating a group:
-
The behavior of the wizard pages may vary depending on the configuration of Active Roles policies. To determine whether a given item on a page is under the control of a certain policy, observe the text label next to the item: the underlined text label indicates that some policy restrictions are in effect. Click underlined text labels to examine the policies that govern the behavior of the wizard pages.
-
You can also start the New Object - Group wizard by clicking
on the toolbar.
-
To create a group, you can also copy a previously created group. For more information, see Copying a group.
-
A new user account with the same name as a previously deleted user account does not automatically assume the permissions and group memberships of the previously deleted account because the security ID (SID) for each account is unique. To duplicate a deleted user account, all permissions and memberships must be manually recreated.

