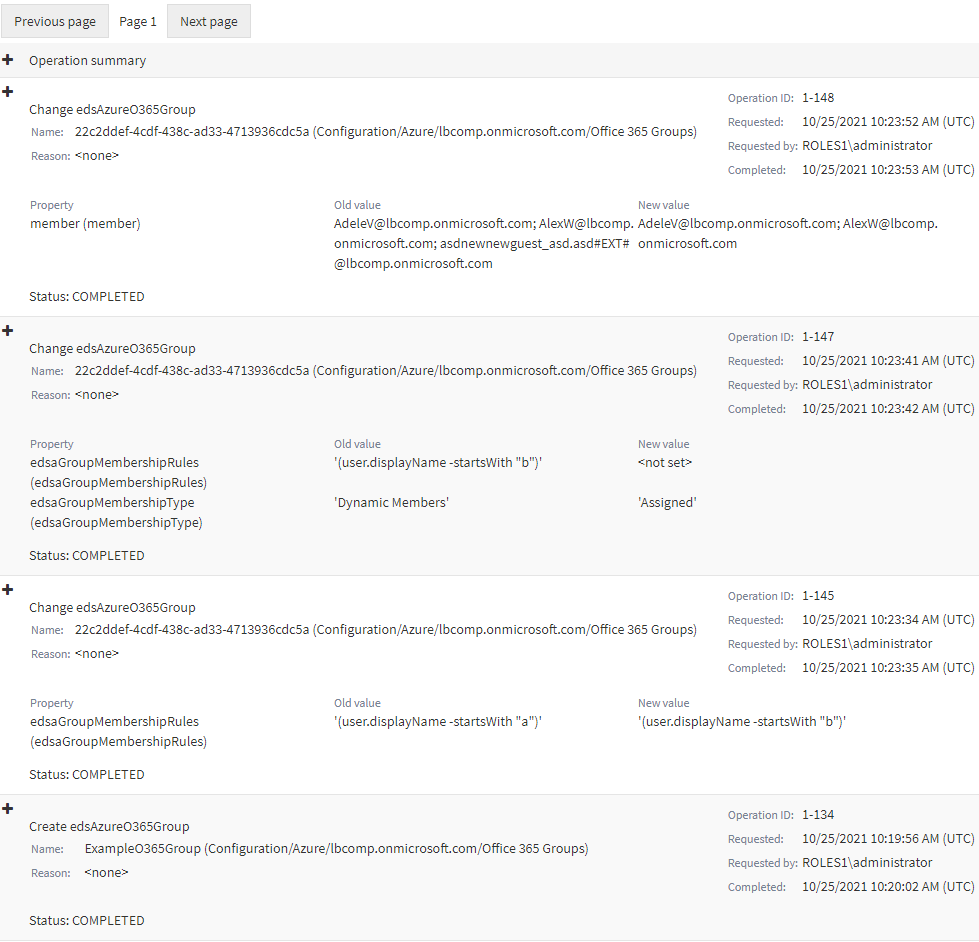
Viewing the change history of an Azure Security Group in the Web Interface
You can check the change history of an Azure Security group with the Active Roles Web Interface. This is useful if you want to view the list of changes that occurred to the selected Azure Security group, such as:
-
Membership changes (that is, added or removed members).
-
Membership type changes (that is, whether the group has been set to assigned or dynamic membership).
NOTE: The Change History option of the Active Roles Web Interface lists only group modifications that were performed in Active Roles. It does not list the changes of the group that were performed outside Active Roles, for example in Azure Portal.
To view the change history of an Azure Security group
-
Navigate to Directory Management > Tree > Azure > <azure-tenant-name> > Security Groups.
The list of existing Azure Security groups in the selected Azure tenant appears.
-
Select the group whose change history you want to check.
-
In the right-side pane, click Change History.
The Change History page then appears, with the newest change of the group listed at the top of the page.

-
To close the Change History window, click any Tree node, or any option listed in the right-side pane.
Deleting an Azure Security Group with the Web Interface
You can use the Active Roles Web Interface to delete an Azure Security group from an Azure tenant. This is typically required when the group becomes redundant or is otherwise no longer required, for example because of a security policy change.
|

|
CAUTION: Deleting an Azure Security group is a destructive operation that will delete the group from the Azure tenant on the Azure Portal as well. |
To delete an Azure Security group
-
Navigate to Directory Management > Tree > Azure > <azure-tenant-name> > Security Groups.
The list of existing Azure Security groups in the selected Azure tenant appears.
-
Select the group that you want to delete.
-
In the right-side pane, click Delete.
-
A confirmation dialog appears. To confirm the deletion of the group, click Yes.
The selected Azure Security group is then deleted from the Azure tenant.
Managing cloud-only distribution groups
You can use distribution groups (also called mail-enabled universal distribution groups) to distribute messages to a group of people.
In the Active Roles Web Interface, you can create, manage or delete cloud-only distribution groups in Directory Management > Tree> Azure > <azure-tenant-name> > Distribution Groups. Distribution groups created in the Active Roles Web Interface are synchronized to the Exchange admin center.
For more information about cloud-only distribution groups, see Create and manage distribution list groups in Exchange Online in the Microsoft Exchange Online documentation.
Creating a new distribution group
You can create a new distribution group with the Create New Distribution Group action of the Active Roles Web Interface.
To create a new distribution group
-
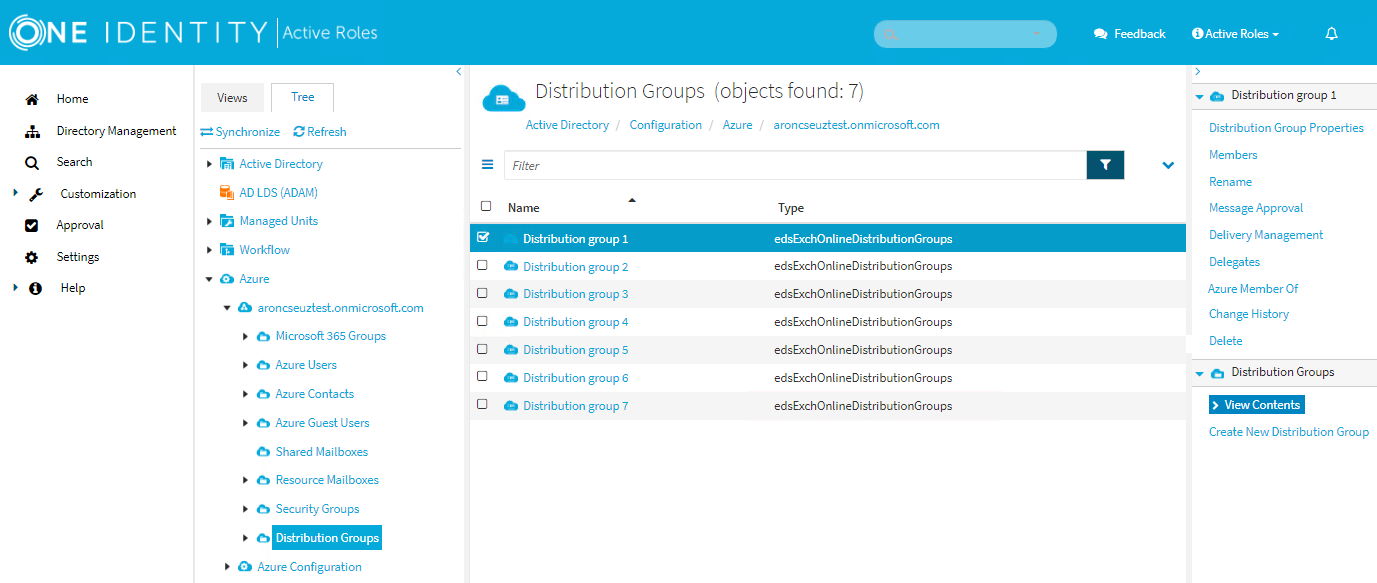
In the Active Roles Web Interface, navigate to Directory Management > Tree > Azure > <azure-tenant-name> > Distribution Groups.
Figure 165: Directory Management > Tree > Azure > <azure-tenant-name> > Distribution Groups — Listing the Azure distribution groups in the Azure tenant

-
Click Create New Distribution Group.
-
In General, configure the settings your organization requires for setting up the distribution group.
-
Enter the Name of the distribution group.
-
(Optional) Enter the Display name of the distribution group.
-
(Optional) Enter a Description for the distribution group.
-
Primary SMTP Address (leave blank for default value): Enter the name and select a domain.
The default value of the primary SMTP address is the name and the domain name of the mailbox. For example, mailbox1@activeroles.onmicrosoft.com, where mailbox1 is the name and activeroles.onmicrosoft.com is the domain name.
-
(Optional) Hide this group from the global address list (default: selected)
Select this check box if you do not want the group to appear in the address book and other address lists defined in your Exchange organization.
-
In Joining the group, set who can join the distribution group.
-
In Leaving the group, set who can leave the distribution group.
-
To apply your changes, click Finish.


