[Deprecated] Using the Splunk forwarder
NOTE:
The Splunk forwarder is deprecated as of Safeguard for Privileged Sessions(SPS) 6.7 and will be removed in an upcoming release. One Identity recommends using the universal SIEM forwarder instead.
SPS can forward session data to Splunk near real-time. Using the One Identity Safeguard for Privileged Sessions App for Splunk you can integrate this data with your other sources, and access all your data related to privileged user activities from a single interface. To configure SPS to forward session data to Splunk, complete the following steps.
Prerequisites and restrictions
-
SPS version 5 F5 or later
-
Splunk version 6.5 or later
-
SPS does not send historical data to Splunk, only data from the sessions started after you complete this procedure.
To configure SPS to forward session data to Splunk
-
Install the One Identity Safeguard for Privileged Sessions App for Splunk to your Splunk installation. This will automatically enable and configure the HTTP Event Collector (HEC) in your Splunk installation, and create an HTTP Event Collector authentication token ("HEC token") that SPS will use.
To help identify the source of the received data, the following settings are configured automatically in the One Identity Safeguard for Privileged Sessions App for Splunk:
-
index: The One Identity Safeguard for Privileged Sessions App for Splunk creates the index automatically, with the name balabit_events.
-
sourcetype: The source type of the events the SPS fowards is balabit:event.
-
On your Splunk interface, navigate to Settings > Data inputs > HTTP Event Collector. Copy the Token Value from the Balabit_HEC field. This is the HTTP Event Collector authentication token and you will need it when configuring SPS.
-
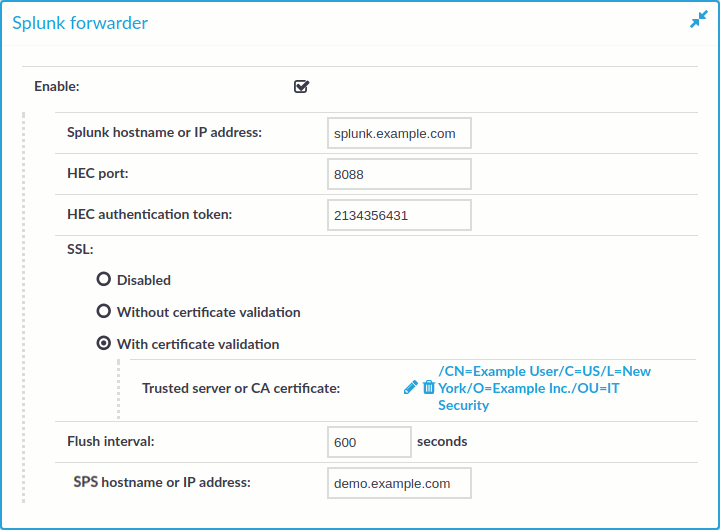
Log in to SPS and navigate to Basic Settings > Management > Splunk forwarder.
Figure 70: Basic Settings > Management > Splunk forwarder — Sending session data to Splunk
-
Enter the IPv4 address or hostname of your Splunk installation into the Splunk hostname or IP address field.
-
Enter the port number where your Splunk HTTP Event Collector is accepting connections into the HEC port field. By default, Splunk uses port 8088.
-
Copy the HTTP Event Collector authentication token you have generated for SPS into the HEC authentication token field.
-
-
If your Splunk HTTP Event Collector accepts unencrypted HTTP connections, select SSL > Disabled.
Since the data forwarded to Splunk contains sensitive information, One Identity recommends to use HTTPS encryption between SPS and Splunk.
-
To use HTTPS encryption between SPS and Splunk, select SSL > Without certificate validation.
-
To use HTTPS encryption between SPS and Splunk and also verify the identity of the Splunk server, select SSL > With certificate validation, then click  and upload the certificate of the Splunk server, or the certificate of the CA that issued the certificate of the Splunk server.
-
Splunk will display the data received from SPS as it was received from the host set in the PAM hostname or IP address field. By default, this is the hostname and domain name of the SPS appliance as set on the Basic Settings > Network > Naming page. Adjust this field as needed for your environment.
-
Click  . From now on, SPS will forward session data to Splunk. If the Splunk server becomes unaccessible, SPS will try to resend the data when the period set in Flush interval expires.
-
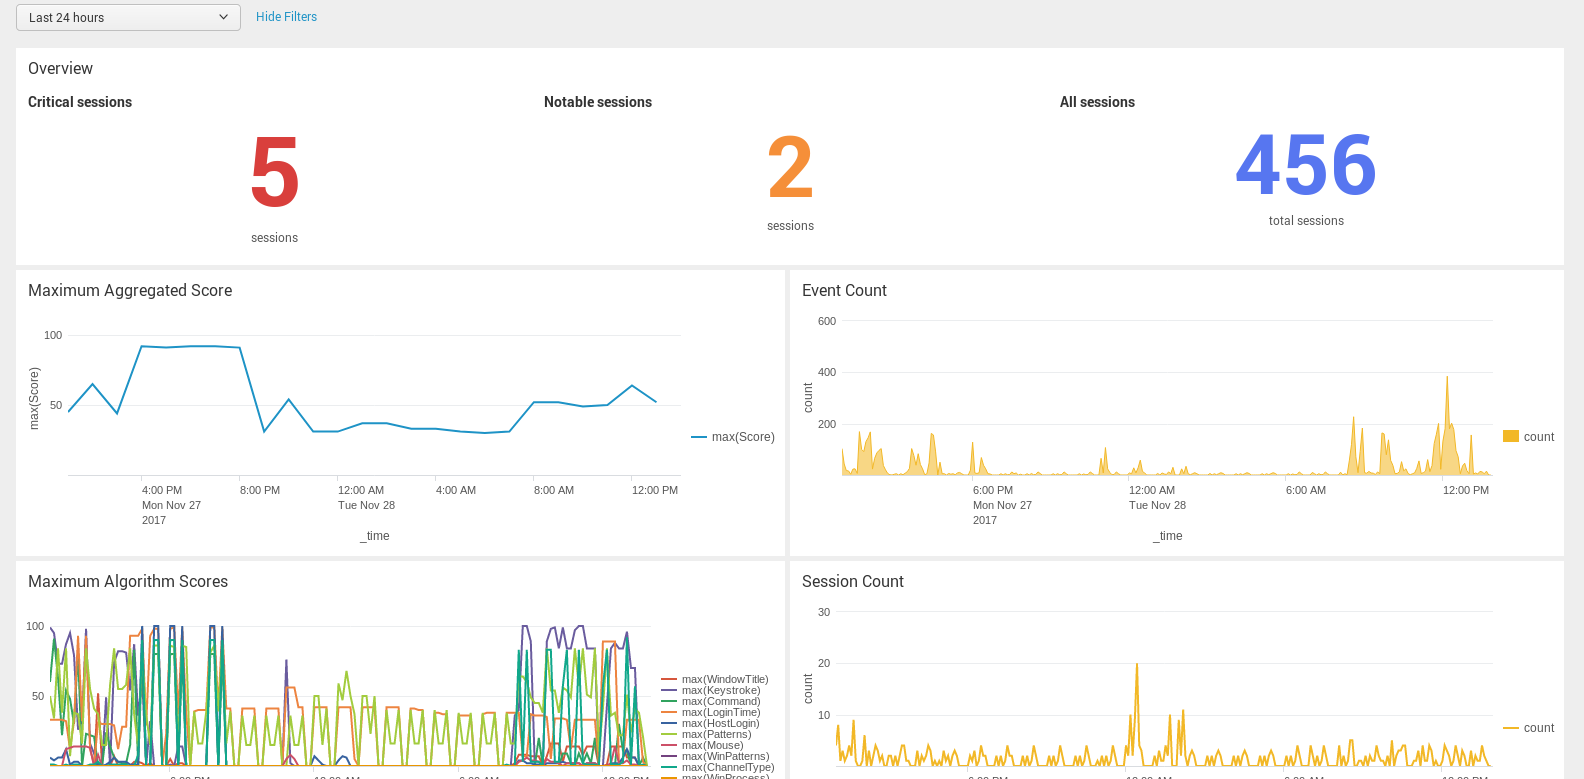
Start a session that SPS will audit to test your configuration, and verify that the data of the session appears in Splunk.
Figure 71: Balabit Privileged Account Analytics
Universal SIEM Forwarder
The universal SIEM forwarder can automatically send data about the audited sessions to Splunk, ArcSight, or other third-party systems. The messages are standard syslog messages in RFC3164 format (also called legacy-syslog or BSD-syslog format). The body of the syslog message (the MESSAGE part) can be formatted as JavaScript Object Notation (JSON), Common Event Format (CEF), or JSON-CIM format. For information about the details of the messages that the universal SIEM forwarder sends to the external SIEM network elements, see Message format forwarded to SIEMs.
One of the main advantages of the universal SIEM forwarder is that it has a lower impact on network and performance.
Each message contains the minimal information relevant to the event. Use the built-in correlation feature of the SIEM to combine events by session ID and view all information in one place.
Prerequisites and restrictions
-
SPS version 5 F9 or later
-
Splunk version 6.5 or later
-
The CEF format is supported on all currently supported versions of ArcSight ESM, IBM QRadar and Microsoft Azure Sentinel.
-
SPS does not send historical data, only data from the sessions started after you complete this procedure.
To use the universal SIEM forwarder
-
Log in to SPS and navigate to Basic Settings > Management > Universal SIEM forwarder.
Figure 72: Basic Settings > Management > Universal SIEM forwarder — Sending session data to SIEM

-
Enter the IPv4 address or hostname of your third-party system, into the Address field.
-
Enter the port number where your third-party system is accepting connections into the Port field. For example, if you use Splunk, use port 1999.
-
Select the appropriate TLS setting:
-
If your third-party system accepts unencrypted connections, select TLS > Disabled.
Because the data forwarded contains sensitive information, One Identity recommends to use TLS encryption between SPS and your SIEM.
-
To use TLS encryption between SPS and your third-party system, select TLS > Without certificate validation.
-
To use TLS encryption between SPS and your third-party system and also verify the identity of your third-party system server, select TLS > With certificate validation, then select the trust store you want to use to validate the certificate of the third-party system in the Trust Store field.
NOTE: You can only select a trust store with None or Full revocation check type.
For more information on creating trust stores, see Verifying certificates with Certificate Authorities using trust stores.
- Select the format of the message:
-
JSON-CIM: if using Splunk.
-
CEF: if using CEF-compatible SIEMs, for example, Microsoft Azure Sentinel.
-
JSON: for general use.
-
(Optional) You can specify a prefix to make the data more readable. Enter the prefix you want to use into the Prefix field.
The prefix is added to each JSON key. For example, if you use sps_ as a prefix, in the forwarded JSON message the {"protocol": "ssh"} key changes to {"sps_protocol": "ssh"}, which allows you to identify the forwarded data more easily.
Other formats ignore the Prefix option.
-
Click . From now on, SPS forwards session data to your third-party system.
Message types forwarded to SIEMs
There are three major categories of messages that One Identity Safeguard for Privileged Sessions (SPS): forwards to the SIEM: content, meta, and score.
-
Content messages represents events when SPS detects interesting textual content in the session, such as a command execution or new window title.
-
Meta messages represent events that change the session state and/or carry new information about a session.
-
Score messages represent scoring events when SPS has calculated an initial score for the session, or updated the score for the session.
The following tables provide a summary of events for the different message types.
Content messages
Table 3: Summary of events for content messages
| 127084214 |
CommandChannelEvent |
Emitted when a command is detected in the session text. |
| 911383355 |
WindowTitleChannelEvent |
Emitted when a window title is detected in a graphical session. |
| 1127618380 |
FileTransfer |
Emitted when SCP file transfer is detected in the SSH protocol. |
Meta messages
Table 4: Summary of events for meta messages
| 1843867026 |
GatewayAuthenticationFailure |
Emitted if gateway authentication is configured and the user failed to authenticate through the gateway. |
| 1865245228 |
ServerAuthenticationSuccess |
Comes after the server authentication successfully happened. |
| 1262825953 |
ServerAuthenticationFailure |
Emitted if the server authentication failed. |
| 107115592 |
ServerConnect |
Comes after the server authentication successfully happened. |
| 998298775 |
RdpEmbeddedInTsg |
Emitted when the gateway user is acquired in a Terminal Service Gateway authentication scenario. This message will only contain the gateway_username optional field. |
| 1639978560 |
ServerNameResolved |
Emitted when the server_name field was successfully resolved to an ip address. This message will only contain the server_address optional field. |
| 449510124 |
SessionClosed |
Emitted when the session ends. |
Score messages
Table 5: Summary of events for score messages
| 1991765353 |
SessionScored |
The message contains the aggregate score and one scoring algorithm name and score. |
Message format forwarded to SIEMs
The messages are standard syslog messages in RFC3164 format (also called legacy-syslog or BSD-syslog format). The body of the syslog message (the MESSAGE part) can be formatted as one of:
-
Common Event Format (CEF), based on the ArcSight CEF specification rev. 16, 22 July 2010
-
JavaScript Object Notation (JSON)
-
JSON-CIM format (available in SPS version 5.11 and later).
