The following describes how to create and replay an audit trail in your browser.
|

|
Caution:
You can replay audit trails in your browser, or using the Safeguard Desktop Player application. Note that there are differences between these solutions.
| Works without installation |
✔ |
- |
| Works on any operating system |
✔ |
Windows, Linux, Mac |
| Can replay audit trails recorded with SPS 5 F4 and newer |
✔ |
✔ |
| Can replay TN5250 sessions |
✔ |
✔ |
| Can extract files from SCP, SFTP, HTTP and RDP sessions |
- |
✔ |
| Can replay HTTP sessions |
- |
Only exports raw files from the command line |
| Can replay X11 sessions |
✔ |
✔ |
| Can start replay while rendering is in progress |
- |
✔ |
| Can follow 4-eyes connections |
- |
✔ |
| Can replay live streams in follow mode |
- |
✔ |
| Can export to PCAP |
- |
✔ |
| Can display user input |
✔ |
✔ |
| Can display subtitles for video |
- |
✔ |
| Export audit trail as video |
- |
✔ |
| Export screen content text |
- |
✔ |
| Can search in the contents of the audit trails |
- |
✔ |
For details on the Safeguard Desktop Player application, see Safeguard Desktop Player User Guide. |
To replay an audit trail in your browser
-
On the Search page, find the audit trail you want to replay.
-
Click  to display the details of the connection.
-
Click  to generate a video file from the audit trail you want to replay. Depending on the load of the indexer and the length and type of the audit trail, this can take several minutes.
When the video is available, changes to  and
and  . You can use the button if you want to remove the generated video. After you remove the video file, the button is available and you can use it to recreate the video file.
- (Optional) If you have encrypted audit trails but the necessary certificates and private keys are not uploaded into your private keystore, you have to upload the keys first. After uploading them, click
 . The feature decrypts the encrypted upstream traffic elements. As a result, they will be displayed distributed in the generated video (see List of keyboard events, Show / hide events, and both versions of the Progress bar in the The Player window has the following controls: below).
-
To replay the video, click .
The Player window opens.
Figure 291: Replaying audit trails in your browser
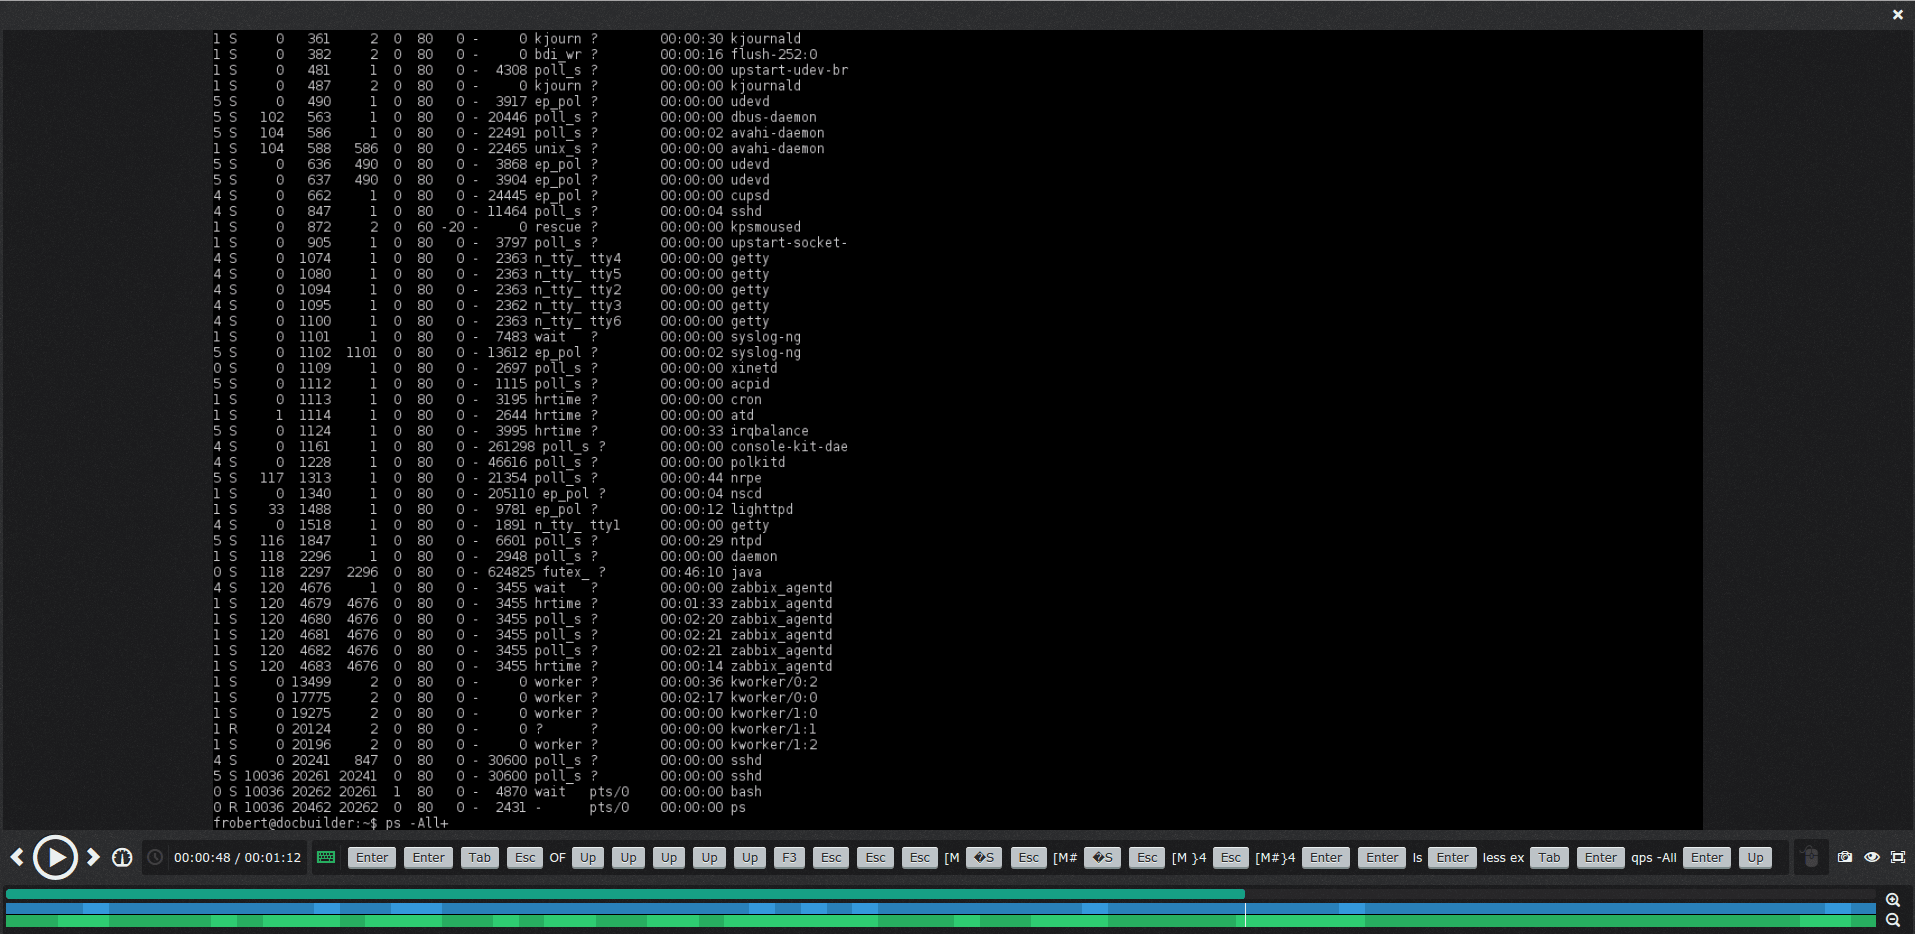
TIP: You can quickly zoom in or out by clicking anywhere in the Player window.
The Player window has the following controls:
-
 : Play, Pause
-
 ,
,  : Jump to previous event, Jump to next event
-
 : Adjust replay speed
-
 : Time since the audit trail started / Length of the audit trail. Click on the time to show the date (timestamp) of the audit trail.
-
 : List of keyboard events. Special characters like ENTER, F1, and so on are displayed as buttons. If the upstream traffic is encrypted, upload your permanent or temporary keys to the User menu > Private keystore to display the keyboard events. This will not be displayed if your upstream traffic is encrypted but not unlocked.
-
 : Active mouse button
-
 : Create a screenshot
-
 : Show / hide events. Select the types of events to display. Depending on the protocol used and how the audit trail was processed, One Identity Safeguard for Privileged Sessions (SPS) can display keyboard events, commands, mouse events, and window titles. Commands and window titles are displayed as subtitles at the top of the screen. This will not be displayed if your upstream traffic is encrypted but not unlocked.
-
 : Fullscreen mode
-
 : Progress bar
-
 : Shows the distribution of events. Blue - commands, green - keyboard events, yellow - mouse events, orange - window title. This will not be displayed if your upstream traffic is encrypted but not unlocked.
-
 : Close the player, and return to the Connection details page.
To view encrypted screenshots in the Search interface, you have to upload the necessary encryption key to your keystore. Only RSA keys (in PEM-encoded X.509 certificates) can be uploaded to the private keystore.
One Identity recommends using 2048-bit RSA keys (or stronger).
The private key is stored in your browser.
NOTE: If you clear your browser’s data, your keystore could be deleted. If your keystore is deleted, reupload your private keys.
To create a key for viewing encrypted screenshots
-
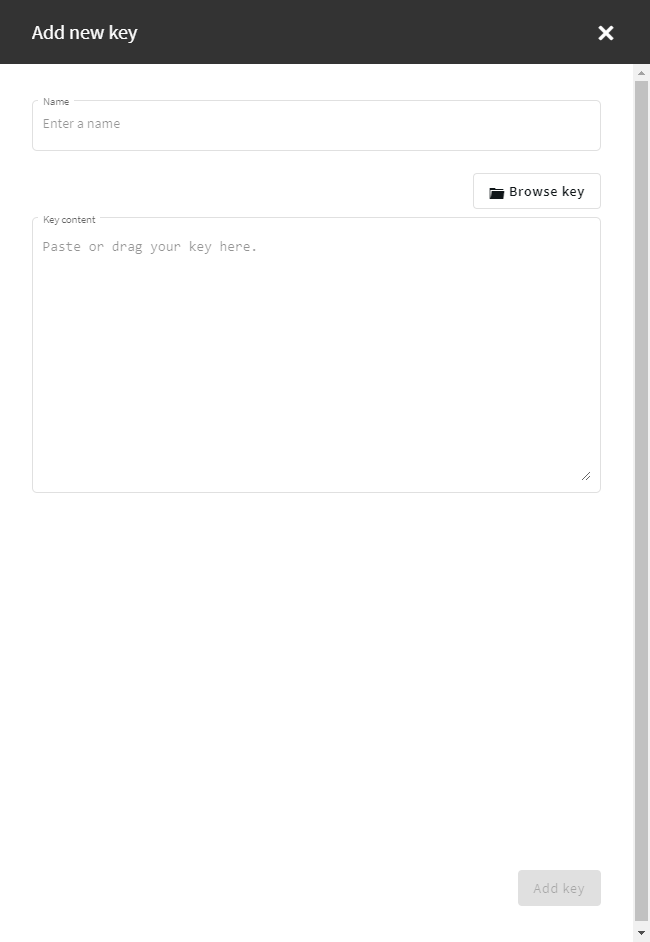
Click User Menu > Keystores > Add new key.
Figure 292: User Menu > Add new key — Add new key
-
Click Browse key, select the file containing the key in PEM format, and click Open. Alternatively, you can also copy-paste or drag your key into the Key content field and click Add key.
-
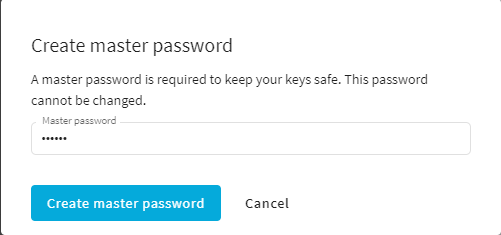
Create a master password.
The master password protects your keys from unauthorized use, for example, if you share a computer with anyone. This password cannot be changed. If you forget your master password, delete the key and add a new key as well as a new master password.
To use the keys in a keystore protected by a master password, you have to unlock the keystore first by providing the master password. The keystore then remains unlocked for the duration of your session.
Figure 293: User Menu > Add new key — Add a master password
Result
Once you added a key to view encrypted screenshots, and unlocked the keystore by providing the master password, you can view the encrypted screenshots in the Search interface.
To replay encrypted audit trails in your browser, you have to upload the necessary certificates and corresponding private keys to your private keystore. Depending on the encryption, decrypting the upstream part of an audit trail may require an additional set of certificates and keys.
Only RSA keys (in PEM-encoded X.509 certificates) can be uploaded to the private keystore.
One Identity recommends using 2048-bit RSA keys (or stronger).
NOTE: Certificates are used as a container and delivery mechanism. For encryption and decryption, only the keys are used.
Use every keypair or certificate only for one purpose. Do not reuse cryptographic keys or certificates (for example, do not use the certificate of the One Identity Safeguard for Privileged Sessions (SPS) webserver to encrypt audit trails, or the same keypair for signing and encrypting data).
For more information on audit trail encryption, see Encrypting audit trails and for more information about replaying audit trails in your browser, see Replaying audit trails in your browser.
You can upload certificates permanently or temporarily. The temporary certificates are deleted when you log out of SPS.
The certificates and private keys in your keystore can be protected with a passphrase. To use the certificates and private keys in a passphrase-protected keystore for decrypting audit trails, you have to unlock the keystore first by providing the security passphrase. The keystore then remains unlocked for the duration of your session.
To replay encrypted audit trails in your browser
-
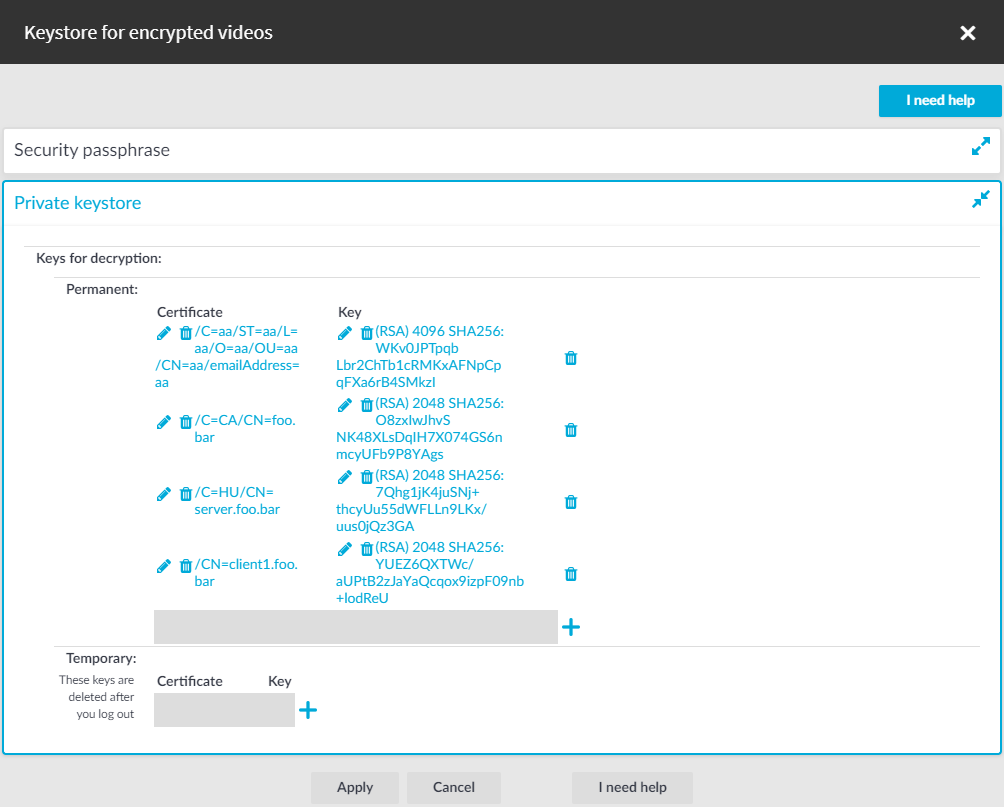
Click User Menu > Keystores > Manage keys for encryted videos.
Figure 294: User Menu > Keystores > Manage keys for encryted videos — Keystore for encrypted videos
-
(Optional) Create a security passphrase, if you have not configured one yet.
-
In Security passphrase, click Change.
-
In the New: field, enter your new security passphrase. Repeat the same passphrase in the Confirm: field.
NOTE: SPS accepts passwords that are not longer than 150 characters. The following special characters can be used: !"#$%&'()*+,-./:;<=>?@[\]^-`{|}
-
Click Apply.
If you forgot your security passphrase, contact our Support Team.
-
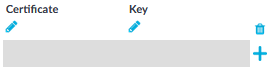
Click  to add a new certificate. A new empty row is added.
Figure 295: Adding certificates
-
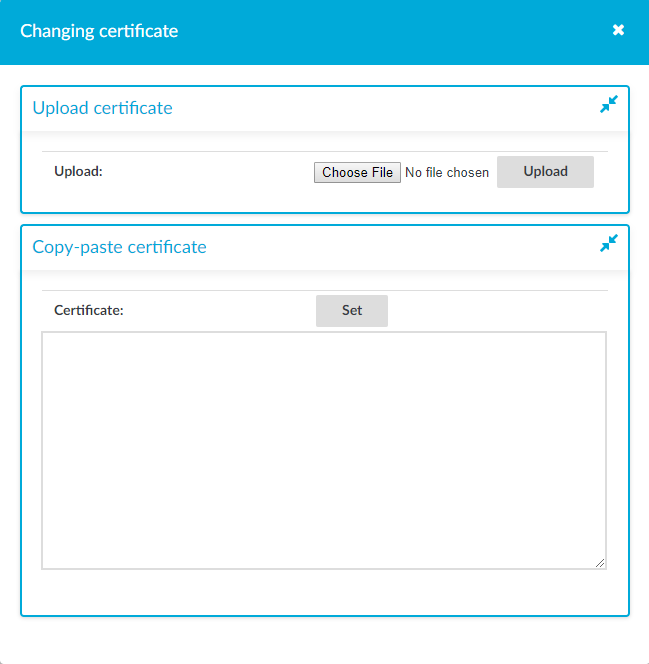
Click the first  (under Certificate) to upload the new certificate. A pop-up window with the header Changing certificate is displayed.
Figure 296: Uploading certificates
-
Click Choose File, select the file containing the certificate, and click Upload. Alternatively, you can also copy-paste the certificate into the Certificate field and click Set.
-
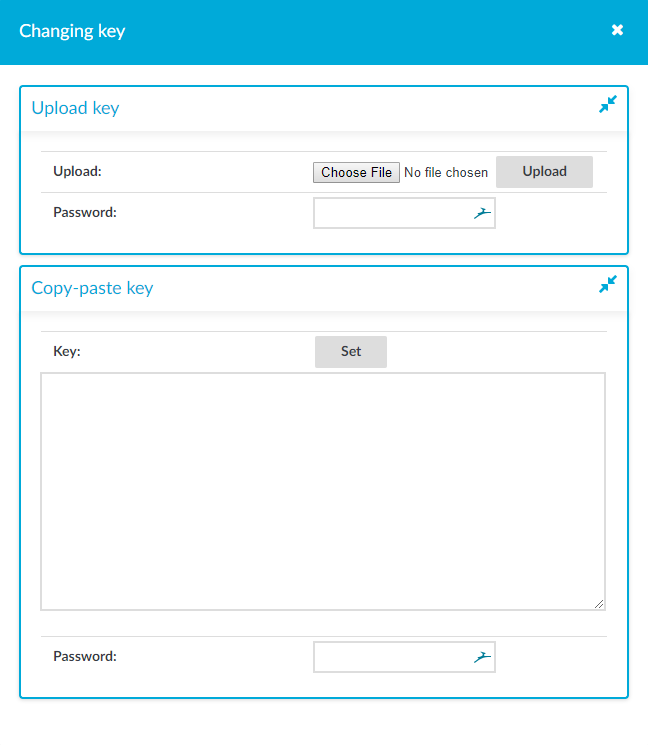
To upload the private key corresponding to the certificate, click the second icon (under Key). A pop-up window with the header Changing key is displayed.
Figure 297: Uploading the private key
-
Click Choose File, select the file containing the private key, provide the Password if the key is password-protected, and click Upload. Alternatively, you can also copy-paste the private key into the Key field, provide the Password there, and click Set. Note that for passwords, Unicode characters are also supported.
-
To add more certificate-key pairs, click and repeat the steps above.
-
To finish uploading certificates and keys to your private keystore, click Apply.
