Report output
The output of the reports are available in PDF format.
The reports enable you to check the sessions that contain the configured search expressions. For security reasons, the relevant sessions are available through links to avoid including the session details directly in the report. You can open the related sessions using one of the following methods:
- Clicking the link in the Sessions key column of the table
- Clicking the QR code
- Clicking the link provided with the QR code
Searching by sessions keys
From the report, you can access the relevant sessions on the Search interface by clicking the link in the Sessions key column.
NOTE: If clicking on the sessions key does not work, for example, because the IP address of your SPS has changed, you can still use the key to access the relevant session as follows:
- Copy the key from the Sessions key column, for example, svc-uXG6ciAkstSanfD8YhGHXVddavid-7 as shown in the following example.
-
Create a link, using the IP address of your SPS and the sessions key in the following format:
https://<your-SPS-IP>/portal/#/audit/sessions/<sessions-key>
For example, if using the following example and an SPS with an IP address of 10.10.10.10, the link is https://10.10.10.10/portal/#/audit/sessions/svc-uXG6ciAkstSanfD8YhGHXV-ddavid-7
Figure 319: Reporting > Download reports — Accessing sessions from the PDF output

Accessing screenshots from the report output using QR codes
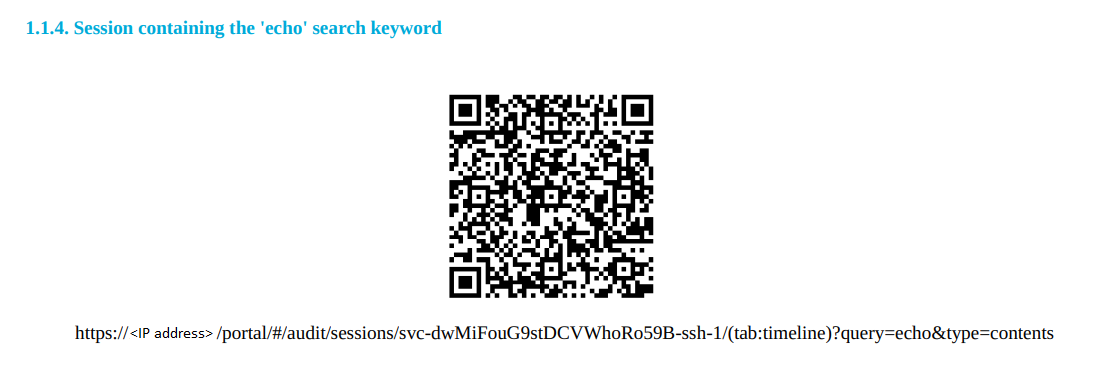
NOTE: The screenshots of the sessions containing the search keywords are not included in the report output for security reasons, but you can access the screenshots by using the clickable QR codes.
Alternatively, you can click the link provided with the QR codes, which makes it possible to display the link text if the report is printed on paper.
Figure 320: Example of a clickable QR code in the report output

Import and visualize audit data from SPS in the Power BI Desktop reporting application
Reports > Import and visualize audit data from SPS in the Power BI Desktop reporting application
From One Identity Safeguard for Privileged Sessions (SPS) version 7.3, you can use the One Identity Safeguard Power BI Connector (Power BI Connector) to import and visualize audit data from SPS in the Power BI Desktop reporting application.
NOTE: Power BI Desktop integration using the Power BI Connector is only supported for SPS 7.3 and later feature versions.
For more information, see the One Identity Safeguard Power BI Connector Tutorial on the One Identity Support Portal.
The One Identity Safeguard for Privileged Sessions (SPS) REST API
The One Identity Safeguard for Privileged Sessions (SPS) REST API
Starting with One Identity Safeguard for Privileged Sessions (SPS) version 4 F2, certain parts and features of SPS can be configured using a REST API (Representational State Transfer Application Programming Interface). The REST server conforms to the Hypermedia as the Engine of Application State (HATEOAS).
The SPS REST API uses JSON over HTTPS. The REST server has a single entry point and all resources are available at paths (URLs) returned in the response for a request sent to the entry point. The only path that is guaranteed not to change is /api/authentication. Every other path should be reached by navigating the links returned.
The SPS REST API allows you to create, read, update and delete (CRUD) the configuration resources of SPS.
The user accessing the SPS REST API must have the REST server privilege. For details, see Modifying group privileges in the Administration Guide. For details on using the REST API, see REST API Reference Guide.
One Identity Safeguard for Privileged Sessions (SPS) scenarios
One Identity Safeguard for Privileged Sessions (SPS) scenarios
This section discusses common scenarios for One Identity Safeguard for Privileged Sessions (SPS).
Detailed information about this topic


