You can view or modify the members of a distribution group with the Members action of the Active Roles Web Interface.
To view or modify the members of a distribution group
-
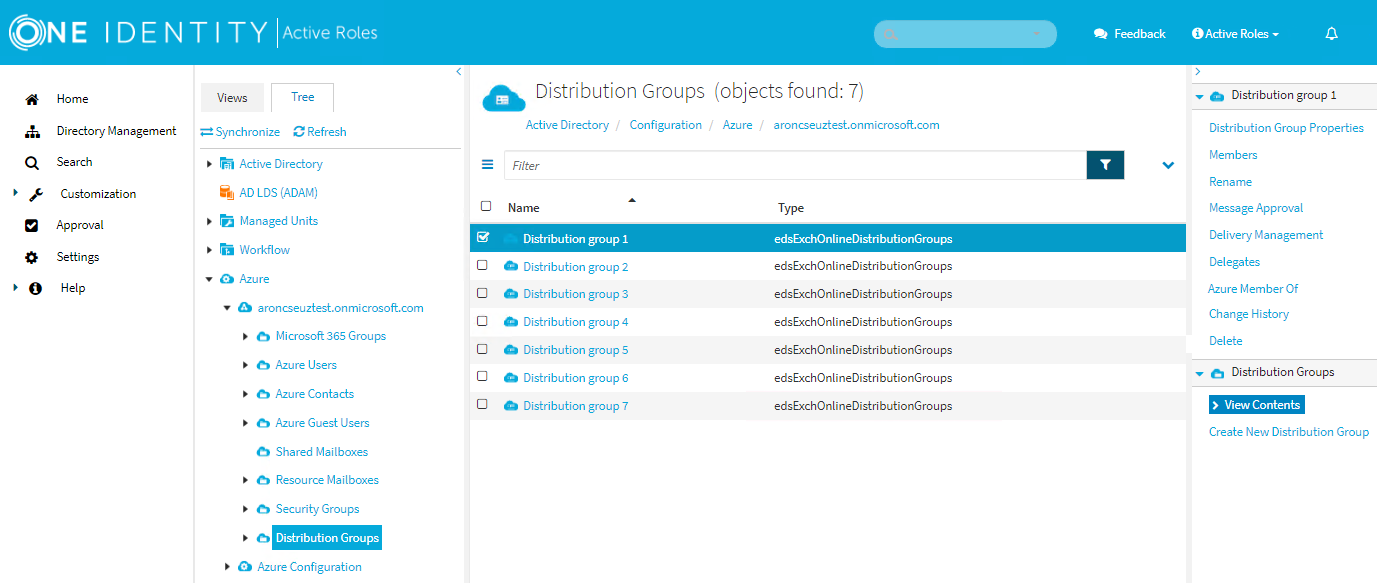
In the Active Roles Web Interface, navigate to Directory Management > Tree > Azure > <azure-tenant-name> > Distribution Groups.
Figure 167: Directory Management > Tree > Azure > <azure-tenant-name> > Distribution Groups — Listing the Azure distribution groups in the Azure tenant
-
Select the distribution group whose members you want to view or modify.
-
Click Members.
-
To add members to the distribution group, select the users, contacts or distribution groups and click OK.
-
To remove members from the distribution group, select the users, contacts or distribution groups and click OK.