Finding a contact
To find a contact, right-click the container you want to search and click Find. In the Find window, select Contacts from the Find list, specify your search criteria, and start the search. In the search results list, you can right-click contacts and use commands on the shortcut menu to perform management activities.
For step-by-step instructions on how to search for contacts, see Steps for searching for a user, contact, or group earlier in this document.
Modifying contact properties
To modify contact properties, right-click the contact, and then click Properties. You can make changes to contact properties in the Properties dialog box, shown in the following figure.
Figure 23: Modifying contact properties
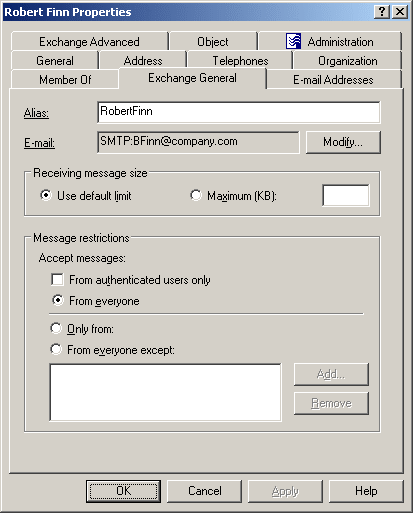
In the Properties dialog box, some property labels may be displayed as hyperlinks. The hyperlink indicates that Active Roles enforces certain policy restrictions on the property. To examine policy details, click the hyperlink: the policy information is displayed (see Getting policy-related information earlier in this document).
The policy information is also displayed whenever you supply a property value that violates a policy restriction. Property changes cannot be applied until you enter an acceptable value.
You can use the Properties dialog box to view or modify any property of the contact: go to the Object tab and click Advanced Properties. In the Advanced Properties window you can manage all properties, including those that cannot be accessed via the Properties dialog box itself.
You can also display the Advanced Properties window as follows: right-click the contact and select All Tasks | Advanced Properties.
|

|
NOTE: In the console, you can select multiple contacts, right-click the selection, click Properties, and then modify properties of all the selected contacts collectively via the Properties dialog box. |
The instructions on how to manage contact properties are similar to those for user accounts, see Steps for modifying user account properties earlier in this document.
Renaming a contact
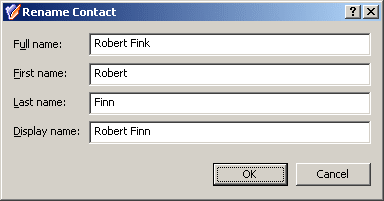
To rename a contact, right-click the contact and click Rename. Type a new name and press ENTER. This displays the Rename Contact dialog box where you can change the first name, last name, and display name of the contact.
Figure 24: Rename Contact
Adding and removing contacts from groups
To add contacts to groups, select the contacts, right-click the selection, and click Add to a Group. This displays the Select Objects dialog box where you can select the groups to which you want to add the contacts (see Adding user accounts to groups earlier in this document).
You can also add or remove a contact from groups by modifying the group membership list on the Member Of tab in the Properties dialog box. To display the Properties dialog box, right-click the contact and click Properties. The Member Of tab looks as shown in the following figure.
Figure 25: Adding and removing contacts from groups
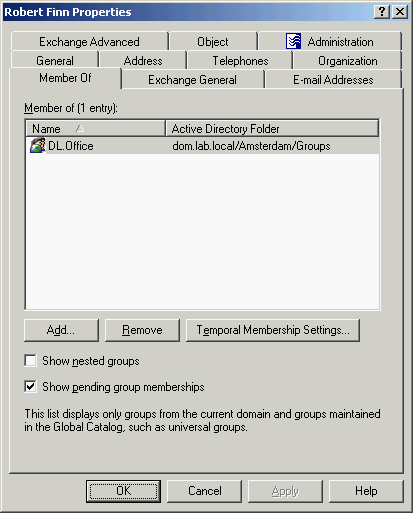
The Member Of tab lists the groups to which the contact belongs. If the Show nested groups check box is selected, the list also includes the groups to which the contact belongs due to group nesting.
The Temporal Membership Settings button can be used to specify the date and time when the contact should be added or removed from the selected groups. For more information about this feature, see Using temporal group memberships earlier in this document.
You can modify the list on the Member Of tab using the Add and Remove buttons. Clicking Add displays the Select Objects dialog box where you can type or select the names of the groups you want to add to the list. Clicking Remove deletes the selection from the list.
