Location of groups
On the next page, you can specify the container you want to hold the groups generated by the Group Family.
Figure 152: Location of groups
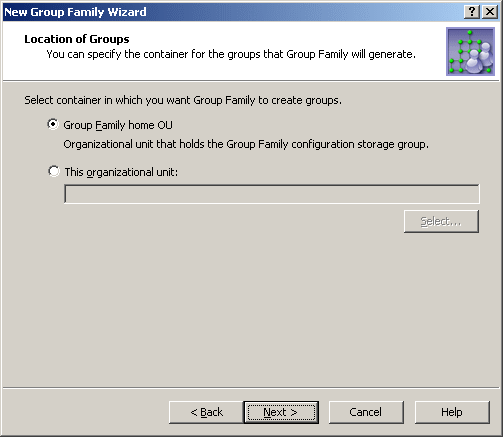
You can choose one of these options:
-
Group Family home OU: The Group Family creates groups in the container that holds the configuration storage group for that Group Family. For more information, see Start the New Group Family Wizard.
-
This Organizational Unit: The Group Family creates groups in the specified container. This must be an Organizational Unit or container from the domain of the Group Family configuration storage group. Click Select to choose the desired Organizational Unit or container.
Exchange-related settings
On the next page, you can specify whether you want the groups generated by the Group Family to be mail-enabled, and set up Exchange-related properties to assign to those groups upon their creation.
Figure 153: Exchange-related settings
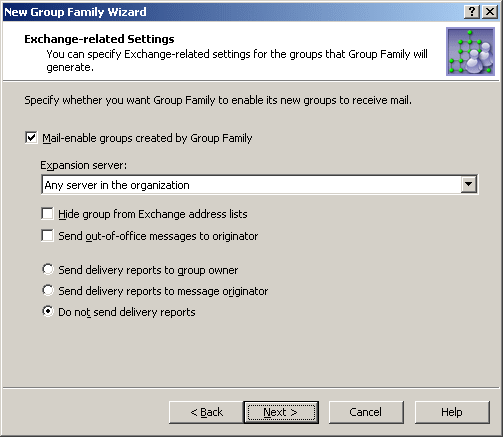
If you want the Group Family groups to be mail-enabled, select the Mail-enable groups created by Group Family check box. Then, you can set up the following Exchange-related properties for the Group Family groups:
-
Expansion server: The Exchange server used to expand a Group Family group into a list of group members.
-
Hide group from Exchange address lists: Prevents the Group Family groups from appearing in address lists. If you select this check box, each of the groups will be hidden from all address lists.
-
Send out-of-office messages to originator: Select this check box if you want out-of-office messages to be sent to the message originator, when a message is sent to a Group Family group while one or more of the group members have an out-of-office message in effect.
-
Send delivery reports to group owner: Use this option if you want delivery reports to be sent to the group owner, when a message sent to a Group Family group is not delivered. This lets the group owner know that the message was not delivered.
-
Send delivery reports to message originator: Use this option if you want delivery reports to be sent to a message originator, when a message sent to a Group Family group is not delivered. This lets the message originator know that the message was not delivered.
-
Do not send delivery reports: Use this option if you do not want delivery reports to be sent, even if a message sent to a Group Family group is not delivered.
Group Family scheduling
On the next page, you can schedule the Group Family to run. During each run, the Group Family performs as described in the How Group Family works.
When setting up the schedule options, take into account that a Group Family run is a lengthy and resource intensive operation. Therefore, a Group Family run should be scheduled for a time that it will have the minimum impact on users.
Figure 154: Group family scheduling
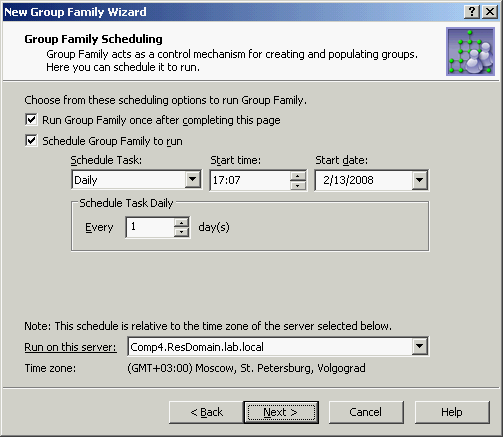
Select the first check box to run the Group Family right after you complete the wizard and whenever the Group Family is modified by managing the configuration storage group. For more information, see Administering Group Family.
Select the Schedule Group Family to run check box to set up schedule options. As long as this check box is selected, the Group Family runs at specified time.
From the Run on this server list, you can select the Administration Service to run the Group Family. It is advisable to choose the least loaded Service.
Steps for creating a Group Family
The creation of a Group Family is a two-step process that includes:
-
Creating the Group Family configuration
-
Running the Group Family to initially create or capture groups
The Active Roles Console provides the New Group Family Wizard for creating the Group Family configuration. The wizard creates a group, referred to as configuration storage group, and populates that group with the configuration data you specify. The wizard also allows you to run the Group Family immediately or schedule the Group Family to run on a regular basis.
To create the Group Family configuration and run the Group Family
-
In the Console tree, right-click the Organizational Unit in which you want to create the Group Family configuration storage group, and select New > Group Family to start the New Group Family Wizard.
-
Follow the instructions on the wizard pages.
-
On the Name the Group Family page, specify a name for the Group Family.
The wizard creates the Group Family configuration storage group with the name you specify on this page.
-
On the Grouping Options page, do one of the following, and then click Next:
-
Click Pre-configured grouping by, and then select a preconfigured grouping criteria from the list.
-
Click Custom Grouping to configure custom grouping criteria in later steps of the wizard.
-
On the Location of Managed Objects page, do the following, and then click Next:
-
Click Add, and then select a container that holds the objects to be assembled into groups.
-
Click Remove to remove a selected container from the Containers list.
-
On the Selection of Managed Objects page, do the following, and then click Next:
-
Select a type of objects by clicking one of the four topmost options; or click Other, and then click Specify to choose an object type from the Object Types list.
-
Click Preview to view the list of objects that meet the specified conditions.
-
On the Group-by Properties page, do the following, and then click Next:
-
On the Capture Existing Groups Manually page, select Skip this step, without capturing groups manually, and then click Next.
-
On the Group Naming Rule page, do the following, and click Next:
-
On the Group Type and Scope page, do the following, and then click Next:
-
In the Group scope area, select a group scope.
-
In the Group type area, select a group type.
-
On the Location of Groups page, do one of the following, and then click Next:
-
To have the Group Family create new groups in the OU that holds the Group Family configuration storage group, click Group Family home OU.
-
To have the Group Family create new groups in a different OU, click This Organizational Unit, and then click Select to choose the OU.
-
On the Exchange-related Settings page, do the following, and then click Next:
-
On the Group Family Scheduling page, do the following, and then click Next.
-
If you want the Group Family to run once you have completed the wizard, select Run Group Family once after completing this page.
-
If you want the Group Family to run on a schedule basis, select Schedule Group Family to run, and then set the appropriate date, time, and frequency of runs by using the options below this check box.
-
From the Run on this server list, select the Administration Service you want to run the Group Family.
-
On the last page of the wizard, click Finish.
To complete the Filter dialog
-
Select an object property under Select Property.
-
Select an operator from the Select operator drop-down list.
-
In Specify value (case-insensitive), type in a value for the selected property.
-
Click Add to add the filter condition that you have just specified, to the Conditions list.
-
To add multiple filter conditions, repeat steps 1-4.
To complete the Configure Value dialog
-
Click Add.
-
In the Add Entry dialog, do one of the following, and then click OK:
-
To configure a group-by property entry, click Group-by Property under Entry Type, and then, under Entry properties, select a property from the list and do one of the following:
-
Optionally, do the following:
-
Add more entries, delete or edit existing ones, and use the arrow buttons to move entries up or down in the list.
-
Paste the Clipboard contents to the list of entries by clicking the button next to the Configured value box.
-
Click OK.
To complete the Fine-tune Naming Rule dialog
-
Select the check box and click Configure next to the naming property that you want to configure, and then complete the Configure Value dialog by using the procedure outlined above.
-
Click OK.
