You can view or modify the properties of a distribution group with the Distribution Group Properties action of the Active Roles Web Interface.
To view or modify the properties of a distribution group
-
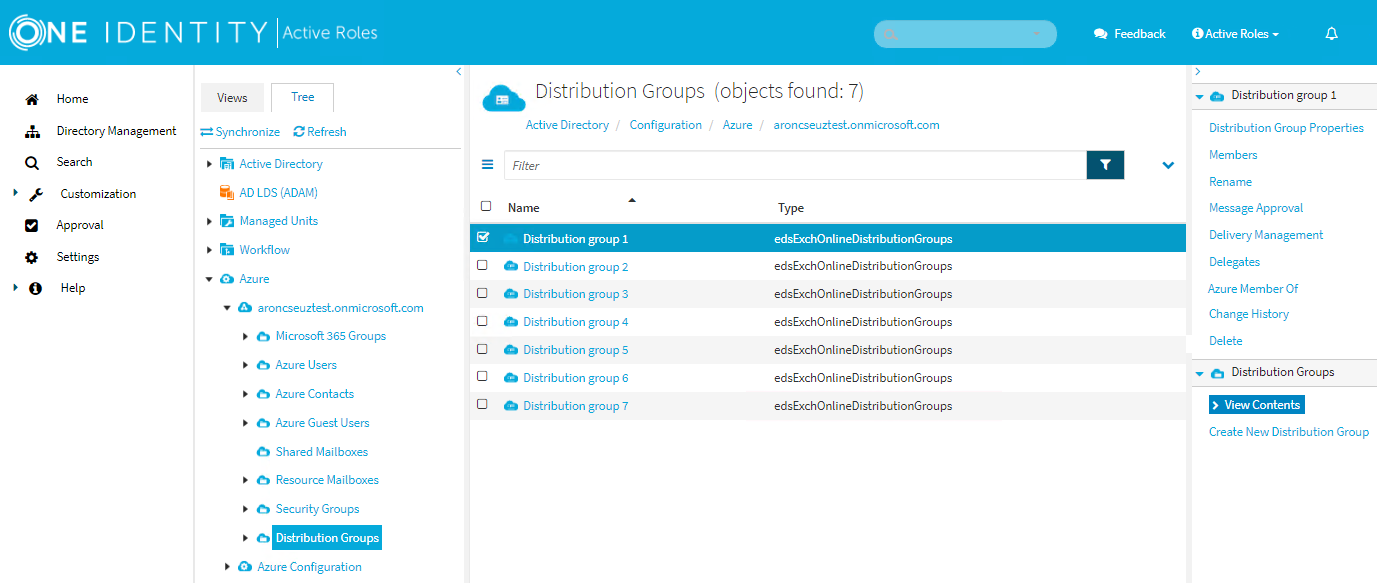
In the Active Roles Web Interface, navigate to Directory Management > Tree > Azure > <azure-tenant-name> > Distribution Groups.
Figure 202: Distribution Groups — Listing the Azure distribution groups in the Azure tenant
-
Select the distribution group whose properties you want to view or modify.
-
Click Distribution Group Properties.
-
In General, set the following general properties of the distribution group:
-
(Optional) Enter the Display name of the distribution group.
NOTE: This window also shows the Name of the distribution group, specifying its unique Exchange Online identity. To change the Name of the distribution group, use the Rename action.
For more information, see Renaming a distribution group.
-
(Optional) Enter a Description for the distribution group.
-
Primary SMTP address: The primary Simple Mail Transfer Protocol (SMTP) address of a user account to be used for server-to-server authorization or access delegation. You cannot modify this value because it is filled automatically.
-
(Optional) Hide this group from the global address list (default: selected)
Select this check box if you do not want the group to appear in the address book and other address lists defined in your Exchange organization.
-
In Joining the group, set who can join the distribution group.
-
Open: Anyone can join this group without owner approval.
-
Closed: Only group owners can add members. All requests to join will be automatically declined.
-
-
In Leaving the group, set who can leave the distribution group.
-
Open: Anyone can leave this group without owner approval.
-
Closed: Only group owners can remove members. All requests to leave will be automatically declined.
-
-
-
In Owners, set the owners of the distribution group.
-
To add owners of the distribution group, click Add, select the users and click OK.
-
To remove owners from the distribution group, select the users and click Remove.
-
-
To apply your changes, click Save.