This section provides an overview on how to use the Search interface. It describes how you can access the Search interface, lists the steps to take to search effectively, view the details of a connection, replay the audit trails, or export the search results as a comma-separated text file.
Prerequisites
Users need the Search privilege to access the Search interface.
NOTE: Assigning the Search privilege to a user on the Users & Access Control > Appliance Access page, automatically enables the Search in all connections privilege, and grants the user access to every audit trail, even if the user is not a member of the groups listed in the Access Control option of the particular connection policy.
If you want users to access audit trails only for connections for which they are granted permission, see
For information on configuring:
-
Authorizers for a connection, see
-
User rights, see
-
To access the Search interface, navigate to Search.
Sessions are displayed sorted by date. For ongoing sessions, the Search interface is updated in real-time to always show the most up-to-date information.
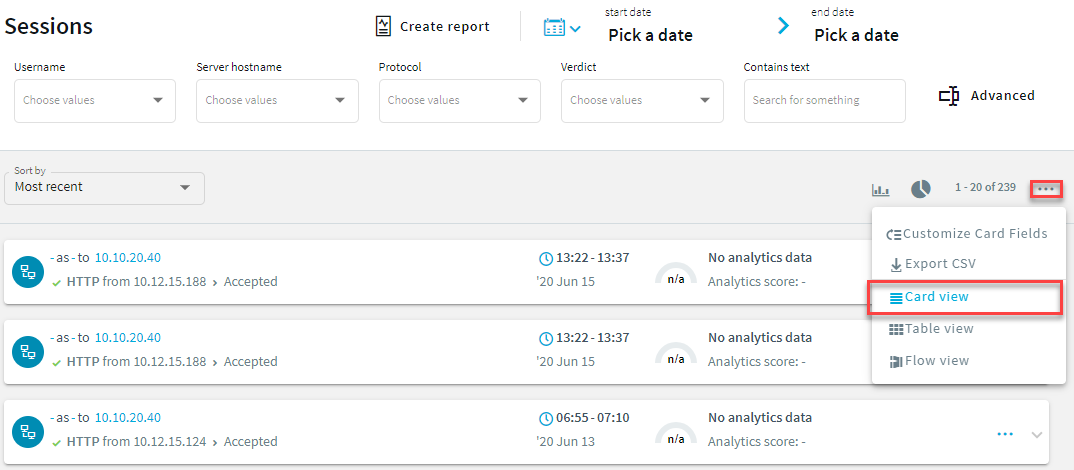
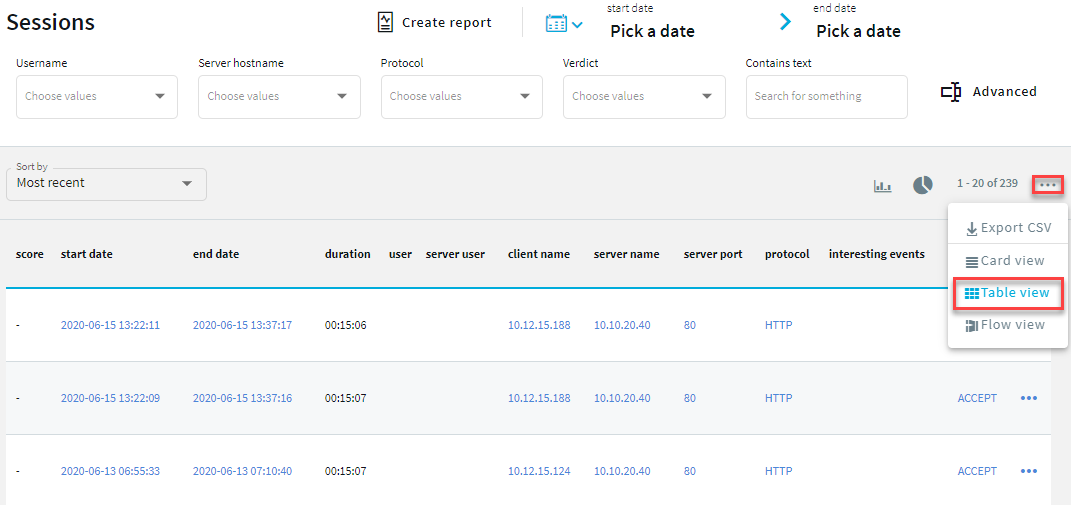
You can view sessions in a card, table or flow view. Click
for more details and select from the list.
-
Specify a date and time range to restrict your search criteria as described in Specifying time ranges.
-
Filter connections as described in Using search queries.
-
Search the contents of audit trails as described in
-
View connection details as described in Viewing session details.
-
Download and replay audit trails as described in
-
To export the search results as a comma-separated text file, click
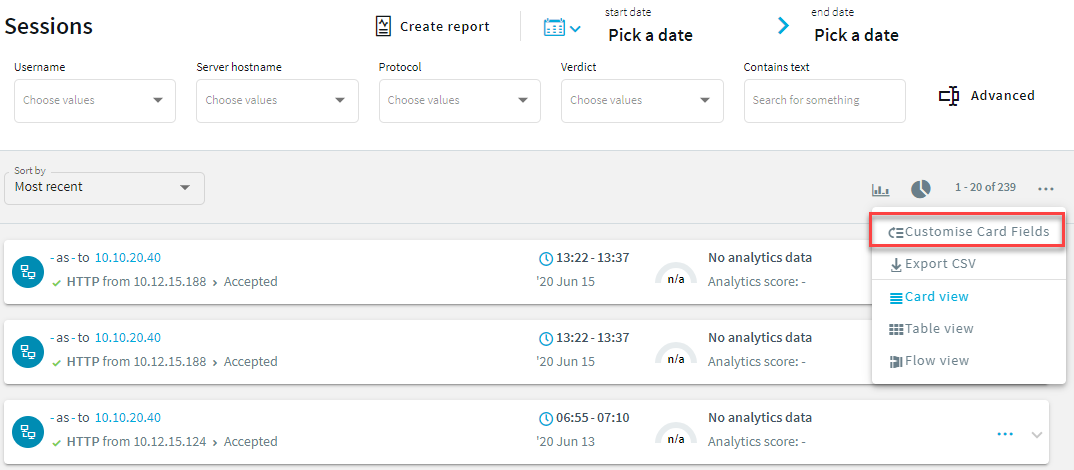
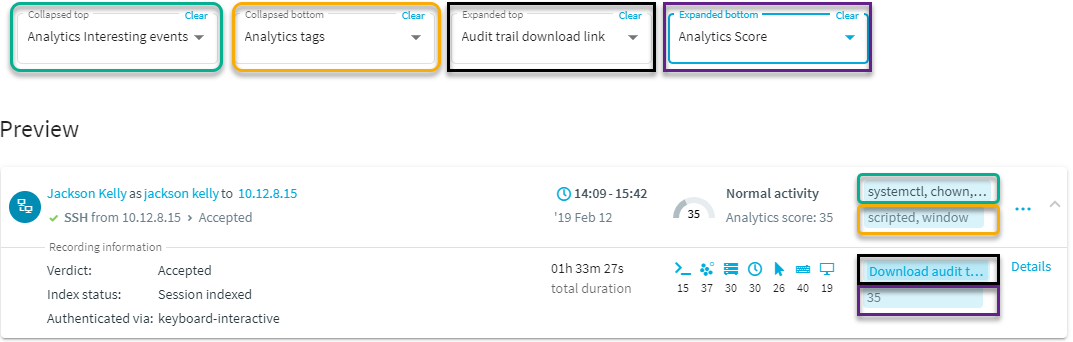
To customize which fields are exported, click