
User lists are white- or blacklists of usernames that allow fine-control over who can access a connection or a channel.
|
|
Caution:
User Lists are white- or blacklists of usernames that determine who can access the server remotely. However, this cannot prevent a user from accessing the server from a local terminal. |

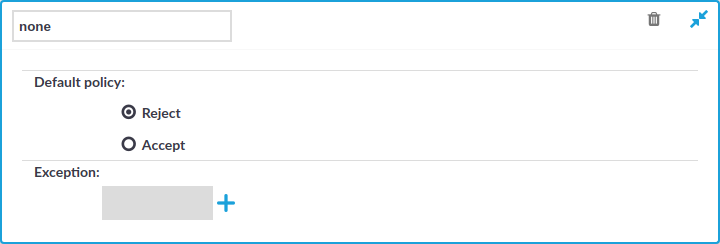
Figure 179: Policies > User Lists — Configuring user lists
To create a new user list or edit an existing one
-
Navigate to the User Lists tab of the Policies menu and click
to create a new user list. Enter a name for the list User List field (for example serveradmins).
Caution: Usernames, the names of user lists, and the names of usergroups are case sensitive.
-
Click
to display the list of users.
-
Select the default policy of the user list. Select Reject for a whitelist, that is, to allow access only to the members of the list. Select Accept for a blacklist, that is, to allow access to everyone except the members of the list.
-
Click
and enter a username into the displayed field. Repeat this step until all required usernames are listed.
Caution: Usernames, the names of user lists, and the names of usergroups are case sensitive.
-
Click
to save the list.
-
To actually restrict access to a channel based on the user list created in the previous steps:
-
Navigate to the Channel Policies tab of the type of connection you want to control and click
-
Click
Caution: Usernames, the names of user lists, and the names of usergroups are case sensitive.
NOTE: When listing more groups, users of any of the listed groups can access the channel. For details, see Creating and editing channel policies.
When listing both a whitelist and blacklist in the Group section and a username appears on both lists, the user will be able to access the channel.
-
Click
-