Multiple administrators can access the One Identity Safeguard for Privileged Sessions (SPS) web interface simultaneously, but only one of them can modify the configuration. This means that the configuration of SPS is automatically locked when the first administrator who can modify the configuration opens a configuration page (for example the Basic Settings or the Users & Access Control menu).
The warning message displays the username of the administrator locking the configuration as shown in the image below:
Figure 38: Configuration lock by remote administrator
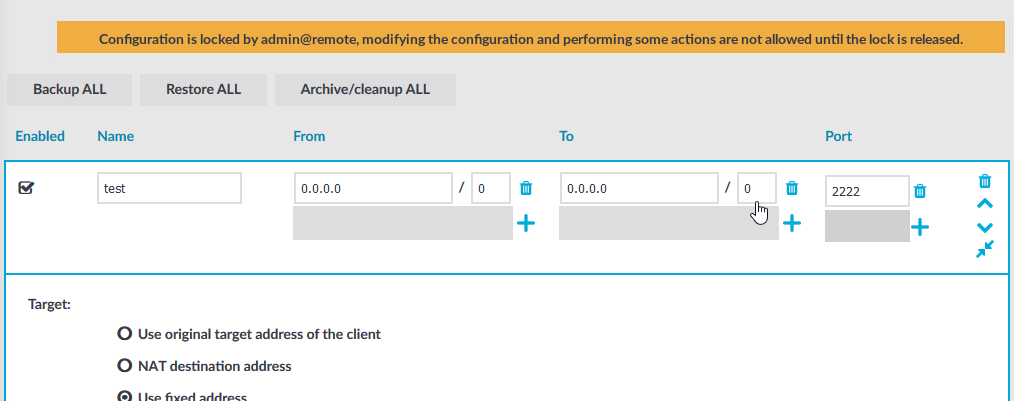
Other administrators can continue as read-only but must wait until the locking administrator navigates to an SPS page that does not require locking, the administrator logs out, or the session of the administrator times out. However, it is possible to access the Search and Reporting menus, and to perform gateway authentication and 4-eyes authorization or browse the configuration with only View rights (for details, see Managing user rights and usergroups).
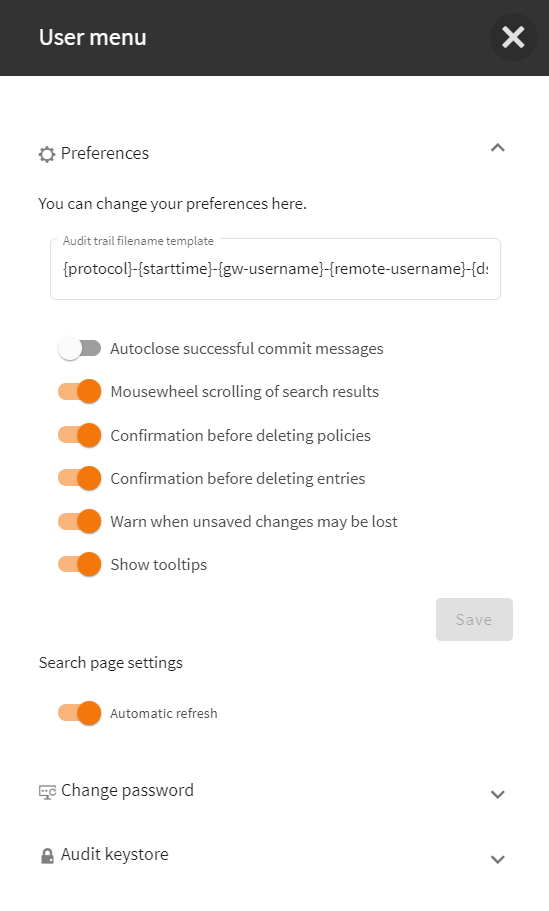
To configure your preferences about the web interface, navigate to User Menu > Preferences.
Figure 39: User Menu > Preferences
-
Audit trail filename template:
To change the filename of the audit trails, navigate to User menu > Preferences and change the Audit trail filename template. The default template is {protocol}-{starttime}-{gw-username}-{remote-username}-{dst-ip}.zat. The template can include anything, the keys (inside {} brackets) are replaced with their actual values. These keys are the following:
-
connection-policy: The connection policy
-
dst-ip: Destination IP address
-
dst-port: Destination port
-
gw-username: Gateway username
-
protocol: Protocol
-
remote-username: Remote username
-
session-id: Session ID
-
src-ip: Source IP address
-
starttime: Start time of the session
-
Autoclose successful commit messages: General confirmation windows will not appear. (For example, Configuration saved successfully that appears after successfully committing a change). As a result, pop-up windows appear only for failed actions or errors.
-
Mousewheel scrolling of search results: When there are several pages of displayable search results on the Search page, navigate between search result pages with the mousewheel. When turned off, using the mousewheel on the Search page scrolls the whole page.
-
Confirmation before deleting policies: Display a pop-up window when you attempt to delete policies to prevent deleting policies accidentally.
-
Confirmation before deleting entries: Display a pop-up window when you attempt to delete entries to prevent deleting entries accidentally.
-
Warn when unsaved changes may be lost: Display a pop-up window to warn when you navigate to another window without committing your changes to prevent losing unsaved changes.
-
Show tooltips: Display tooltips for user interface elements to help using the product.
Search page settings
-
Automatic refresh:If you select this option, the content of the details view on the Search page is refreshed automatically to provide up-to-date information about the sessions. On the Search page, you can open the details view of a session by clicking the  icon. Automatic refresh refreshes the content of all the tabs (Overview, Details, Timeline, Analytics) in the details view.
If you select Automatic refresh, for example, if there is an active connection, the list of events is refreshed dynamically and the buttons are displayed according to the available options for a given session. For example, while a session is active,  is displayed, and
  and
and  are displayed. After the session is closed, the buttons dynamically change to
  and
and  .
.
If you are a local user or an administrator, you can change your password for the web interface using the User menu > Change password option.
To change the password for SPS
-
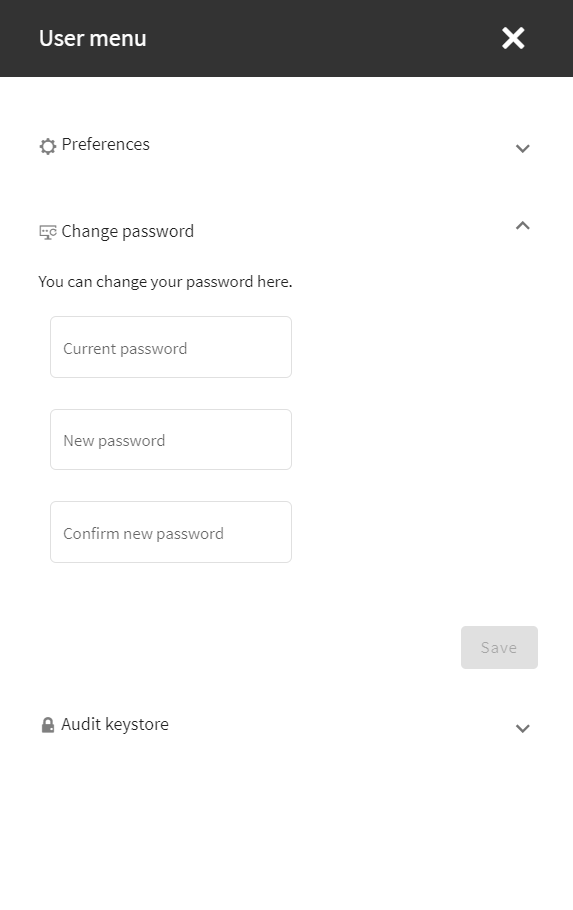
Navigate to User menu > Change password.
Figure 40: User menu > Change password — Changing the password
-
Enter your current password in the Current password field.
-
Create a new, strong password and enter it in the New password field.
NOTE: SPS accepts passwords that are not longer than 150 characters and supports the following characters:
NOTE: If possible, use a random password generator.
To create a strong password:
For strong passwords, do not use:
-
Personal information in the passwords
-
Sequential letters or numbers
-
The word password as the password
-
Keyboard paths (for example, qwerty)
-
Enter your new password again in the Confirm new password field.
-
Click Save.
To replay encrypted audit trails in your browser and to view encrypted screenshots, upload the necessary private keys to your audit keystore. In the audit keystore, only private keys are stored.
NOTE: Previously, the audit keystore was used to store certificates as well as private keys. From SPS version 6.10 and onwards, you must upload the certificates to Basic settings > Local services > Indexer service. For more information on how to add certificates, see Configuring the internal indexer.
Only RSA keys (in PEM-encoded X.509 certificates) can be uploaded to the private keystore.
TIP: One Identity recommends using 2048-bit RSA keys (or stronger).
NOTE: Certificates are used as a container and delivery mechanism. For encryption and decryption, only the keys are used.
Use every keypair or certificate only for one purpose. Do not reuse cryptographic keys or certificates (for example, do not use the certificate of the One Identity Safeguard for Privileged Sessions (SPS) webserver to encrypt audit trails, or the same keypair for signing and encrypting data).
To manage your audit keystore, see the following sections:
