
The following describes how to add timestamps to the audit trails by using the built-in timestamping service of One Identity Safeguard for Privileged Sessions (SPS).
To add timestamps to the audit trails by using the built-in timestamping service of SPS
-
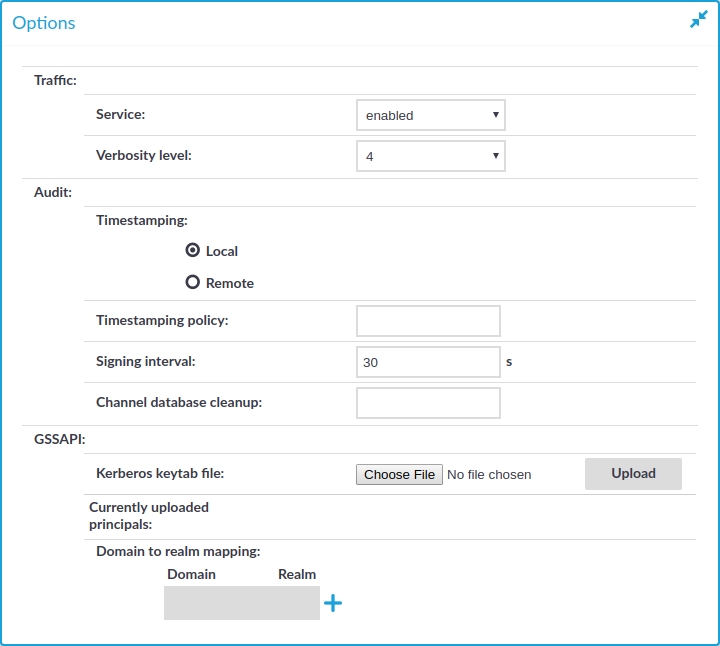
Configure the timestamping interval. You have to repeat these steps for each protocol (HTTP, ICA, RDP, SSH, Telnet, and VNC) you want to configure:
Figure 183: <Protocol name> Control > Global Options —Configuring local timestamping
-
In the protocol control settings, navigate to Global Options > Timestamping (for example, SSH Control > Global Options > Timestamping).
-
Select Local.
NOTE: Make sure that you leave the Timestamping policy field empty. Timestamping policy has relevance only when Timestamping is set to Remote.
-
Set the Signing interval. You can choose any value between 10 and 100 000 seconds.
NOTE: The same interval setting applies to timestamping and signing.
-
Click
.
-
-
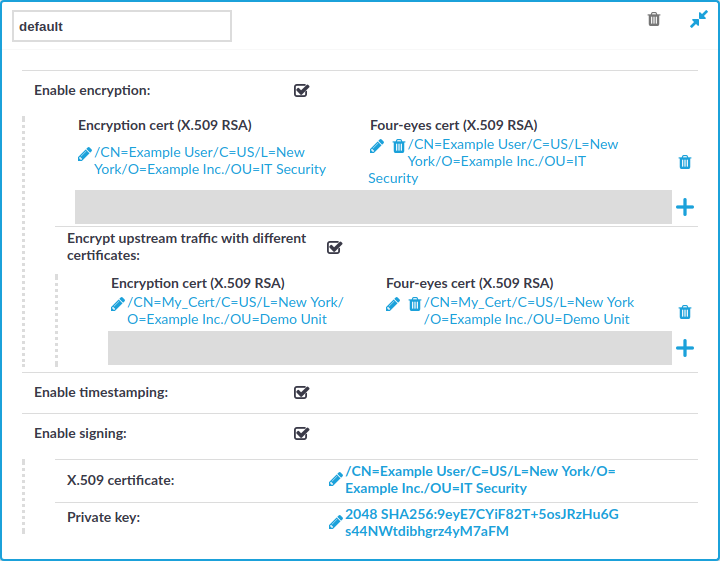
Configure audit policies to use timestamping. You have to repeat these steps for each audit policy you want to configure:
-
Navigate to Policies > Audit Policies and select the audit policy you will use in your connections.
TIP: By default, every connection uses the built-in default audit policy. Unless you use a custom audit policy, modifying the default audit policy will affect every audited channel of the connections passing through One Identity Safeguard for Privileged Sessions (SPS).
-
Select the Enable timestamping option.
Figure 184: Policies > Audit Policies — Timestamping audit trails
-
Click
NOTE: For details on how to change the certificate used for timestamping, see Managing the certificates used on One Identity Safeguard for Privileged Sessions (SPS).
-
 to create a new list.
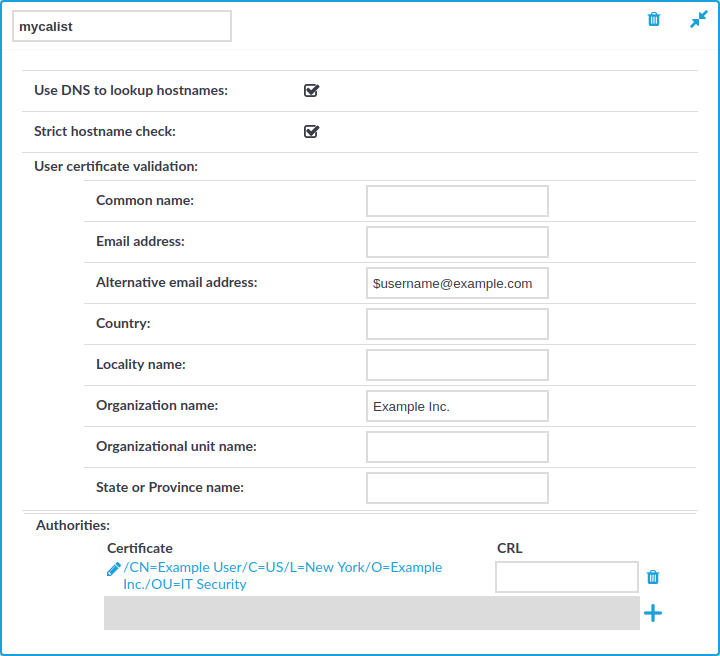
 in the Certificate field, and upload the certificate of the Certificate Authority (CA) that will be used to validate the certificates.