Creating a new room mailbox
To create a new room mailbox in the Active Roles Web Interface, follow the steps.
To create a new room mailbox
-
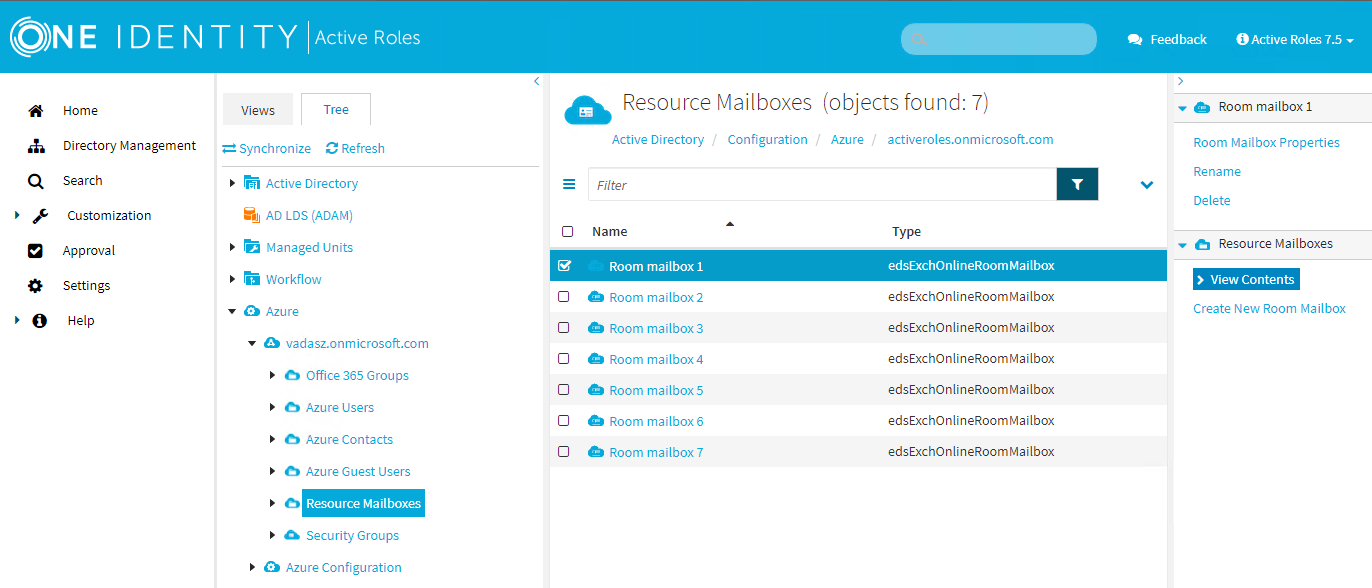
In the Active Roles Web Interface, navigate to Directory Management > Tree> Azure > Resource Mailboxes.
The list of resource mailboxes of the selected tenant is displayed.
Figure 139: Directory Management > Tree View > Azure > Resource Mailboxes — Listing the resource mailboxes in the tenant
-
In the right pane, click Create New Room Mailbox.
The Create New Room Mailbox window opens.
-
On the General tab, set the following general details of the room:
-
(Optional) Display name
-
Name: Enter a name for the room.
NOTE: If you enter a name that is already used, you will receive an error message and Exchange Online will not allow you creating the new room mailbox. To create a new room mailbox, enter a different name.
NOTE: To change the name of an existing room mailbox:
-
In the right pane, click Rename.
-
Display name: Enter a new display name for the room.
-
Name: Enter a new name for the room.
-
Click Finish.
-
(Optional) Primary SMTP Address (leave blank for default value)
To specify the domain, use the drop-down.
The default value of the Primary SMTP Address is the name and the domain name of the room mailbox. For example, roommailbox1@activeroles.onmicrosoft.com, where roommailbox1 is the name and activeroles.onmicrosoft.com is the domain name.
-
(Optional) Capacity
-
(Optional) Hide from global address lists
Select this check box if you do not want the room mailbox to appear in the address book and other address lists defined in your Exchange organization.
By default, this check box is not selected.
-
(Optional) On the Calendar Processing tab, set the following optional details of the room:
-
Maximum duration (hours)
-
Booking window (days)
-
Allow repeating meetings
By default, this check box is selected.
-
Allow scheduling only during work hours
By default, this check box is selected.
-
(Optional) On the Location tab, set the following optional details of the company:
-
Click Finish.
If the operation is successful, the newly-created room mailbox appears in the list of Resource Mailboxes.
In the right pane, the name of the room mailbox appears with the following available actions:
-
Room Mailbox Properties
-
Rename
-
Delete
The newly-created room mailbox also appears in the Exchange admin center, in Home > Resources.
Viewing or modifying a room mailbox
To view or modify the properties of a room mailbox in the Active Roles Web Interface, follow the steps.
NOTE: To change the name of an existing room mailbox:
-
In the right pane, click Rename.
-
Display name: Enter a new display name for the room.
-
Name: Enter a new name for the room.
-
Click Finish.
To view or modify the properties of a room mailbox
-
In the Active Roles Web Interface, navigate to Directory Management > Tree> Azure > Resource Mailboxes.
The list of resource mailboxes of the selected tenant is displayed.
Figure 140: Directory Management > Tree View > Azure > Resource Mailboxes — Listing the resource mailboxes in the tenant
-
Select the room mailbox you want to view or modify.
In the right pane, the name of the room mailbox appears with the following available actions:
-
Room Mailbox Properties
-
Rename
-
Delete
-
In the right pane, click Room Mailbox Properties.
The Room Mailbox Properties window opens.
-
On the General tab, view or modify the following general details of the room:
-
Display name
-
Object GUID: The Exchange Online GUID of the mailbox object in the Exchange Cloud. You cannot modify this value.
-
External directory ID: The Azure Active Directory (AD) object of the user object connected to the mailbox object in Azure AD. You cannot modify this value.
-
User Principal Name: The room mailbox address in User Principal Name (UPN) format. You cannot modify this value.
-
Primary SMTP Address: You cannot modify this value.
-
Capacity
-
Hide from global address lists
Select this check box if you do not want the room mailbox to appear in the address book and other address lists defined in your Exchange organization.
By default, this check box is not selected.
-
On the Calendar Processing tab, view or modify the following optional details of the room:
-
Maximum duration (hours)
-
Booking window (days)
-
Allow repeating meetings
By default, this check box is selected.
-
Allow scheduling only during work hours
By default, this check box is selected.
-
On the Location tab, view or modify the following optional details of the company:
-
To close the Room Mailbox Properties window:
-
To update the properties of the room mailbox, click Save.
-
To close the window without saving the changes, click Cancel.
If the operation is successful, the updated properties of the room mailbox appear both in the Active Roles Web Interface and in the Exchange admin center.
Deleting a room mailbox
To delete a room mailbox in the Active Roles Web Interface, follow the steps.
To delete a room mailbox
-
In the Active Roles Web Interface, navigate to Directory Management > Tree> Azure > Resource Mailboxes.
The list of resource mailboxes of the selected tenant is displayed.
Figure 141: Directory Management > Tree View > Azure > Resource Mailboxes — Listing the resource mailboxes in the tenant
-
Select the room mailbox that you want to delete.
In the right pane, the name of the room mailbox appears with the following available actions:
-
Room Mailbox Properties
-
Rename
-
Delete
-
Click Delete.
The following dialog appears:
Are you sure you want to delete <room mailbox>?
- Click Yes to confirm.
If the operation has been successful, the room mailbox is deleted and it disappears both from the Resource Mailboxes list in the Active Roles Web Interface, and from the Resources list in the Exchange admin center.
Managing Configuration of Active Roles
This chapter covers the following management activities:
To manage the configuration of Active Roles, you must have the necessary permissions. It is sufficient to be a member of the Active Roles Admin account. The Active Roles Admin account is specified when configuring the Administration Service. It defaults to the Administrators group on the computer running the Administration Service.
The authority to modify the Active Roles configuration can be delegated by applying the Manage Configuration Access Template to the Server Configuration container.
