지금 지원 담당자와 채팅
지원 담당자와 채팅

Safeguard for Privileged Sessions On Demand Hosted - Administration Guide

Preface Introduction The concepts of One Identity Safeguard for Privileged Sessions (SPS)
The philosophy of One Identity Safeguard for Privileged Sessions (SPS) Policies Credential Stores Plugin framework Indexing Supported protocols and client applications Modes of operation Connecting to a server through One Identity Safeguard for Privileged Sessions (SPS) Archive and backup concepts Maximizing the scope of auditing IPv6 in One Identity Safeguard for Privileged Sessions (SPS) SSH host keys Authenticating clients using public-key authentication in SSH The gateway authentication process Four-eyes authorization Network interfaces High Availability support in One Identity Safeguard for Privileged Sessions (SPS) Versions and releases of One Identity Safeguard for Privileged Sessions (SPS) Accessing and configuring One Identity Safeguard for Privileged Sessions (SPS)
Cloud deployment considerations The Welcome Wizard and the first login Basic settings
Supported web browsers and operating systems The structure of the web interface Network settings Configuring date and time System logging, SNMP and e-mail alerts Configuring system monitoring on SPS Data and configuration backups Archiving and cleanup Using plugins Forwarding data to third-party systems Starling integration
User management and access control Managing One Identity Safeguard for Privileged Sessions (SPS)
Controlling One Identity Safeguard for Privileged Sessions (SPS): reboot, shutdown Managing One Identity Safeguard for Privileged Sessions (SPS) clusters Managing a High Availability One Identity Safeguard for Privileged Sessions (SPS) cluster Upgrading One Identity Safeguard for Privileged Sessions (SPS) Managing the One Identity Safeguard for Privileged Sessions (SPS) license Accessing the One Identity Safeguard for Privileged Sessions (SPS) console Sealed mode Out-of-band management of One Identity Safeguard for Privileged Sessions (SPS) Managing the certificates used on One Identity Safeguard for Privileged Sessions (SPS)
General connection settings HTTP-specific settings ICA-specific settings MSSQL-specific settings RDP-specific settings SSH-specific settings Using Sudo with SPS Telnet-specific settings VMware Horizon View connections VNC-specific settings Indexing audit trails Using the Search interface Advanced authentication and authorization techniques Reports The One Identity Safeguard for Privileged Sessions (SPS) REST API One Identity Safeguard for Privileged Sessions (SPS) scenarios Troubleshooting One Identity Safeguard for Privileged Sessions (SPS)
Network troubleshooting Gathering data about system problems Viewing logs on One Identity Safeguard for Privileged Sessions (SPS) Changing log verbosity level of One Identity Safeguard for Privileged Sessions (SPS) Collecting logs and system information for error reporting Collecting logs and system information of the boot process for error reporting Support hotfixes Status history and statistics Troubleshooting a One Identity Safeguard for Privileged Sessions (SPS) cluster Understanding One Identity Safeguard for Privileged Sessions (SPS) RAID status Restoring One Identity Safeguard for Privileged Sessions (SPS) configuration and data VNC is not working with TLS Configuring the IPMI from the BIOS after losing IPMI password Incomplete TSA response received Using UPN usernames in audited SSH connections
Using SPS with SPP Configuring external devices Using SCP with agent-forwarding Security checklist for configuring One Identity Safeguard for Privileged Sessions (SPS) Jumplists for in-product help Configuring SPS to use an LDAP backend Glossary

Joining SPS to One Identity Starling

This section describes how to use SPS with One Identity Starling and how to take advantage of companion features from Starling products, such as Two-Factor Authentication (2FA) and Identity Analytics.

Prerequisites
  • An existing Starling organization (tenant).

    NOTE: Consider the following:

    • If you have several Starling organizations, you can join your SPS to any of the existing organizations. However, ensure that you remember the Starling organization you joined to your SPS. This might be required if there is a join failure and you need to unjoin SPS from the respective Starling organization.

    • To use Starling with SPS, you need a Starling organization and account within a United States or a European Union data center. Note that if you want to use Starling 2FA, you must use a United States data center (European Union data center is not yet supported).

To join SPS to One Identity Starling

  1. Navigate to Basic Settings > Starling Integration.

    CAUTION: If SPS nodes are joined to a cluster, ensure that you initiate your Starling integration from the Central Management node.

  2. To check the availability of SPS and Starling, that is, if SPS can connect directly to the web and SPS can access Starling, click Check availability.

    • If your SPS cannot connect directly to the web, check your Internet connection and ensure that SPS can connect to the web, then re-initiate the process of joining your SPS to Starling. Ensure that SPS can access the following websites:

      • account.cloud.oneidentity.com

      • sts.cloud.oneidentity.com

      • accountsupervisor.cloud.oneidentity.com

      • oneidentitycloud.statuspage.io

      If your SPS is behind a web proxy, navigate to Basic Settings > Network > HTTPS Proxy and configure the proxy settings. For more information, see Network settings.

      NOTE: Currently, only built-in Certificate Authorities are supported. If the web proxy replaces the certificates of the Starling website on-the-fly, the join process might fail.

    • If SPS cannot access Starling, wait until Starling is available and re-initiate the process of joining your SPS to Starling.

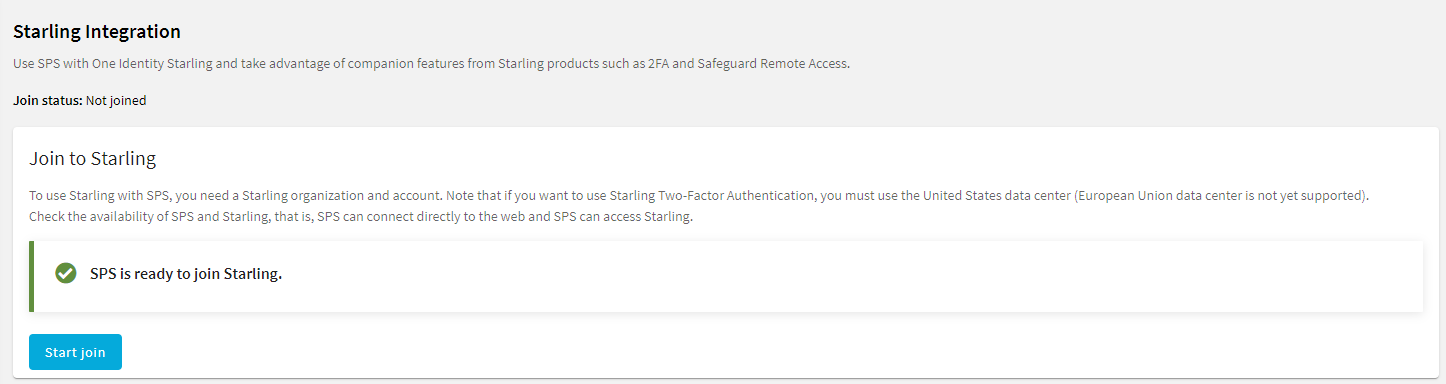
    Figure 77: Basic Settings > Starling Integration — SPS is ready to join Starling

    Starling ready to join

  3. When SPS is ready to join Starling, click Start join.

    The One Identity Starling site will open on a new tab.

    NOTE: Once you click Start join, you cannot stop the process and your SPS machine will be joined to Starling. Ensure that you continue with the join process, and once the join process is complete, if required, you can unjoin SPS from Starling.

    For more information, see Unjoining SPS from One Identity Starling.

  4. To allow SPS to access your Starling organization and the services that you have subscribed to, click Allow.

    The Join to Starling screen is displayed.

    Figure 78: Basic Settings > Starling Integration — Example of SPS joined to Starling
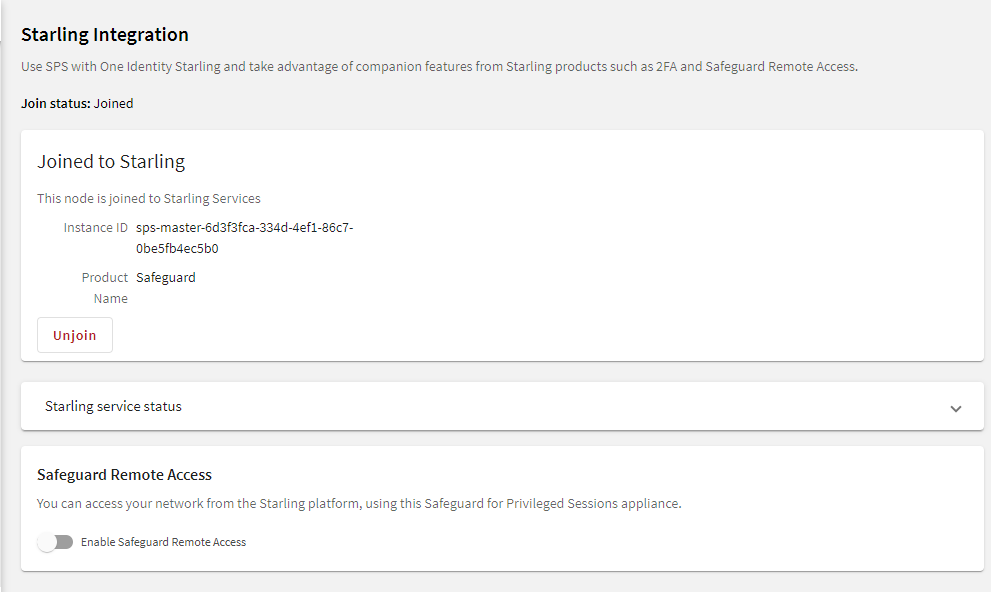
    SPS joined to Starling

Result

Your SPS instance is joined to Starling.

Unjoining SPS from One Identity Starling

This section describes how to unjoin SPS from One Identity Starling, which is required if you want to decommission an SPS, or to replace an SPS with another one.

Prerequisites
  • An existing Starling organization (tenant).

  • An SPS that is already joined to Starling.

  • To avoid errors, SPS prevents you from unjoining SPS from One Identity Starling if Safeguard Remote Access is enabled. To unjoin SPS from One Identity Starling, disable Safeguard Remote Access.

To unjoin SPS from One Identity Starling

  1. Navigate to Basic Settings > Starling Integration.
  2. Click Unjoin.
  3. (Optional) To join an SPS, see Joining SPS to One Identity Starling.

User management and access control

The Users & Access Control menu (previously named AAA menu) allows you to configure multiple login options and to control the authentication, authorization, and accounting settings of users accessing One Identity Safeguard for Privileged Sessions (SPS). The following topics are detailed in the next sections:

Login settings

You can configure the following login options under Users & Access Control > Settings:

  • Protect against brute-force attack

    By default, the login addresses are protected against brute-force attacks. After the users reach the configured number of unsuccessful login attempts, SPS denies all following attempts for the configured time.

    For more information, see Protecting against brute-force attacks.

  • Authentication banner

    On the web and console login screen of SPS, you can display a banner that the users see every time they try to log in to SPS.

    For more information, see Authentication banner.

  • Web interface timeout

    You can configure the time after which SPS automatically logs the users out of the session.

    For more information, see Web interface timeout.

관련 문서

The document was helpful.

평가 결과 선택

I easily found the information I needed.

평가 결과 선택