If a session is not closed but it is still active, the  label is displayed in the session details window and you can follow or terminate active sessions.
-
On the Search page, select the audit trail you want to replay.
-
To display the details of a connection, click  . This page is called the details view.
NOTE: If you select the Automatic refresh option in User menu > Preferences, all the details of the sessions are refreshed automatically in the details view. For more information on the Automatic refresh option, see Preferences.
-
Click  .
.
-
Select where you want to follow the active session.
-
To follow the session in the browser, select Follow in browser.
-
To follow the session on Safeguard Desktop Player, select Follow in Safegurad Desktop Player.
The trail data is exported in .srs format, which you can download and open with Safeguard Desktop Player.
For more information on the Safeguard Desktop Player, see Safeguard Desktop Player User Guide.
-
(Optional) To terminate the active session, click 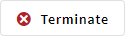 .
.
This button is displayed only if you have the rights to perform this operation.
NOTE: Creating report subchapters from search queries is currently an experimental feature of One Identity Safeguard for Privileged Sessions (SPS), therefore One Identity recommends that only administrators use this feature and only at their own risk.
You can turn any search query or statistics into a subchapter to add to your reports. This is an easy and flexible way of creating reports to monitor traffic, track certain parameters, or get alerted about particular events.
To create a search-based report subchapter from search results
-
Navigate to Search, and perform a query of your choice.
-
Click Search. Search results are displayed.
- Click
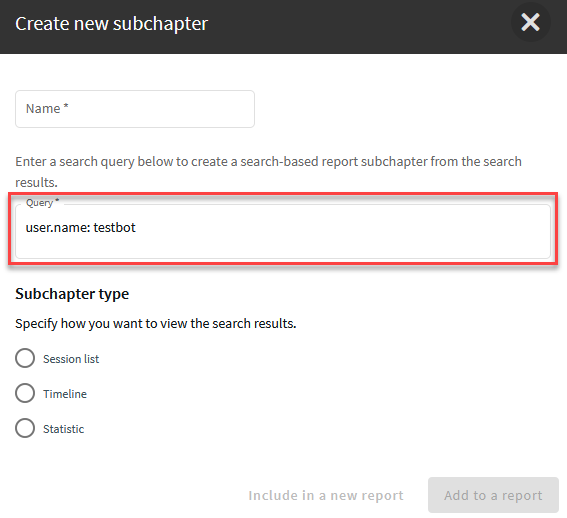
 Create report. The Create new subchapter page is displayed, with the Query field populated with your query. If the Query field is not populated, enter a valid search query.
Figure 314: Search > Create report - Example subchapter created from search results with Query field populated
-
In the Name field, add a name to your report.
- In Subchapter type, select the type that fits your query. You can choose from the following types:
- Sessions list: Displays a list of sessions.
Set the number of sessions to show in the report as required.
- Timeline: Visualizes the distribution of sessions within a day/week/month, depending on the time range chosen for the report under Reporting > Configuration > Generate this report every > Day/Week/Month.
- Statistics: Visualizes the distribution of sessions based on the selected metadata.
Select a Statistic presentation for your report, such as List, Pie chart, or Bar chart. Select the field (the metadata) to create your statistics on.
-
To add the subchapter to an existing report, click Add to a report and select from the list of available reports.
Alternatively, to configure a custom report from scratch, click Include in a new report. For more information, see Configuring custom reports.
NOTE: Creating report subchapters from search queries is currently an experimental feature of One Identity Safeguard for Privileged Sessions (SPS), therefore One Identity recommends that only administrators use this feature and only at their own risk.
The following describes how to create a search-based report subchapter from scratch.
To create a search-based report subchapter from scratch
-
If you have multiple SPS appliances and they are organized into a cluster where one of the nodes is the Search Master (or Central Search) node, log in to that node.
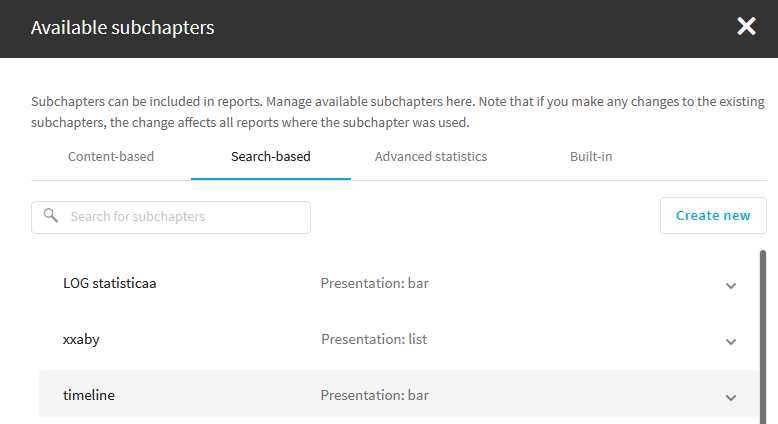
- Navigate to Reporting > View & edit subchapters > Search-based.
- Click Create new. The Create new subchapter page is displayed.
Figure 315: Reporting > View & edit subchapters > Search-based — Create new subchapter
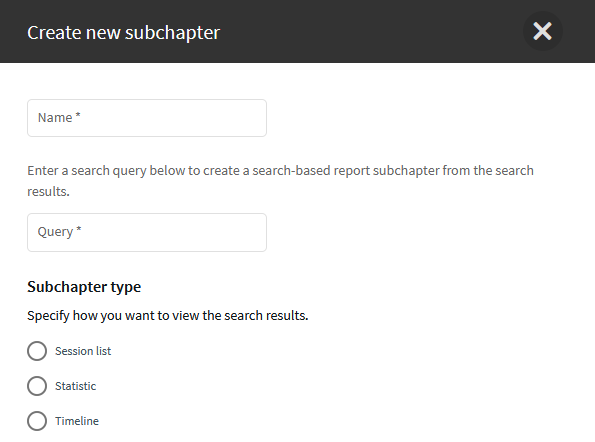
- In the Name field, add a name to your report.
- In the Query field, type the query that you want to create a report from.
- In Subchapter type, select the type that fits your query. You can choose from the following types:
- Sessions list: Displays a list of sessions.
Set the number of sessions to show in the report as required.
- Timeline: Visualizes the distribution of sessions within a day/week/month, depending on the time range chosen for the report under Reporting > Configuration > Generate this report every > Day/Week/Month.
- Statistics: Visualizes the distribution of sessions based on the selected metadata.
Select a Statistic presentation for your report, such as List, Pie chart, or Bar chart. Select the field (the metadata) to create your statistics on.
- Click Save.
- Click
 . Alternatively, navigate to Reporting > Create & Manage Reports.
- Configure a custom report from scratch, or add the subchapter to an existing report. For more information, see Configuring custom reports.
When adding the subchapter you created, look for it under Reporting > View & edit subchapters > Search-based.