You can use the Active Roles Web Interface to create and enable new Azure security groups.
For more information on Azure Security groups, see Groups in Microsoft 365 and Azure in the Microsoft 365 community documentation.
To create a new Azure Security group
-
Navigate to Directory Management > Tree > Azure > <azure-tenant-name> > Security Groups.
The list of existing Azure Security groups in the selected Azure tenant appears.
-
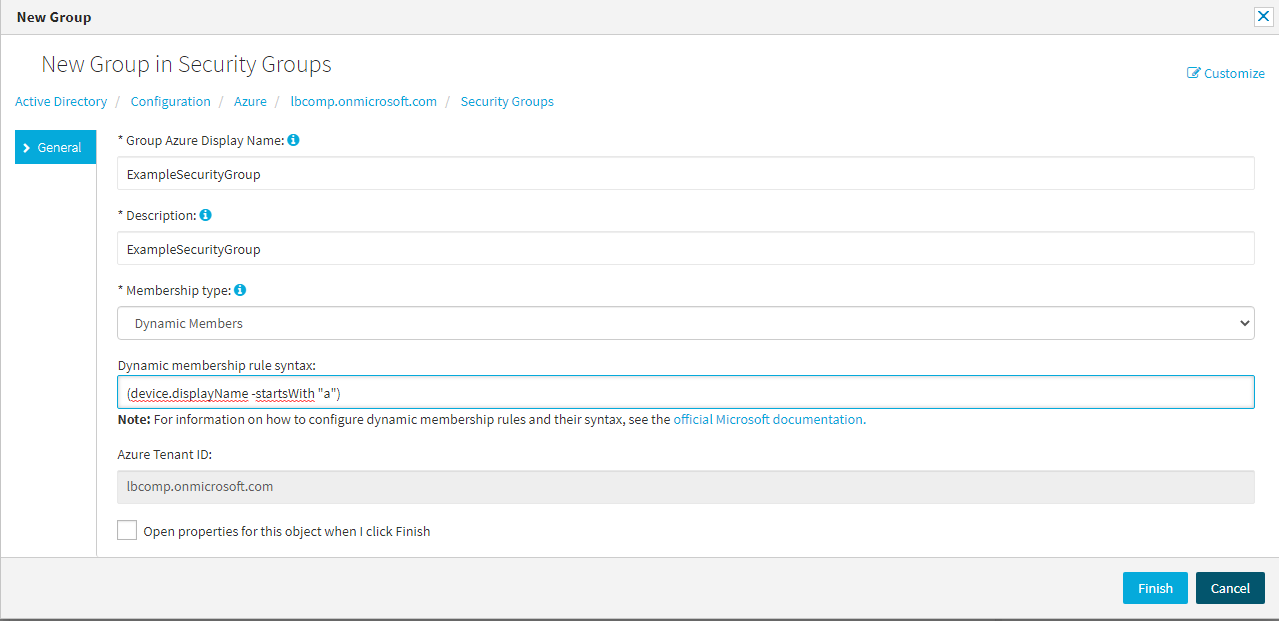
In the right-side pane, click New Group.
The New Group in Security Groups window appears.
-
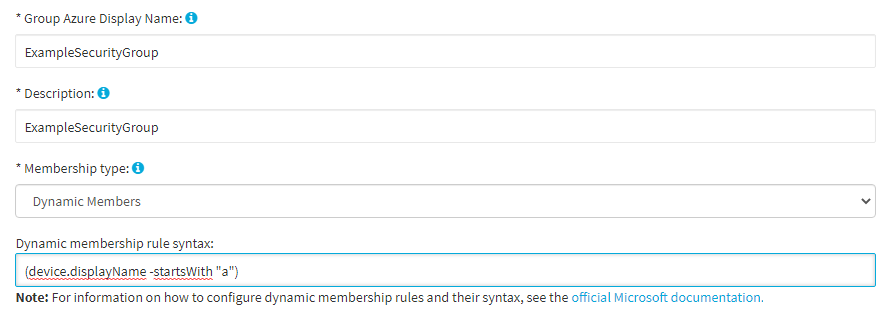
Specify the Group Azure Display Name of the configured group.
-
Configure the Membership type of the group:
-
Assigned: When selected, you can add or remove members to or from the group manually later. For more information, see Adding or removing members from an Azure Security Group with the Web Interface.
-
Dynamic Members: When selected, Active Roles sets up the group as a dynamic membership group, and will automatically update group membership based on the configured Dynamic membership rule syntax.
TIP: Consider the following when configuring the Membership type:
-
Select Dynamic Members to quickly configure a group based on a certain membership logic. For example, if you need to set up a group for employees from the same geographical location, business unit, or functional area, One Identity recommends configuring the group with Dynamic Members.
-
If you select Dynamic Members, you will not be able to manually add or remove members to or from the Azure Security group, unless you change its Membership type to Assigned later. However, you can still manually configure the owner(s) for a dynamic Azure Security group, as described in Adding or removing owners from an Azure Security Group with the Web Interface.
-
Although the Membership type drop-down setting does not offer a separate Dynamic Devices option, you can actually set up dynamic Azure Security groups in Active Roles with the appropriate dynamic device membership rules (such as device.displayName). However, the Active Roles Web Interface cannot display member devices and applications.
-
You can always change the Membership type later by navigating to the following option of the Active Roles Web Interface:
Directory Management > Tree > Azure > <azure-tenant-name> > Security Groups > <azure-security-group-name> > Azure Properties > General.
-
Changing the Membership type from Dynamic Members to Assigned later will keep the last set of members that were dynamically assigned to the group.
-
-
If you set the Membership type to Dynamic Members, specify the Dynamic membership rule syntax. Active Roles will send the logic configured in this field to Azure to automatically assign or remove members to or from the group later.
NOTE: Consider the following when using the Dynamic membership rule syntax setting:
-
This setting is enabled only if Membership type is set to Dynamic Members. However, in that case, it is mandatory and cannot be empty.
-
The specified dynamic membership rule must meet all rule syntax requirements, otherwise the window will return an error. For more information on the available membership rule properties, operators and values, see Dynamic membership rules for groups in Azure Active Directory in the Microsoft 365 documentation.
-
Whenever you modify the dynamic membership rule of a dynamic O365 group, it can take several minutes for Azure to update the list of group members in the Directory Management > Tree > Azure > <azure-tenant-name> > Security Groups > <azure-security-group-name> > Dynamic Members window.
-
-
To complete the configuration of the new Azure Security group, click Finish.
The new Azure Security group will appear under the Directory Management > Tree > Azure > <azure-tenant-name> > Security Groups node.