A cloud-only shared mailbox is a type of user mailbox in Exchange Online that you can use when multiple people need access to the same mailbox to read and send messages. In an organization, functions such as technical support or company information use shared mailboxes with a generic email address, for example, info@company.com. After you create a shared mailbox, you must assign permissions to all users that you want to have access to the shared mailbox.
In the Active Roles Web Interface, you can create, manage or delete cloud-only shared mailboxes in Directory Management > Tree> Azure > <azure-tenant-name> > Shared Mailboxes. Shared mailboxes created in the Active Roles Web Interface are synchronized to the Exchange admin center, where you can find them in Teams & Groups > Shared mailboxes.
For more information about shared mailboxes, see Shared mailboxes in the Microsoft 365 documentation.
You can create a new shared mailbox with the Create New Shared Mailbox option of the Active Roles Web Interface.
To create a new shared mailbox
-
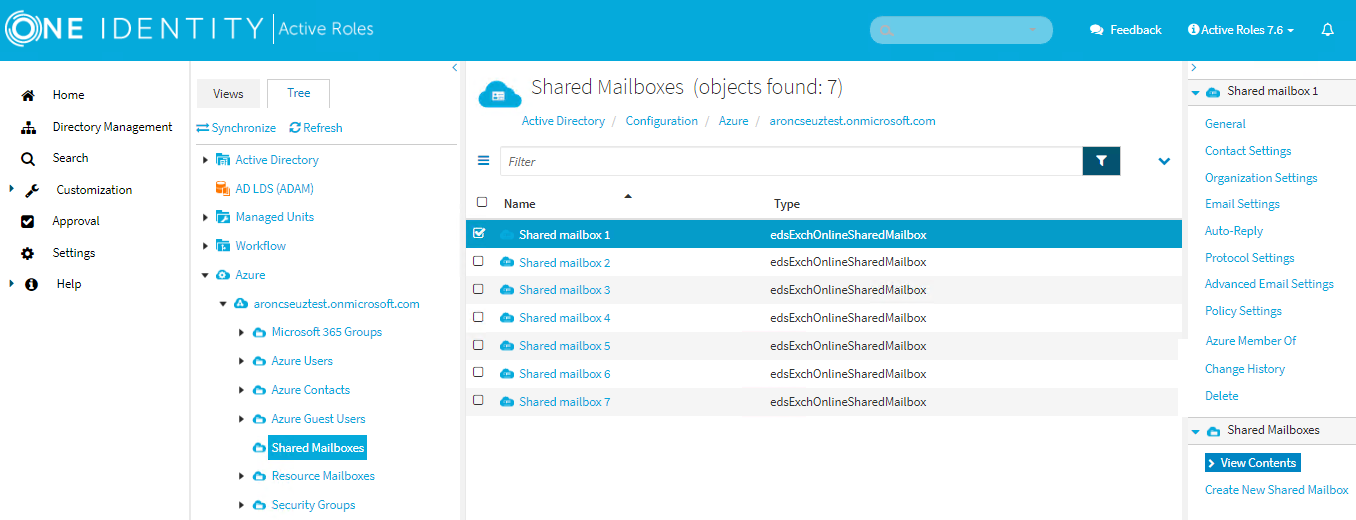
Navigate to Directory Management > Tree > Azure > <azure-tenant-name> > Shared Mailboxes.
Figure 201: Directory Management > Tree > Azure > <azure-tenant-name> > Shared Mailboxes — Listing the shared mailboxes in the tenant
-
Click Create New Shared Mailbox.
-
In General, configure the settings your organization requires for setting up the shared mailbox.
-
Enter the Display name of the shared mailbox.
-
Enter the Name of the shared mailbox.
-
Primary SMTP Address (leave blank for default value): Enter the name and select a domain.
The default value of the primary SMTP address is the name and the domain name of the mailbox. For example, mailbox1@activeroles.onmicrosoft.com, where mailbox1 is the name and activeroles.onmicrosoft.com is the domain name.
-
(Optional) Enter an Exchange Online Alias for the shared mailbox.
-
To apply your changes, click Finish.
You can view or modify the general properties of a shared mailbox with the General option of the Active Roles Web Interface.
To view or modify the general properties of a shared mailbox
-
Navigate to Directory Management > Tree > Azure > <azure-tenant-name> > Shared Mailboxes.
Figure 202: Directory Management > Tree > Azure > <azure-tenant-name> > Shared Mailboxes — Listing the shared mailboxes in the tenant
-
Select the shared mailbox whose general properties you want to view or modify.
-
In General, set the following general properties of the shared mailbox:
-
Enter the Display name of the shared mailbox.
-
Enter the Name of the shared mailbox.
-
Primary SMTP address: The primary Simple Mail Transfer Protocol (SMTP) address of a user account to be used for server-to-server authorization or access delegation. You cannot modify this value because it is filled automatically.
- External directory ID: The Azure Active Directory (AD) object of the user object connected to the mailbox object in Azure AD. You cannot modify this value because it is filled automatically.
-
(Optional) Enter an Exchange Online Alias for the shared mailbox.
-
(Optional) Hide from global address lists (default: selected)
Select this check box if you do not want the mailbox to appear in the address book and other address lists defined in your Exchange organization.
-
To apply your changes, click Save.
You can view or modify the contact settings of a shared mailbox with the Contact Settings option of the Active Roles Web Interface.
To view or modify the contact settings of a shared mailbox
-
Navigate to Directory Management > Tree > Azure > <azure-tenant-name> > Shared Mailboxes.
Figure 203: Directory Management > Tree > Azure > <azure-tenant-name> > Shared Mailboxes — Listing the shared mailboxes in the tenant
-
Select the shared mailbox whose contact settings you want to view or modify.
-
Click Contact Settings.
-
In Contact Settings, set the following contact settings of the shared mailbox:
-
(Optional) Office
-
(Optional) Office phone
-
(Optional) Mobile phone
-
(Optional) Home phone
-
(Optional) Fax number
-
(Optional) Street address
-
(Optional) City
-
(Optional) Country: You must enter a valid country code or country name, for example: US or United States of America (the).
-
(Optional) State or province
-
(Optional) ZIP or postal code
-
(Optional) Notes: Enter a customized message about the contact settings of the shared mailbox for users that will appear in Outlook.
-
To apply your changes, click Save.
