To distribute messages to a group of users, you can use dynamic distribution groups (mail-enabled Active Directory group objects).
Distribution groups have a defined list of members, but for dynamic distribution groups, you can define filters and conditions. Every time a message is sent to the group, the list of members changes dynamically based on the defined criteria.
In the Active Roles Web Interface, you can create, manage or delete cloud-only dynamic distribution groups in Directory Management > Tree> Azure > <azure-tenant-name> > Dynamic Distribution Groups. Dynamic distribution groups that are created in the Active Roles Web Interface are synchronized to the Exchange admin center.
For more information about cloud-only dynamic distribution groups, see Manage dynamic distribution groups in Exchange Online in the Microsoft Exchange Online documentation.
You can create a new dynamic distribution group with the Create New Dynamic Distribution Group action of the Active Roles Web Interface.
To create a new dynamic distribution group
-
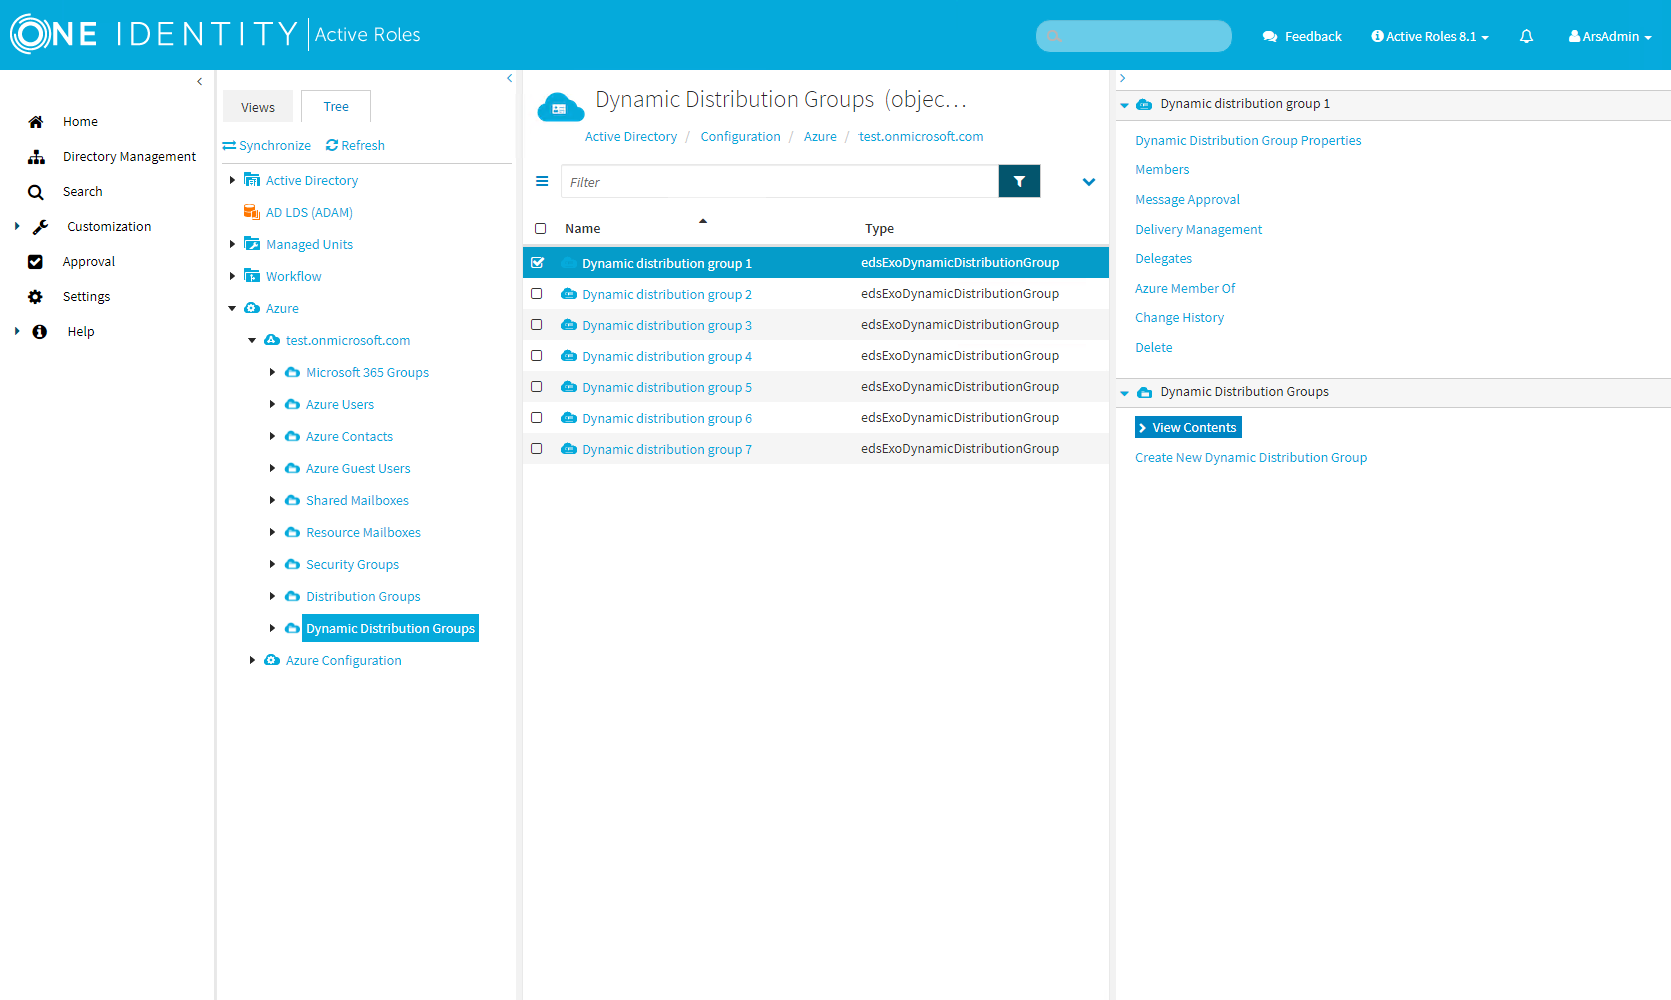
In the Active Roles Web Interface, navigate to Directory Management > Tree > Azure > <azure-tenant-name> > Dynamic Distribution Groups.
Figure 210: Directory Management > Tree > Azure > <azure-tenant-name> > Dynamic Distribution Groups — Listing the Azure dynamic distribution groups in the Azure tenant.
-
Click Create New Dynamic Distribution Group.
-
In General, configure the settings that your organization requires for setting up the dynamic distribution group.
-
Enter the Name of the dynamic distribution group.
-
(Optional) Enter the Display name of the dynamic distribution group.
-
(Optional) Enter a Description for the dynamic distribution group.
-
Primary SMTP Address (leave blank for default value): Enter the name and select a domain.
The default value of the primary SMTP address is the name and the domain name of the mailbox. For example, mailbox1@activeroles.onmicrosoft.com, where mailbox1 is the name and activeroles.onmicrosoft.com is the domain name.
-
(Optional) Hide this group from the global address list (default: selected)
Select this check box if you do not want the group to appear in the address book and other address lists defined in your Exchange organization.
-
To continue, click Next.
-
In Owners, set the owner of the dynamic distribution group.
NOTE: You can only set one owner for a dynamic distribution group.
-
To add or change the owner of the dynamic distribution group, click Modify, select the user and click OK.
-
To view the Azure AD properties of the owner, click Properties.
-
To remove the owner of the dynamic distribution group, select the users and click Remove.
-
In Members, set the type of recipients that will be members of the dynamic distribution group.
-
To apply your changes, click Finish.
You can view or modify the properties of a dynamic distribution group with the Distribution Group Properties action of the Active Roles Web Interface.
To view or modify the properties of a dynamic distribution group
-
In the Active Roles Web Interface, navigate to Directory Management > Tree > Azure > <azure-tenant-name> > Dynamic Distribution Groups.
Figure 211: Directory Management > Tree > Azure > <azure-tenant-name> > Dynamic Distribution Groups — Listing the Azure dynamic distribution groups in the Azure tenant.
-
Select the dynamic distribution group whose properties you want to view or modify.
-
Click Dynamic Distribution Group Properties.
-
In General, set the following general properties of the dynamic distribution group:
-
Enter the Name of the dynamic distribution group.
-
(Optional) Enter the Display name of the dynamic distribution group.
-
(Optional) Enter a Description for the dynamic distribution group.
-
Primary SMTP address: The primary Simple Mail Transfer Protocol (SMTP) address of a user account to be used for server-to-server authorization or access delegation. You cannot modify this value because it is filled automatically.
-
(Optional) Hide this group from the global address list (default: selected)
Select this check box if you do not want the group to appear in the address book and other address lists defined in your Exchange organization.
-
In Owners, set the owner of the dynamic distribution group.
NOTE: You can only set one owner for a dynamic distribution group.
-
To add or change the owner of the dynamic distribution group, click Modify, select the user and click OK.
-
To view the Azure AD properties of the owner, click Properties.
-
To remove the owner of the dynamic distribution group, select the users and click Remove.
-
In Members, set the type of recipients that will be members of the dynamic distribution group.
-
To apply your changes, click Save.
You can view or modify the members of a dynamic distribution group with the Members action of the Active Roles Web Interface.
To view or modify the members of a dynamic distribution group
-
In the Active Roles Web Interface, navigate to Directory Management > Tree > Azure > <azure-tenant-name> > Dynamic Distribution Groups.
Figure 212: Directory Management > Tree > Azure > <azure-tenant-name> > Dynamic Distribution Groups — Listing the Azure dynamic distribution groups in the Azure tenant.
-
Select the dynamic distribution group whose members you want to view or modify.
-
Click Members.
-
In Members, set the type of recipients that will be members of the dynamic distribution group.
-
To apply your changes, click Save.
