You can view or modify the advanced email settings of a shared mailbox with the Advanced Email Settings option of the Active Roles Web Interface.
To view or modify the advanced email settings of a shared mailbox
-
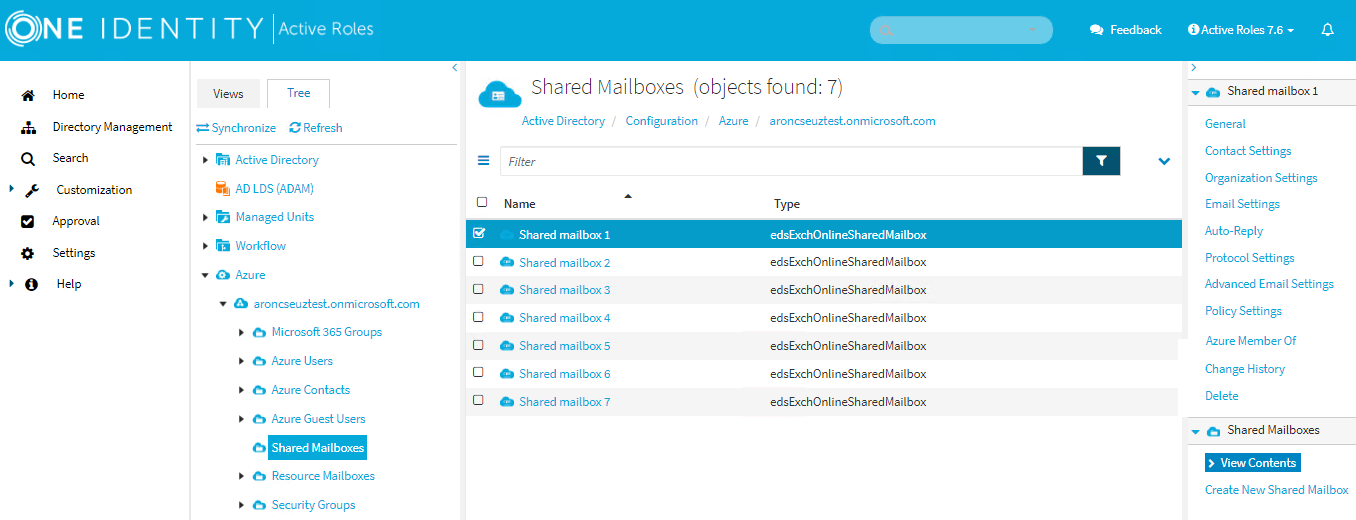
Navigate to Directory Management > Tree > Azure > <azure-tenant-name> > Shared Mailboxes.
Figure 254: Shared Mailboxes — Listing the shared mailboxes in the Azure tenant
-
Select the shared mailbox whose advanced email settings you want to view or modify.
-
Click Advanced Email Settings.
-
In Advanced Email Settings, set the following advanced email settings of the shared mailbox:
-
Send as
Only the users in the Send as list have permission to send emails from this shared mailbox that will appear as emails sent by the owner of the mailbox.
-
To add users to the Send as list, click Add, select the users and click OK.
-
To remove users from the Send as list, select the users and click Remove.
-
-
Read and manage (Full control)
Only the users in the Read and manage list have full administrator access to the shared mailbox.
-
To add users to the Read and manage list, click Add, select the users and click OK.
-
To remove users from the Read and manage list, select the users and click Remove.
-
-
Mailbox archive (default: selected)
-
Convert mailbox from shared to regular (default: not selected)
NOTE: After you convert a mailbox from shared to regular, you can only convert it back to shared in the Exchange admin center.
-
Litigation hold (default: not selected)
Litigation hold places all contents of the shared mailbox on hold. For more information on litigation hold, see In-Place Hold and Litigation Hold in the Microsoft Exchange Online documentation.
NOTE: To place an Exchange Online mailbox on litigation hold, it must be assigned an Exchange Online Plan 2 license.
-
Date hold created: You cannot modify this value because it is filled automatically.
-
Hold started by: You cannot modify this value because it is filled automatically.
-
(Optional) Hold duration (days). Leave blank for no limit: Enter the number of days. For example: 180.
-
(Optional) Note (visible to the user): Enter a customized message for users about the litigation hold that will appear in Outlook.
-
(Optional) Web page with more information for the user: If your organization has an internal website about litigation hold practices, enter its URL.
-
-
-
To apply your changes, click Save.