You can view or modify the message approval settings of a dynamic distribution group with the Message Approval action of the Active Roles Web Interface.
To view or modify the message approval settings of a dynamic distribution group
-
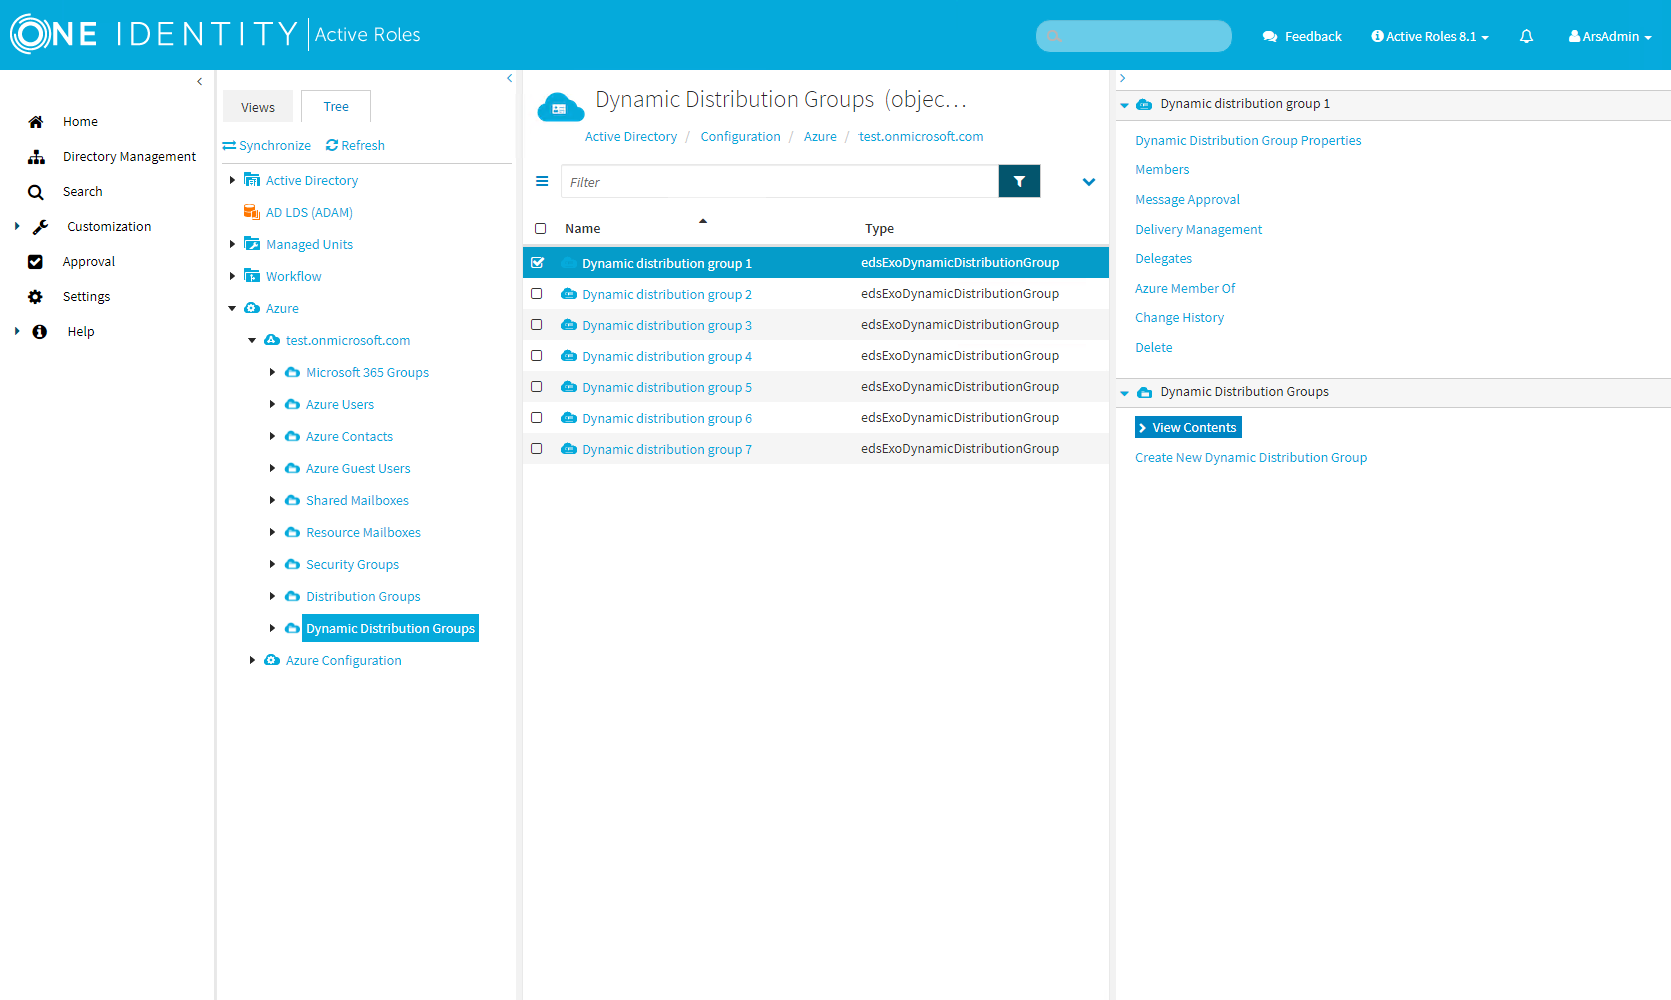
In the Active Roles Web Interface, navigate to Directory Management > Tree > Azure > <azure-tenant-name> > Dynamic Distribution Groups.
Figure 213: Directory Management > Tree > Azure > <azure-tenant-name> > Dynamic Distribution Groups — Listing the Azure dynamic distribution groups in the Azure tenant.
-
Select the dynamic distribution group whose message approval settings you want to view or modify.
-
Click Message Approval.
-
In Message Approval, set the following message approval settings of the distribution group:
-
Require moderator approval for messages sent to this group: Select this check box if group moderators must approve messages to appear. (default: selected)
-
Group moderators: If Require moderator approval for message sent to this group is selected, add moderators to approve or reject messages.
NOTE: You can only add users to the list with an Exchange Online Plan 2 license assigned to them.
-
To add users to the list of Group moderators, click Add, select the user and click OK.
-
To remove users from the list of Group moderators, select the user and click Remove.
-
-
(Optional) Add senders who do not require message approval: If Require moderator approval for message sent to this group is selected, add users whose messages can appear without moderator approval.
NOTE: You can only add users to the list with an Exchange Online Plan 2 license assigned to them.
-
To add users to the list of Senders who don't require message approval, click Add, select the users and click OK.
-
To remove users from the list of Senders who don't require message approval, select the users and click Remove.
-
-
Notify a sender if their message isn't approved: If Require moderator approval for message sent to this group is selected, specify whether senders receive a notification if their messages get rejected.
-
Only sender
-
Only sender in your organization
-
No notifications
-
-
-
-
To apply your changes, click Save.